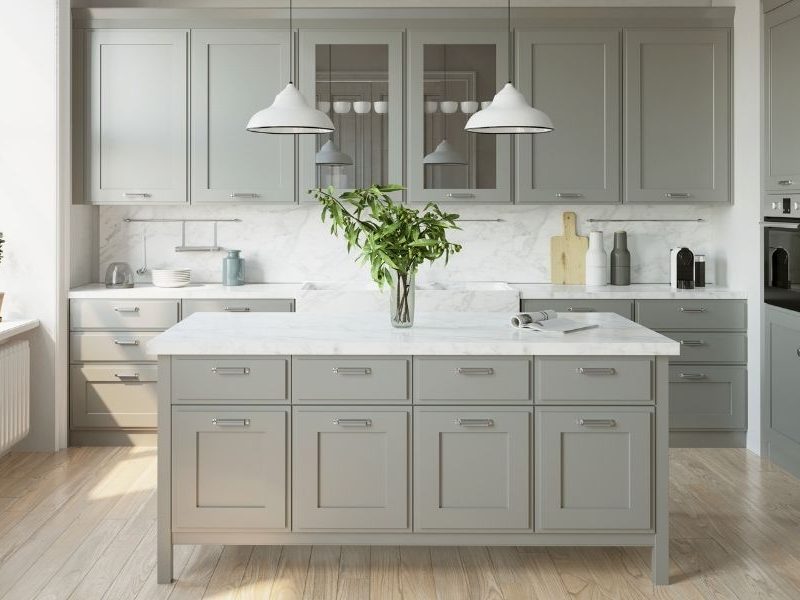
Installing Ikea kitchen cabinets can be a great way to upgrade your kitchen and give it a modern look. Ikea cabinets are easy to install and come in a variety of styles, colors, and sizes. With the right tools and a bit of patience, you can have your new kitchen cabinets installed in no time. This guide will show you how to install Ikea kitchen cabinets step-by-step. It includes everything you need to know, from measuring and planning to attaching the cabinets and adding the finishing touches. After following this guide, you will have a beautiful and functional kitchen that you can be proud of.
Gather Necessary Tools and Supplies
Installing Ikea kitchen cabinets requires more than just a few tools or supplies. While some items are basic, such as a hammer, screwdriver, drill, and level, other items are specific to the installation process. Before beginning the installation process, you’ll need to make sure you have the necessary tools and supplies at your disposal.
First, measure the space in your kitchen and purchase the correct size cabinets. Additionally, you’ll need to acquire a stud finder, screws, cabinet anchors, and a drill bit, as well as a jigsaw or circular saw to cut any holes or trim the cabinets. It’s also a good idea to have a few spare screws on hand, just in case.
Next, it’s important to make sure you have all the necessary parts for the cabinets. Most Ikea kitchen cabinets come with all the parts, such as hinges, clips, handles, and legs, but it’s important to double-check before beginning the installation process.
Finally, you’ll need to ensure you have the right materials for the job. This includes wood glue, caulk, sealant, and possibly wall anchors, as well as any additional hardware needed for the installation.
By gathering all the necessary tools and supplies before beginning the installation process, you can ensure that your Ikea kitchen cabinets will be installed correctly and last for years to come.
Understand the Ikea Cabinet System
When it comes to installing Ikea kitchen cabinets, understanding the Ikea cabinet system is key to a successful project. Before starting, familiarize yourself with the various components that make up the Ikea cabinet system. This includes cabinet frames, doors, drawers, shelves, handles, and mounting hardware.
Ikea cabinet frames are made of high-quality, engineered wood and come in a variety of sizes and shapes. The frames are designed to be durable and can support a range of weight loads. The frames also feature adjustable legs that allow you to level the cabinets.
Ikea doors and drawers are also constructed from engineered wood and come in a variety of styles and colors. You will need to select the right door and drawer combination for the space you’re working with.
The shelves and handles are designed to provide easy access to the cabinets and drawers. The shelves come in a variety of sizes and materials, including glass, wood, and metal. The handles come in a variety of colors and styles, allowing you to customize the look of your cabinets.
Finally, the mounting hardware is necessary for attaching the cabinets to the wall. The hardware includes screws, wall anchors, and mounting plates. Make sure to use the correct hardware for your specific cabinet system.
By understanding the Ikea cabinet system and its components, you’ll be better equipped to accurately install your kitchen cabinets.
Measure and Mark Installation Area
When it comes to installing Ikea kitchen cabinets, measuring and marking the installation area is the first step. This is a critical step as it will determine whether your cabinets will fit properly. To measure and mark the installation area accurately, you should measure the length, width, and height of the area, and then draw a diagram to indicate where the cabinets will go. Additionally, you should also measure and mark the location of any windows, pipes, and other fixtures that may interfere with the installation process. Once you have all of your measurements and diagrams ready, you are ready to start the installation process.
Install Cabinet Support and Floor Levelers
Installing Ikea kitchen cabinets may seem like a daunting task, but with the right tools and instructions, it can be a breeze. Before getting started, it is important to make sure that your cabinets are properly supported and leveled. This can be done by using cabinet supports, which should be placed in each corner of the cabinet and screwed into the wall. Additionally, adjusting the floor levelers will help ensure that the cabinets are properly aligned and that the door hinges are functioning properly. Once the cabinet supports and floor levelers are in place, you can move on to the actual installation of the cabinets.
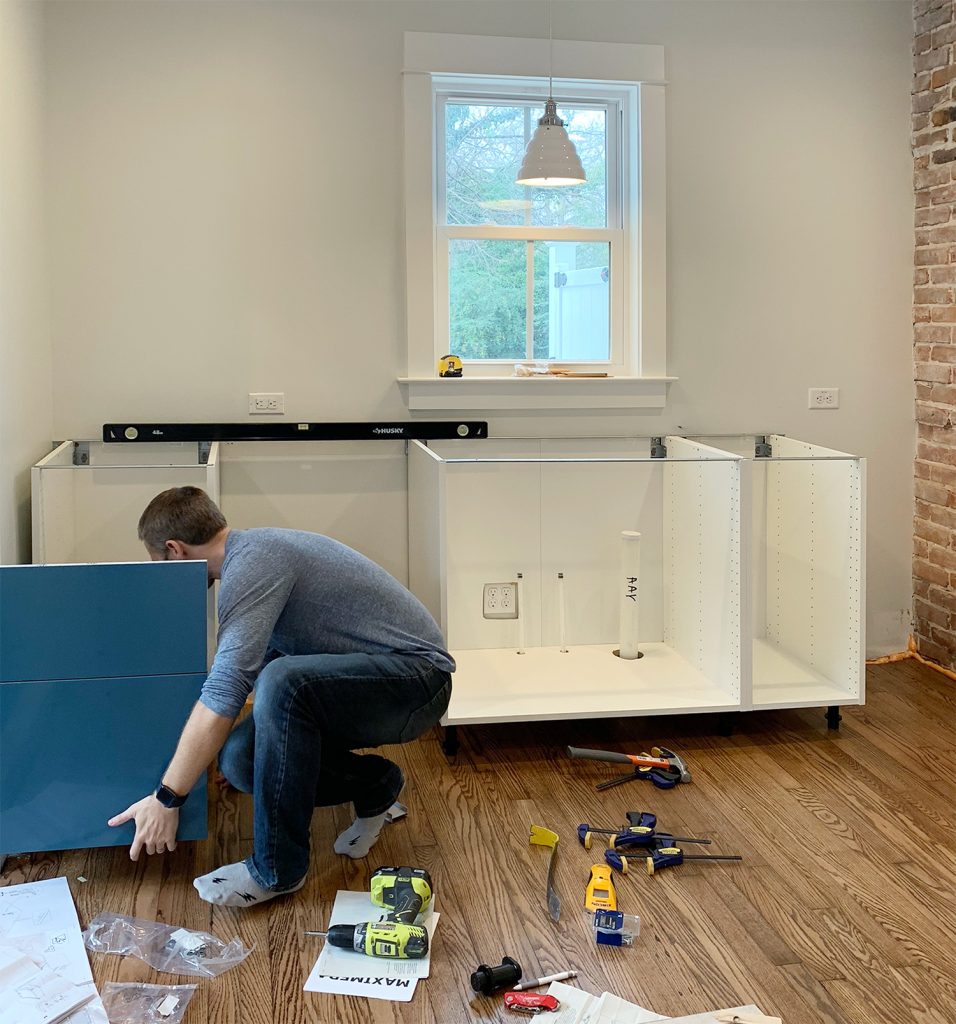
Assemble and Install Cabinets
Installing Ikea kitchen cabinets can be intimidating, but it doesn’t have to be! With the right tools and supplies, proper assembly, and careful installation, anyone can do it. Here are some steps to follow to make the installation process go smoothly.
Start by assembling the cabinets. Make sure all the pieces fit together properly and that all the screws are tightened. If any pieces are missing, contact Ikea’s customer service for replacements. Once the cabinets are assembled, it’s time to install them. Begin by measuring the area where the cabinet will be installed and mark its outline with a pencil. When you’re sure of the measurements, attach the cabinet to the wall with screws or anchors. Secure the cabinets to the wall using a level to ensure they’re straight.
Once the cabinets are in place, it’s time to attach the countertop. Measure the area where the countertop will be installed and cut it to size. Attach the countertop to the cabinets using screws and tighten them. Finally, attach the doors and drawers and adjust the hinges to ensure they open and close properly.
With some patience and attention to detail, installing Ikea kitchen cabinets can be a breeze. Follow these steps and you’ll have a beautiful new kitchen in no time!
Mount Upper Cabinets
Installing upper cabinets is the first step in installing your Ikea kitchen cabinets. Before you begin, make sure to measure the area where the cabinets will be installed and determine the height of the upper cabinets. To ensure a secure fit, you’ll need to attach the mounting brackets to the wall studs. After that, you can install the mounting rails into the wall. Then, the upper cabinets can be mounted onto the rails and secured with screws. With the upper cabinets in place, you can start adding the doors and accessories. For a more professional look, make sure to adjust the hinges and level out the cabinets. With the upper cabinets installed, you can move on to installing the rest of the cabinets.
Hang Doors and Drawers
Installing Ikea kitchen cabinets can be an intimidating task, especially for those without extensive home improvement experience. But don’t worry – hanging doors and drawers is an achievable goal with the right guidance! With some careful planning and attention to detail, you can easily spruce up your kitchen with some stylish new Ikea cabinetry.
Before you begin, make sure to have all the necessary tools and materials at hand. You’ll need a drill, a level, screws, and spacers to hang the doors and drawers. Additionally, Ikea has designed its cabinetry with a specific hanging system, so be sure to familiarize yourself with the design and instructions beforehand.
Once you’ve gathered all your materials, it’s time to begin the installation. Start by mounting the cabinet frames to the wall, taking care to use the level to ensure proper alignment. Then, attach the doors using the hinges provided. Finally, install the drawers with the rails and screws. Be sure to follow the instructions carefully and double-check measurements to ensure everything is installed correctly.
Installing your Ikea kitchen cabinets is a simple process with the right know-how. With just a few tools and a bit of patience, you can easily create a stylish and functional kitchen. Good luck!
Install End Panels and Handles
Installing Ikea kitchen cabinets is a straightforward process, but it doesn’t end when the cabinets are in place. To complete the job, it is important to also install the end panels and handles for a truly polished look. End panels, which are typically made of laminate or melamine, are used to cover exposed sides in a kitchen, creating a seamless look with the cabinetry. Handles, meanwhile, help make cabinets easier to open and close.
To install the end panels, start by measuring the dimensions of the panels and then cutting the panels to size. Then, use a screwdriver to attach the panels to the cabinets, making sure to secure them firmly in place. Finally, attach the handles to the cabinet doors. It is best to use handles that are the same size as the holes already cut in the cabinets. Secure the handles using a screwdriver or drill.
By following these steps, you can easily install Ikea kitchen cabinets and create a professional-looking kitchen. With the right tools and materials, it is possible to finish the job in no time. Be sure to take your time and double-check all measurements before you begin installing the panels and handles. With a bit of careful preparation, you can create the perfect kitchen in no time.
FAQs About the How To Install Ikea Kitchen Cabinets
Q: What tools do I need to install Ikea kitchen cabinets?
A: You will need a drill, drill bits, screwdriver, hammer, level, tape measure, and other basic tools for installation. Additionally, you may need a jigsaw if you plan on making any modifications to the cabinets.
Q: How long does it take to install Ikea kitchen cabinets?
A: The time needed to install Ikea kitchen cabinets will vary depending on the size and complexity of the project. Generally, a basic installation of standard cabinets can be completed in a few hours.
Q: What is included in the Ikea kitchen cabinet installation kit?
A: The Ikea kitchen cabinet installation kits include all of the necessary hardware, such as screws, wall anchors, and drawer slides. Additionally, the kit includes instructions and any other necessary parts for the installation.
Conclusion
Installing Ikea kitchen cabinets can be a relatively easy process that can help you update your kitchen and make it look better without breaking the bank. It is important to measure accurately and double-check the measurements before starting the installation. It is also important to follow the instructions carefully and take your time. With a bit of patience, you should be able to install your Ikea kitchen cabinets without too much trouble.