Putting in a kitchen sink is a relatively easy job for any homeowner with moderate DIY skills. Whether you are replacing an old sink or installing a new one, the basic steps are the same. This guide will walk you through the process, from preparing the area to finishing the job. With some basic tools and materials, you can have your new kitchen sink in place in no time.
Types of Kitchen Sinks
Installing a kitchen sink is a home improvement task that can often be completed in a single day. But before you can begin the installation process, you need to know the various types of kitchen sinks available. Each one has its own unique features and design that will determine the installation process. Whether you’re looking for a traditional drop-in sink, a farmhouse apron sink, or an undermount sink, there’s sure to be an option that fits your needs.
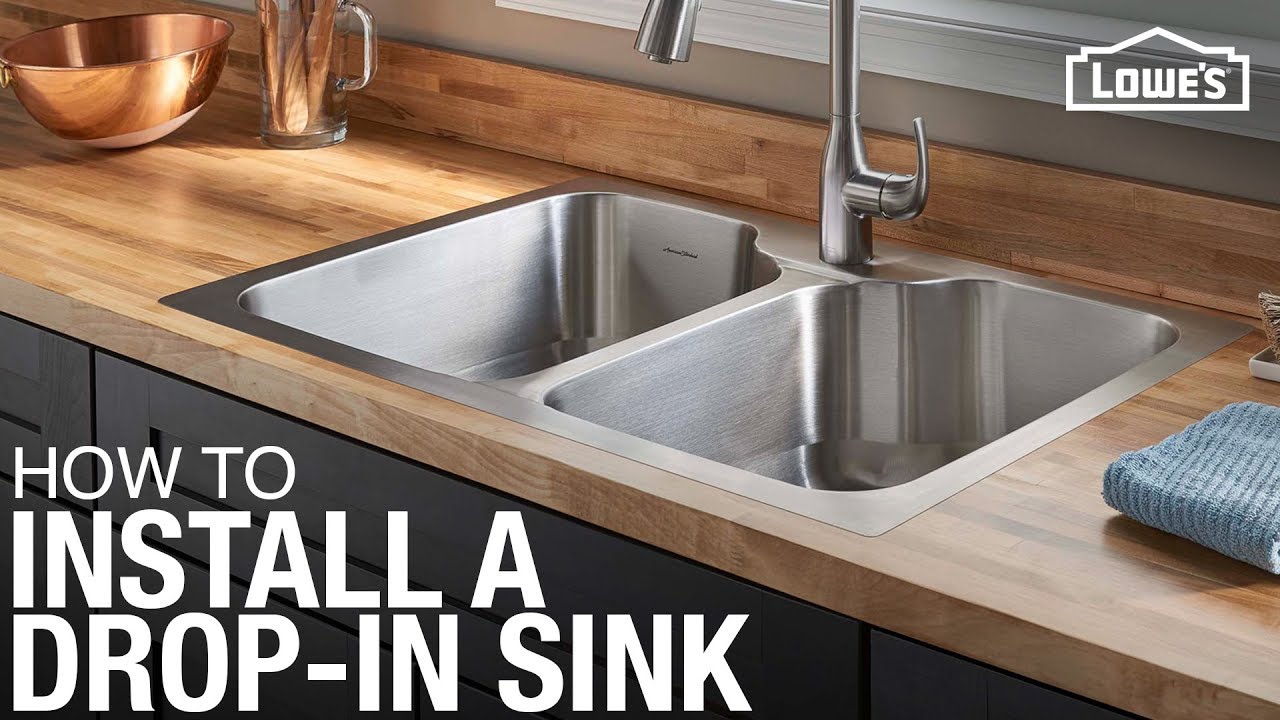
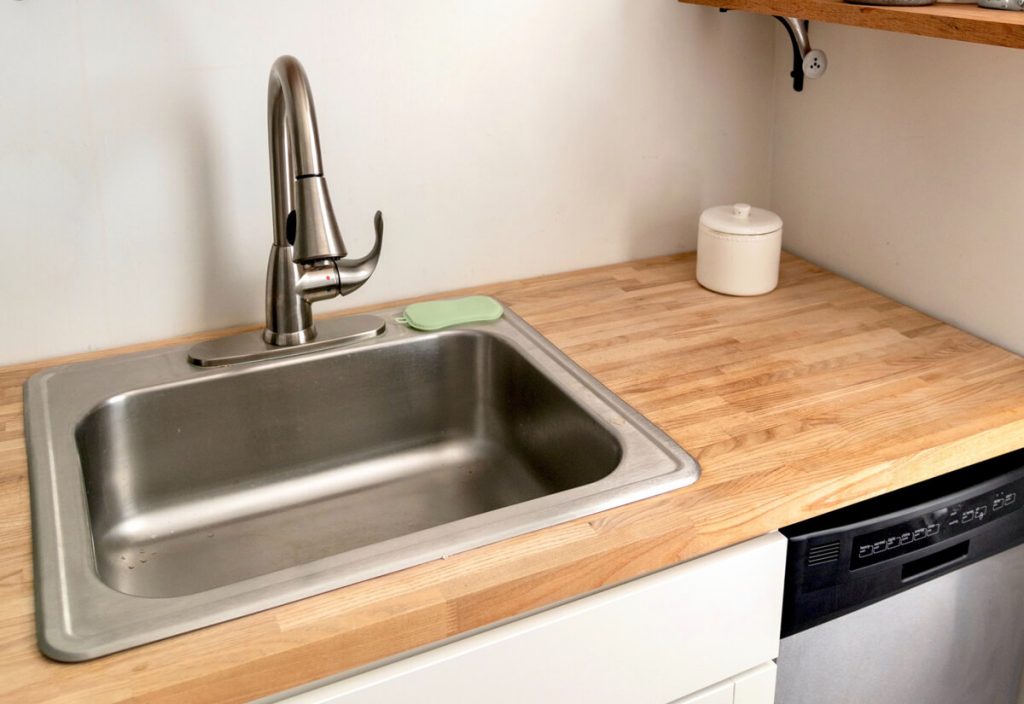
Drop-in sinks are the most common type of kitchen sink, and they are designed to fit into a pre-cut hole in the countertop. They are typically made of stainless steel, granite, or cast iron, and they offer a cost-effective solution for those on a budget. Farmhouse apron sinks feature a stylish design with an exposed front that mimics the look of a farmhouse sink, and they can be installed as either a drop-in or an undermount. An undermount sink is installed underneath the countertop, allowing for a seamless look and easy cleanup. The installation process for this type of sink is more involved, but its modern design is sure to make a statement in any kitchen.
No matter which type of kitchen sink you choose, it’s important to do your research and consider all of your options before beginning the installation process. With the right information in hand, you can easily find the perfect kitchen sink for your needs and install it in no time.
Preparation for Installing Kitchen Sink
Installing a kitchen sink can be a daunting task, but with a few simple steps and the right tools, it can be a relatively simple process. Before starting your installation, make sure you have the right tools and materials on hand. You’ll need a sink, plumber’s putty, a drill, a wrench, a screwdriver, a level, silicone caulk, and a pair of pliers. Once you have everything you need, you can begin your installation.
Start by turning off the water supply and disconnecting the pipes. Make sure to wear gloves when handling any of the plumbing fixtures. Measure the space for your sink and mark where you will need to drill holes for the faucet and the drain. Use a level to ensure the sink is level. Place the sink in the hole and secure it with the clips, screws, or bolts.
Fill the sink with water and use plumber’s putty to seal the drain and the faucet. Connect the faucet to the water supply lines and the drain to the main drain pipe. To ensure a leak-proof seal, apply silicone caulk around the edges of the sink. Finally, turn the water back on and test for leaks.
With these simple steps, you can easily install your kitchen sink. Just be sure to follow the instructions carefully and have the right tools on hand to ensure a successful installation.
Mounting the Sink
Installing a kitchen sink is a simple but important task that requires careful consideration of the size and style of the sink, the type of countertop, and the type of attachment. With the right tools and materials, anyone can easily mount their sink and have it securely attached to the countertop.
Before beginning, make sure to have all the necessary materials on hand, including mounting clips, silicone caulk, and a putty knife. Then, measure the sink to ensure it properly fits the countertop. If the sink is too large, use a jigsaw to trim it down to size.
Next, apply silicone caulk to the underside of the sink and the countertop. This will help ensure a water-tight seal and prevent leaks. Once the caulk has been applied, carefully lower the sink into place and press down firmly to ensure the caulk adheres properly.
Finally, use the mounting clips to secure the sink to the countertop. The clips should be positioned around the perimeter of the sink and tightened with a screwdriver. Once all the clips are in place, apply additional caulk around the seam between the sink and countertop to finish the job.
With these simple steps, anyone can easily mount their kitchen sink and keep it securely attached for years to come.
Installing the Drain Assembly
Installing a kitchen sink can be a daunting task, but with the right tools and materials, it’s a job that’s easily completed. The first step is to install the drain assembly. This includes the sink strainer, the tailpiece, and the trap. It’s important to pay attention to the placement of the tailpiece, as it needs to fit correctly in order to seal the pipes together. Once the tailpiece is in place, the next step is to attach the sink strainer. This should be done with a rubber gasket, which should be installed between the sink and the strainer. Once the strainer is in place, the trap can be installed. The trap should be placed between the drain opening and the tailpiece, with the open end facing the drain. Finally, the drain assembly should be secured with nuts and washers. This will ensure that the assembly is tightly sealed and will not leak. Once the drain assembly is installed, the sink can be attached.
Connecting the Faucet
Installing a kitchen sink is a project that can be done with the right tools and know-how. Once you have the sink in place, the next step is connecting the faucet. This can be a tricky step, but with the right guidance, you can do it with ease.
The first step is to make sure your faucet is compatible with the sink. If the faucet is too big or too small, you may have to purchase an adapter. Once you have the right fit, it’s time to attach the faucet to the sink. This is done by using plumber’s putty and connecting the faucet to the sink with mounting nuts. Make sure the faucet is firmly secured before you move on to the next step.
Next, you’ll need to attach the supply lines to the faucet. This is done by connecting the supply lines to the faucet and then connecting them to the water supply. Make sure the connections are secure before turning on the water. Once the water is turned on, turn the faucet on and off to make sure there are no leaks. If you find any leaks, you may need to adjust the connections or replace the supply line.
Finally, you’ll need to install the drain and the stopper. This is a relatively simple process, but it’s important to make sure the drain and stopper are securely in place. Once the drain and stopper are installed, you can turn the water on and enjoy your new kitchen sink. With the right tools and a little bit of know-how, you can install a kitchen sink with ease.
Securing the Sink
When putting a kitchen sink, it’s important to make sure it’s secured so it won’t move or come loose. There are a few different ways to do this depending on the type of sink you have. If you’re dealing with a drop-in sink, the most common way to secure it is by using a mounting clips or epoxy. Mounting clips are usually made of metal and they hold the sink in place by being attached to the counter. Epoxy is a type of glue that is applied to the sink’s rim and counter to create a strong bond.
If you’re dealing with an undermount sink, the most common way to secure it is through a silicone sealant. The sealant is applied to the rim of the sink and the edges of the countertop, creating a strong, waterproof bond. It’s important to apply the sealant evenly around the sink for a good seal.
When installing a sink, it’s important to make sure it’s secured properly. Both drop-in and undermount sinks can be secured with mounting clips or epoxy for drop-in sinks and silicone sealant for undermount sinks. Doing this will ensure that your sink is securely in place for many years to come.
Sealing the Sink
Sealing the kitchen sink is an important step when installing it. Without proper sealing, the sink can leak, leading to water damage, mold, mildew, and more. Fortunately, sealing the sink is an easy process that doesn’t require any special skills or tools. To start, you’ll need to purchase a good quality silicone sealant that is designed for kitchen sinks. Apply a generous amount of sealant all around the perimeter of the sink, making sure to get in all the corners and crevices. Use a silicone caulk gun to apply the sealant and make sure it’s even all around the sink. Once the sealant is in place, measure and cut a piece of foam tape to fit around the sink. This will help to create an additional water-resistant seal around the sink. Use a putty knife to press the foam tape into the sealant, making sure to press firmly so that the tape is firmly adhered to the sealant. Finally, clean up any excess sealant. It’s important to let the sealant cure for at least 24 hours before using the sink. Following these steps will ensure that your sink is properly sealed and secure, preventing any water damage.
Troubleshooting Common Issues
When it comes to putting a kitchen sink, there are a few common issues that can arise. Fortunately, these issues are usually easy to troubleshoot and fix. From clogged drains to misaligned pipes, here are a few tips to help you get your kitchen sink up and running.
If your kitchen sink is clogged, the first step is to identify the cause. If food waste or other debris is the culprit, a plunger may do the trick. For more stubborn clogs, you can use a drain snake to break up the obstruction. If the clog is deep in the pipes, you can try using a chemical drain cleaner.
If your sink isn’t draining properly, check the pipes underneath. If the pipes are misaligned, you’ll need to realign them in order to ensure proper drainage. If the pipes are in good condition, you can use a plunger to dislodge any debris blocking the drain.
Finally, if your sink is leaking, check the seals around the faucet and drain. If the seals are loose, you’ll need to tighten them. If they’re worn out, you’ll need to replace them. In some cases, a plumbing putty may be all you need to stop the leak.
By following these simple steps, you can ensure your kitchen sink is up and running in no time. With a little bit of troubleshooting, you can solve any issue that arises and have the perfect kitchen sink.
Cleaning and Maintaining the Sink
Maintaining a kitchen sink is an essential part of keeping it looking new and functioning properly. Cleaning the sink regularly can help prevent damage over time and keep it looking its best. It’s important to use the right cleaning products and methods when dealing with kitchen sinks, as some materials can be easily damaged. Knowing how to properly clean and maintain a kitchen sink is essential for any homeowner.
The first step in cleaning a kitchen sink is to rinse off any food particles or dirt with hot water. A soft cloth or sponge can be used to wipe down the sink, getting rid of any dirt that has accumulated. If sticky substances are present, use a non-abrasive cleaner to get rid of them. For tougher stains, scrubbing with a soft-bristled brush may be necessary. After scrubbing, rinse the sink with hot water and a cloth or sponge.
To keep a kitchen sink looking and working its best, it’s important to maintain it on a regular basis. This means wiping down the outside of the sink with a damp cloth or sponge and a mild cleaner on a regular basis. It is also important to check the sink drain for any clogs or debris that may have accumulated. If a clog is present, use a plunger to remove it. Additionally, it is important to check the pipes for signs of corrosion or buildup. If any of these issues are present, it is best to call a professional plumber.
By following these tips, a homeowner can ensure that their kitchen sink is properly maintained and functioning properly. Cleaning a sink regularly and checking for any signs of damage is essential in order to keep it looking and working its best. Knowing how to properly clean and maintain a kitchen sink is essential for any homeowner.
Upgrading Kitchen Sink Components
Installing a new kitchen sink is a great way to make a big impact in the look and feel of your home. But before you start shopping for a new sink, it’s important to understand how all of the components fit together. Knowing how to put a kitchen sink together can help you get the job done quickly and easily.
The first step in installing a kitchen sink is to remove the old sink and all its components. To do this, disconnect the water supply lines and any drain lines attached to the sink. Then, use a screwdriver to remove any mounting clips or brackets that hold the sink in place. Once the old sink is removed, you can begin to assemble the new sink.
The components that make up a kitchen sink include a basin, drain, faucet, and any hardware necessary for installation. When you put a kitchen sink together, it’s important to start with the basin. Place the basin in the countertop and use a level and plumber’s putty to make sure it is securely in place. Next, attach the drain assembly to the bottom of the basin and secure it with a wrench.
The next step is to attach the faucet. Depending on the type of faucet you have, you may need to use a wrench or special mounting components. Make sure the faucet is securely in place and properly connected to the water supply lines. Once the faucet is attached, you can then attach the necessary mounting clips or hardware.
Finally, connect the drain lines and the water supply lines to the sink. Make sure all the connections are tight and secure. Once all the components are in place, you can turn on the water to test the sink. If there are no leaks, your new kitchen sink is ready to use.
Installing a new kitchen sink is a great way to give your home a fresh, new look. By understanding how to put a kitchen sink together, you can make sure the job is done right and quickly.
Conclusion
Putting a kitchen sink is an easy task that can be done by anyone with basic DIY skills. With a few straightforward steps and tools, you can have a new kitchen sink installed in no time. Before you begin the installation, it’s important to double-check the measurements of your new sink and make sure it fits the opening of your countertop. Additionally, make sure to use a reliable sealant to ensure a watertight seal around the edges of the sink. Once the installation is complete, you can enjoy the convenience and beauty of a new kitchen sink.
FAQs About the How To Put Kitchen Sink
1. What tools do I need to put in a kitchen sink?
A: You will need a drill, screwdriver, adjustable wrench, putty knife, plumbers putty, silicone sealant, and a drain tailpiece.
2. How do I prepare the countertop for the sink installation?
A: Before you install your sink you will need to measure the size of the sink and cut an opening into the countertop to fit it.
3. How do I secure the sink to the countertop?
A: You will need to use mounting clips to securely fasten the sink to the countertop.
4. How do I attach the drain tailpiece to the sink?
A: You will need to use plumbers putty to secure the drain tailpiece to the sink.
5. What type of sealant should I use to seal around the sink?
A: You should use a silicone sealant to ensure a watertight seal around the sink.
Conclusion
Putting a kitchen sink is a fairly simple job that can be completed by most people with basic DIY knowledge. Before beginning the process, it’s important to have the right tools and materials. Once you have your tools and materials, you need to measure the size and depth of the sink, cut out the area for the sink, and seal the edges. Finally, you need to attach the sink to the countertop and connect the plumbing. With the right supplies and a little bit of know-how, you can successfully install a kitchen sink.

