Installing wall tile in a kitchen is a great way to upgrade the look of the room and create a unique style. It is a relatively simple task to do but it does require some preparation and careful planning before beginning. This guide will provide step-by-step instructions on how to install wall tile in a kitchen, including the tools you will need, the materials you should purchase, and the methods you should use. With the right preparation and careful execution, you can easily transform your kitchen into a stylish, modern space.
Gathering the Necessary Tools and Materials
Installing wall tile in the kitchen is an easy way to add a fresh, new look to your space. But before you can get started, you’ll need to gather the necessary tools and materials. The first thing you’ll need is the tile itself. Choose a tile that fits the style and color scheme of your kitchen. You’ll also need a variety of tiling tools such as a tile saw, trowels, spacers, grout, adhesive, and a sealer. Make sure to buy a few extra tiles in case of breakage or errors during installation. Finally, you’ll need to purchase a waterproof membrane to protect the wall from moisture. With the right tools and materials, you’ll be able to complete your wall tile project quickly and easily.
Preparing the Surface for Tiling
Installing wall tile in the kitchen requires a few important steps before you even begin laying the tiles. Before you get to the fun part of tiling, you need to make sure that the surface is prepped and ready to go. This process is often referred to as “setting the stage” for the tile installation.
The most important step of prepping the surface for tiling is to remove any existing tiles, paint, or wallpaper. This can be done with a putty knife or a scraper, depending on the surface material. Next, you need to make sure that the wall is clean and free of dust and dirt. A damp cloth can help remove any dirt or debris. Once the wall is clean, you can apply a primer to ensure that the tile adheres properly.
Once the wall is prepped, you need to measure and mark the area where you will be tiling. This is important to ensure that you have the right amount of tile and that it is laid in a straight and uniform pattern. Once you have marked the area, you can begin applying the adhesive to the back of the tile. You need to make sure that you spread the adhesive evenly to ensure that the tile sticks properly.
Finally, you can begin laying the tiles. This is the fun part, as you can be creative with the pattern and design. After the tiles are laid, you need to make sure that you clean up any excess adhesive or grout. Once the tiles are laid and the surface is clean, you can apply a sealant to the grout and tile to help protect it from dirt and grime.
Following these steps will ensure that your wall tile installation in the kitchen looks great and lasts for many years. Make sure to take your time and do the job right, and you’ll have a beautiful and durable tile installation that will be the envy of your friends and family.
Measuring and Marking for Tile Placement
Installing wall tile in your kitchen is an easy way to spruce up the look of the room. Before you start, however, you’ll need to plan out the placement of the tile and take precise measurements to ensure that your project is done with accuracy and precision. Measuring and marking for tile placement is a critical step in the process, and one that should be done with care.
Before you begin, decide the size of the tile that you plan to use and mark a square on the wall with the dimensions of the tile. This will act as a guide for the placement of the tile. Using a laser level, draw a straight line on the wall, starting from the bottom and going up. This will be the reference line for the first row of tiles. Measure the distance between the reference line and the ceiling to determine the number of rows you need.
Once you’ve marked the reference line, use a tape measure to mark the midpoint of the wall. This will be the center point for the tile pattern. From there, draw diagonal lines from the center point to the reference line to determine the starting point for the tiles. Confirm the measurements with a level and mark the positions of the tiles with a pencil.
Following correct measuring and marking techniques will ensure that your wall tile project is a success. When in doubt, it’s always a good idea to consult an experienced professional for advice and assistance. A pro can help you ensure that your measurements are accurate and that the tile is installed correctly.
Cutting the Wall Tile
Installing wall tile in your kitchen can be a daunting task, but with the right preparation and technique, it can be done with relative ease. One of the first steps in tiling a kitchen is cutting the wall tile. This is a delicate process as it requires precision to ensure that the tiles fit properly into the space. To help make this process easier, there are a few tips to keep in mind when cutting wall tile.
Before cutting the tile, measure the area accurately and mark the tile where the cuts need to be made. This will give you a reference point to ensure that the cuts are made in the correct place. When cutting the tile, use a wet saw, a tile cutting tool, or a diamond-tipped blade. These tools will allow you to make precise cuts, so you can avoid any costly mistakes. Make sure to wear safety glasses and gloves when cutting the tile. Also, be sure to follow the instructions on the saw to ensure that the blade is sharp and the tile is cut correctly.
Once the tile is cut, it’s important to check the edges of the tile to ensure that the cuts are clean and there are no sharp corners or edges. This will help to ensure that the tiles fit snugly in the space and look professional once the installation is complete. With these tips in mind, cutting wall tile for your kitchen can be done safely and accurately.
Applying Adhesive to the Wall
Installing wall tiles in your kitchen can be a great way to add a stylish look to your home. It can also be a great way to protect your walls from the splashing of liquids and food. Before you can begin tiling, you need to prepare the wall by applying adhesive. Applying adhesive is a crucial step in the wall tiling process and should not be overlooked.
When preparing to apply adhesive, make sure you have the right kind of adhesive. There are several types of adhesives available, each with their own strengths and weaknesses. Make sure you select the right adhesive for the type of tiles you’re installing. For example, if you’re installing ceramic tiles, you should use an epoxy-based adhesive.
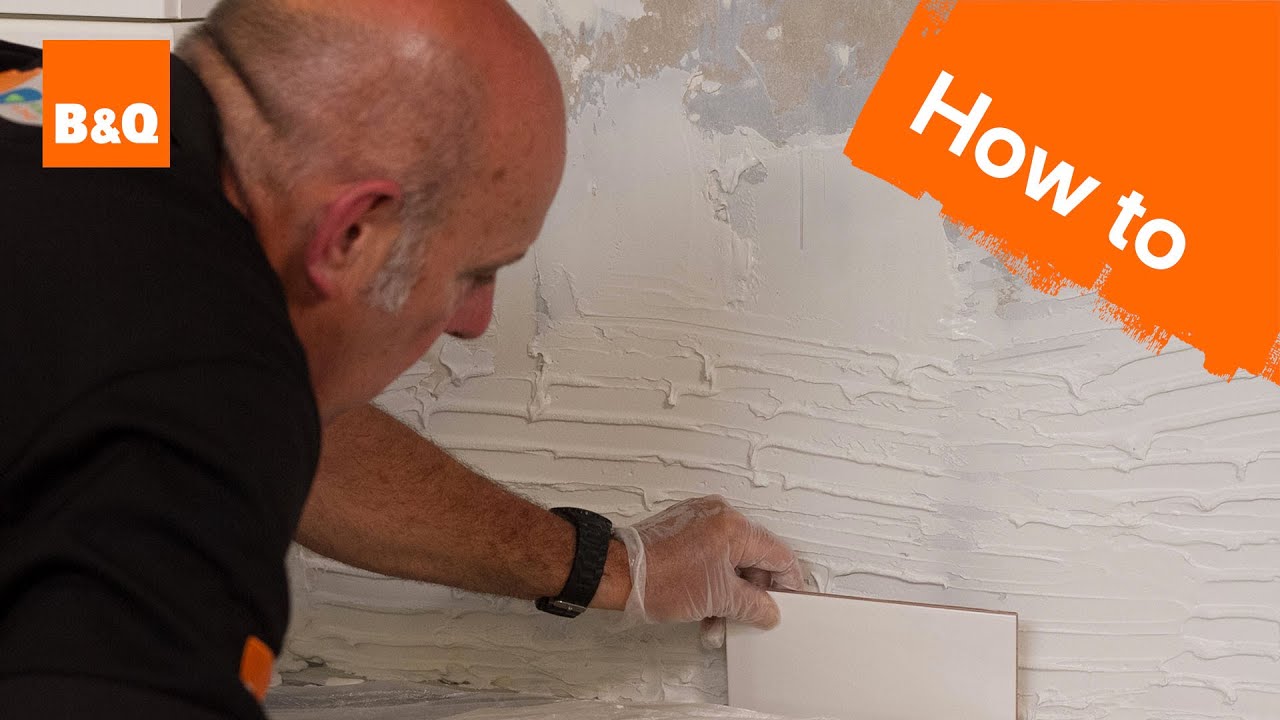
Once you’ve selected the right adhesive, you can apply it to the wall. Start by spreading the adhesive evenly over the surface of the wall. Then, use a notched trowel to spread the adhesive into a thin layer. This will ensure that the tiles are securely adhered to the wall. Take your time to make sure that the adhesive is spread evenly, as this will ensure that the tiles are evenly spaced and secure.
Finally, press the tiles into place. Make sure that you press firmly and evenly to ensure that the tiles adhere correctly to the wall. Allow the adhesive to dry before grouting the tiles.
By following these steps, you can easily apply adhesive to your wall and begin the process of installing wall tiles in your kitchen. With patience and attention to detail, you’ll soon have a stylish, protective wall tile installation.
Laying Out the Wall Tile
Installing wall tile in your kitchen is a great way to make a dramatic change to the look and feel of the room. Before you start the actual installation process, it’s important to lay out the tiles properly so that the final result is straight and even. This step is essential to ensure that your project turns out the way you want it to.
It’s important to begin by measuring the area where the tile will be installed and determining the size of the tile you will be using. This will help you calculate the number of tiles you need and how much grout will be required. Once you have this information, you can begin to lay out the tiles on the wall.
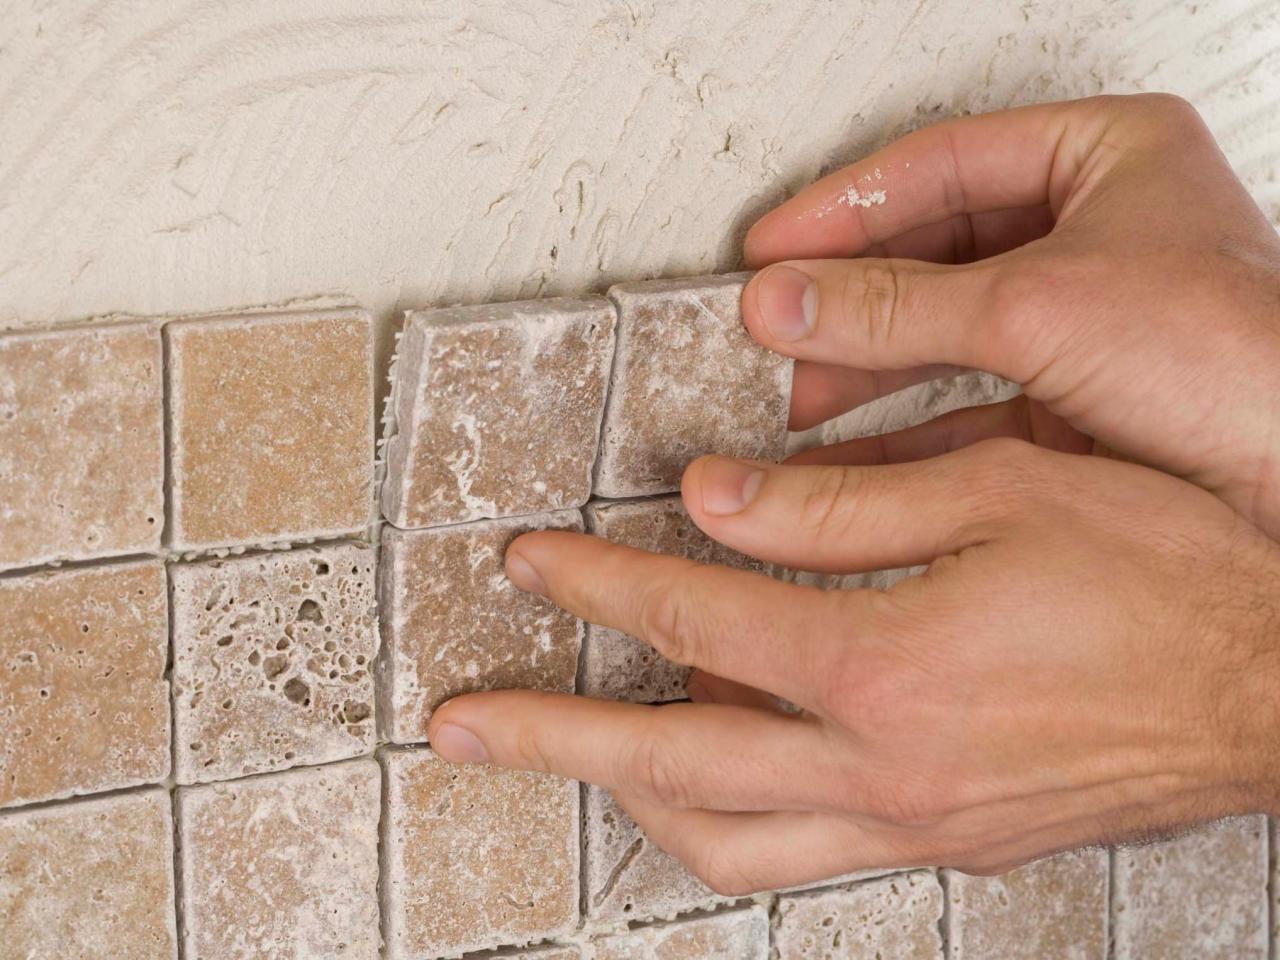
Start by placing the first tile in the center of the wall or wherever you want the focus of the tile to be. This will be the most visible tile and should be placed carefully. Use a level to make sure the tile is level and use a ruler to ensure that the tile is straight. Once the first tile is in place, you can begin to work outward. Carefully measure the distances between each tile, and then place them carefully. When you are finished, you should have a neat, even pattern of tiles on the wall.
Once the tiles are in place, you can begin the actual installation. With the right tools and a little patience, you can install wall tile in your kitchen quickly and easily.
Grouting and Sealing the Tile
Once you have finished installing the wall tiles in your kitchen, it is important to grout and seal them correctly to ensure they are durable and water-resistant. Grouting is the process of filling in the gaps between the tiles to create a smooth, even surface. Sealing the tiles prevents moisture from seeping through the grout and causing any damage to the tiles.
When grouting, make sure to choose a grout that is compatible with your tile type. For example, if your tile is made of porcelain, you should use a cement-based grout. For ceramic or natural stone tiles, an epoxy-based grout is recommended. Remove any excess grout from the surface of the tiles with a damp sponge.
Once the grout has dried, it is important to seal the tiles to protect them from moisture. You can use a sealer specific to the type of tile you are using. For porcelain tiles, use a penetrating sealer. For ceramic or natural stone tiles, use a topical sealer. Make sure to apply the sealer as directed and allow it to dry completely before walking on the tiles.
Installing wall tiles in the kitchen is a great way to add style and durability to your space. By taking the time to grout and seal the tiles correctly, you can ensure that your wall tiles will last for years to come.
Cleaning the Finished Tile Installation
Once the wall tile installation is complete, it is crucial to clean the surface of the walls to ensure a beautiful finished look. Cleaning the surface of the tile is essential as dirt and grime can build up over time, leading to a dull and drab finish. To ensure your newly installed wall tile looks its best, it is important to clean the surface regularly.
The most effective way to clean wall tile is to use a mild detergent and warm water. For tougher grime, an all-purpose cleaner may be necessary. To ensure that the wall tile is properly cleaned, it is important to use a soft brush or cloth to gently scrub the tile. It is also important to make sure that the cleaning solution is not overly harsh, as it could damage the tile.
Once the wall tile is properly cleaned, it is important to rinse it off with warm water and a wet sponge. This will ensure that all the cleaning solution is removed from the surface. After rinsing off the solution, it is important to dry the tile completely before applying any sealant to it.
By following these simple steps, the newly installed wall tile should look great for years to come. Keeping the wall tile clean and well maintained is essential in order to ensure a long-lasting and beautiful finish.
Conclusion
Installing wall tile in the kitchen can be an aesthetically pleasing and practical way to update your kitchen. With the right tools and materials, it is a fairly straightforward process that can be completed in a few days. By following the steps outlined in this article, you will be able to install wall tile in your kitchen with confidence, ensuring a durable and beautiful finish.

