Removing a sprayer hose from a kitchen faucet can be a tricky task, especially if it has been in place for a long time. Fortunately, with the right tools and techniques, it’s a relatively easy process and can be done without the need for a professional plumber. This guide will provide step-by-step instructions on how to remove a sprayer hose from a kitchen faucet and get it ready for a replacement.
Overview of Removing a Sprayer Hose from a Kitchen Faucet
Having a sprayer hose attached to your kitchen faucet can be both a blessing and a curse. On one hand, it allows you to quickly and easily rinse dishes, vegetables, and other items without having to turn on the tap. On the other hand, it can be a hassle to remove it when it needs to be replaced. Fortunately, removing a sprayer hose from a kitchen faucet is not a difficult task. In this article, we will discuss the steps necessary to remove a sprayer hose from a kitchen faucet, as well as the tools and materials you’ll need to get the job done. We’ll also discuss how to properly dispose of the hose and any other components that need to be removed. By the end of this article, you should be fully prepared to tackle the task of removing a sprayer hose from a kitchen faucet.
Identifying the Type of Kitchen Faucet
One of the first steps to removing a sprayer hose from a kitchen faucet is identifying the type of faucet you have. There are several types of kitchen faucets, each with their style of design and construction. The most common types of kitchen faucets are the pull-down, pull-out, and double handle. Pull-down faucets have a single handle and a spout that moves to the side for easy access. Pull-out faucets have a single handle that pulls out of the faucet body and a spout that moves away from the faucet body. Double-handle faucets have two handles, one for hot water and one for cold water, with a spout in the center. Knowing the type of faucet you have can help you determine the best way to remove the sprayer hose.
Locating the Clamp Securing the Hose
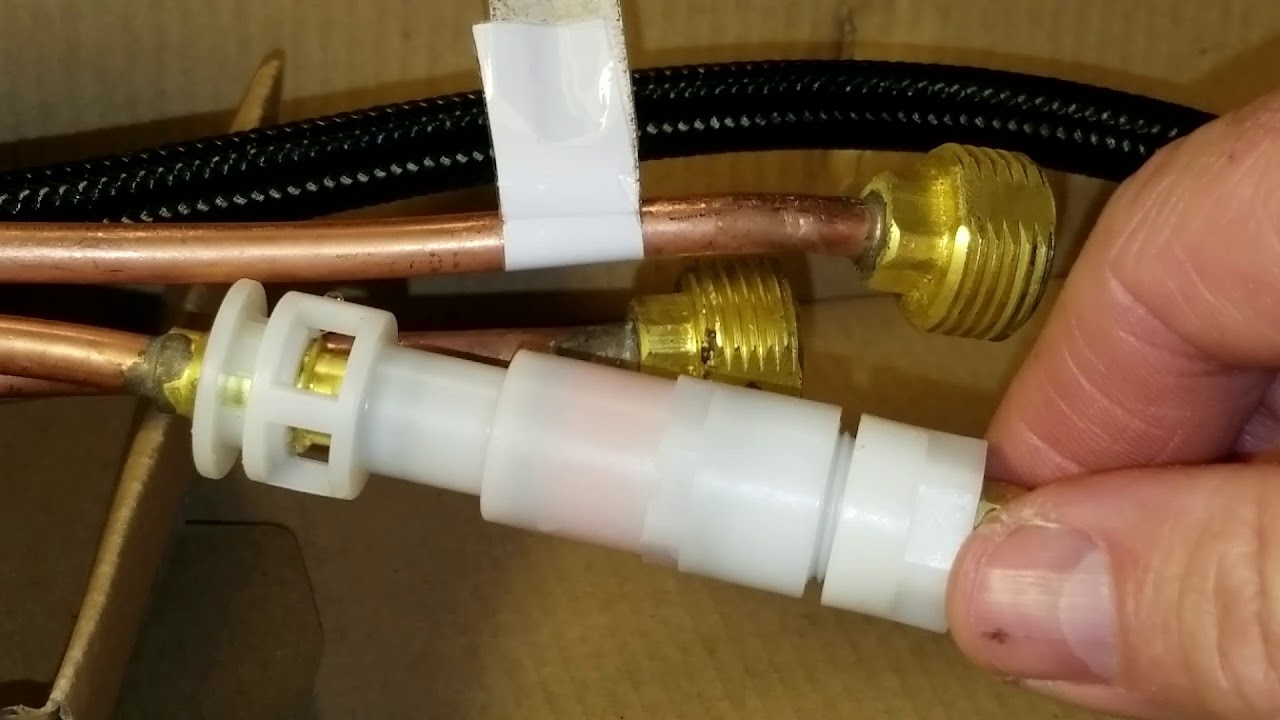
If you have a kitchen faucet with a sprayer hose, chances are that it is held in place with a clamp. Identifying where this clamp is, and removing it, is the key to removing the hose from the faucet. To find the clamp, you should start by looking underneath the sink and behind the faucet. If you cannot find the clamp there, it may be located inside the faucet itself. You can examine the faucet from the top or bottom, depending on the type of faucet you have. Once you locate the clamp, use a pair of pliers to loosen the screws and remove the clamp. If the screws are difficult to loosen, you can apply a lubricant like WD-40 to make it easier. With the clamp removed, you can now pull the hose from the faucet.
Removing the Hose From the Faucet
Removing the sprayer hose from a kitchen faucet can be a tricky task, but it’s essential for keeping your faucet functioning properly. To do this, you’ll need to disconnect the hose from the faucet and remove it. Here are the steps you need to take to successfully remove the sprayer hose from your kitchen faucet.
First, locate the hose connection on the faucet. It will usually be located near the top of the faucet. Then, use a flathead screwdriver to loosen the hose connection. You may need to apply some force to loosen it. Once the hose connection is loose, you should be able to easily pull off the hose.
Next, you’ll need to disconnect the hose from the nozzle. This is usually done by unscrewing the nozzle from the hose. You may need to use a pair of pliers to loosen the nozzle. Once the nozzle is loose, you can pull it off the hose.
Finally, you’ll need to remove the remaining hose from the faucet. To do this, you’ll need to unscrew the hose from the faucet. You’ll likely need to use a pair of pliers to loosen the hose. Once the hose is loose, you can pull it off the faucet.
Removing the sprayer hose from your kitchen faucet is a relatively straightforward process. With a few simple tools and a bit of patience, you should be able to complete the task in no time.
Disconnecting the Sprayer Hose From the Faucet
Removing a sprayer hose from a kitchen faucet can be a tricky process, particularly if you are unfamiliar with plumbing. Fortunately, the process is not overly complicated and can be done in a few simple steps. First, locate the nut or bolt that is connecting the sprayer hose to the faucet. Depending on the model of the faucet, the nut or bolt may be located at the base of the sprayer hose, or the back of the faucet, near the valves. Once located, use an adjustable wrench or pliers to loosen and remove the nut or bolt. After the nut or bolt is removed, the sprayer hose should come off easily. Be sure to turn off the water supply at the valves before beginning this process. Lastly, inspect the connections to ensure that everything is properly and securely fastened. Following these simple steps will help make sure that your kitchen faucet is functioning properly and safely.
Checking for Leaks After Reattaching the Sprayer Hose
After completing the task of reattaching the sprayer hose to your kitchen faucet, it is important to check for any potential leaks. This can be done by first ensuring that the hose is securely fastened to the faucet. Then, turn on the water and check for any moisture or dripping underneath the faucet. If there is any, then you may need to tighten the connection or use some plumber’s tape to ensure that the connection is completely sealed. Additionally, if you notice any slow leaking, you should consider replacing the sprayer hose. This is to ensure that your kitchen faucet is working properly and that your home is safe from any potential water damage.
Cleaning and Maintaining the Kitchen Faucet
Maintaining a kitchen faucet is an important part of keeping your kitchen running smoothly. One of the most common maintenance issues is removing a sprayer hose from the faucet. While it may seem like a daunting task, removing a sprayer hose from a kitchen faucet is quite simple. In this blog, we’ll provide detailed step-by-step instructions on how to remove a sprayer hose from a kitchen faucet.
The process starts by turning off the water supply to the faucet. Then, you’ll need to locate the sprayer hose connection under the sink. It may be connected with a nut or with a quick-connect fitting. Once you’ve identified the connection, you’ll need to remove the nut or quick-connect fitting to disconnect the hose. Once the hose is disconnected, you can remove it from the faucet.
Finally, you’ll need to replace the sprayer hose. This can be done with a new hose or with a replacement sprayer head. It’s important to make sure the new hose is sized correctly and compatible with your faucet. Once you’ve installed the new hose, you’ll need to reconnect it to the faucet and turn on the water supply to the faucet.
By following these simple steps, you’ll be able to easily remove a sprayer hose from a kitchen faucet. This simple maintenance task can help ensure that your kitchen faucet is in top working condition and can help save you money in the long run.
Troubleshooting Common Problems
Troubleshooting common problems with kitchen faucets can be a daunting task, especially when it comes to removing the sprayer hose from the faucet. The hose often becomes stuck after years of use, making it difficult to unscrew and remove. If you’re having trouble removing the sprayer hose from your kitchen faucet, don’t worry. We’ll provide you with some simple tips and tricks to help you troubleshoot and remove the hose.
First, you’ll want to ensure you have the correct tools. You’ll need a flathead screwdriver, pliers, and a bucket or container to collect any dripping water. Once you’ve gathered the necessary tools, look carefully at the sprayer hose and identify the point where it connects to the faucet. You’ll likely find a small nut or screw that can be used to loosen the hose from the faucet. If you can’t see any visible fasteners, you may need to use the flathead screwdriver to carefully pry off the hose.
Once you’ve loosened the hose, you can use the pliers to gently pull it away from the faucet. Be sure to hold the faucet steady as you pull, as the hose may be stuck and require some force to remove it. Once the hose is removed, you can use the bucket or container to collect any dripping water.
Removing a sprayer hose from a kitchen faucet may not be easy, but with the right tools and a bit of patience, it can be done. Remember to take your time, be gentle, and keep an eye out for any visible fasteners that may be preventing the hose from loosening. With these tips in mind, you’ll be able to remove the hose from your kitchen faucet in no time.
Conclusion
Removing a sprayer hose from a kitchen faucet is a relatively simple task that can be done in just a few minutes. The first step is to locate the hose connection that is usually located beneath the sink. Once you have located the connection, you should disconnect the hose from the faucet by unscrewing the nut that secures it in place. After the nut has been removed, you can easily pull the hose away from the faucet. With the hose removed, you can now replace it with a new one for better performance.

