A loose kitchen faucet base can be an annoying and potentially dangerous problem. If your kitchen faucet base is loose, it can cause water to leak and damage your countertops or flooring. Fortunately, it is usually an easy fix. By following a few simple steps, you can learn how to tighten a kitchen faucet base and restore your sink to its original condition. With the help of a few basic tools, you can easily tighten your kitchen faucet base and keep your kitchen safe and in working order.
Identifying the Problem
Identifying whether or not your kitchen faucet base needs tightening may seem like a daunting task, but it doesn’t have to be. By following a few simple steps, you can identify the issue and take action to fix it. To start, it’s important to check the area around the faucet base for any signs of leakage or water damage. If there is any indication that the seal has been compromised, the faucet base likely needs to be tightened. Additionally, if the faucet base feels loose when you turn it, the chances are that it needs to be tightened. Once you’ve identified the issue, you can begin the process of tightening the faucet base.
Preparing the Area
To properly tighten the base of a kitchen faucet, you must begin by preparing the area. Make sure the sink is clear of dishes and any other objects that could be in the way. Next, turn off the water supply to the faucet, either by turning off the valves under the sink or by turning off the main water supply. Once the area is clear and the water is turned off, you can begin the process of tightening the base of the kitchen faucet.
Removing the Faucet Base
Having a loose kitchen faucet base can be a major nuisance, and it’s not always easy to figure out how to tighten it. If you’re looking to tighten your kitchen faucet base, the first step is to remove the existing base. Doing so requires a few simple tools, and can be done in a few easy steps.
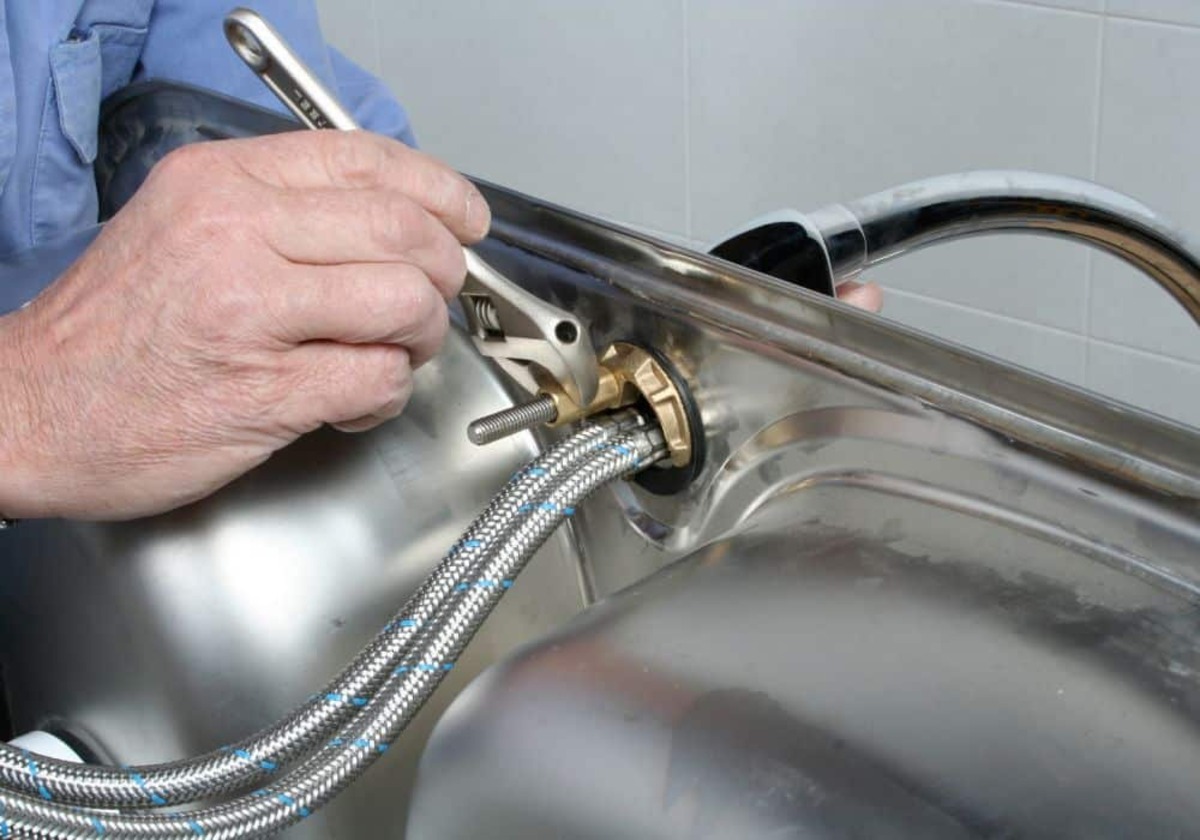
Start by turning off the water and detaching the water supply lines from the faucet. Then, use a basin wrench to loosen the mounting nut, which is most likely located underneath the sink. Once the nut is detached, the faucet should come right off. If the faucet is still stuck, you can use a pair of pliers to remove it.
Once the faucet is detached from the sink, you can take the base to a hardware store and purchase a new one. Alternatively, you can buy a repair kit and use it to fix the existing base. Once you have the new base or the repair kit, you can now begin the process of tightening the faucet base.
Tightening the Faucet Base
An effective way to ensure your kitchen faucet is working well is to regularly check and tighten the base. Whether you are dealing with a loose faucet base or you simply need to firm it up, it is important to know the right steps to take.
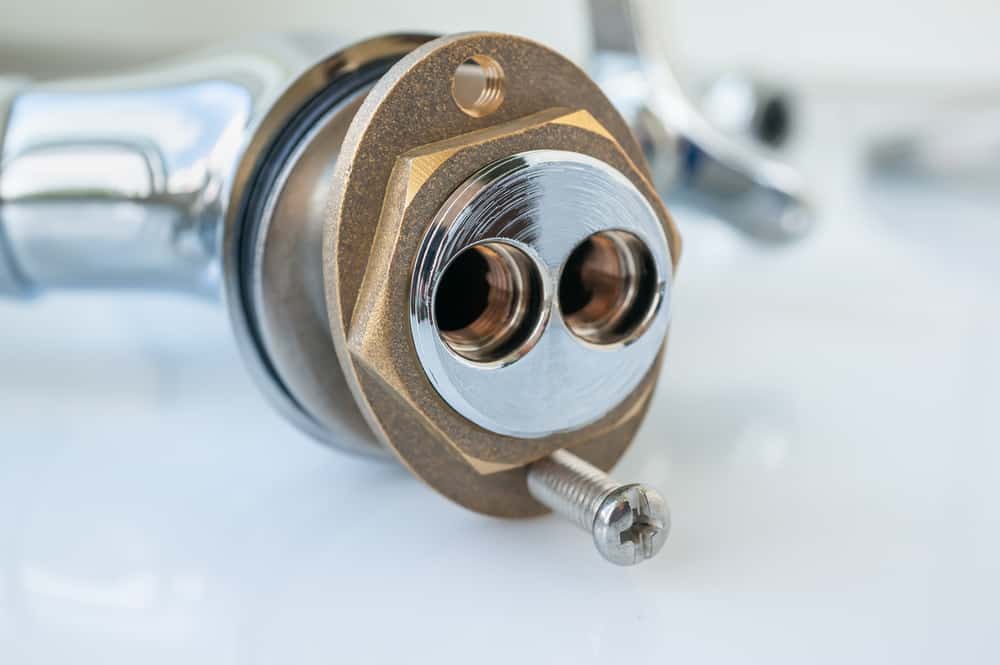
First, you will need to locate the nut securing the faucet to the sink. This nut is usually located below the sink, attached to the faucet post. You can access it from below the sink, or sometimes you may need to remove the sink basin.
Once you have located and identified the nut, you can begin to tighten it. It is important to use a wrench or pliers to do this, as it allows you to create a tighter grip on the nut. You should be careful not to over-tighten, as this can cause the nut to break or even damage the sink.
If you are still having trouble getting the nut to tighten, you may need to use a pipe wrench as an alternative. This will provide you with more leverage and allow you to apply more pressure, which should make it easier to tighten the nut.
Finally, once you have successfully tightened the nut, you should be able to use your kitchen faucet without any issues. It is important to check and tighten the nut periodically to ensure that it does not become loose again. With the right tools and a little bit of patience, you can keep your kitchen faucet in good working order.
Reinstalling the Faucet Base
Tightening the kitchen faucet base is a surprisingly easy process, and it can be accomplished in just a few steps. The first step is to remove the existing faucet base, which can be done by unscrewing the retaining nut. After removing the retaining nut, the faucet base should easily slide off. Once the base is removed, the next step is to reinstall it. This involves attaching the faucet base to the sink and then securely tightening the retaining nut.
To ensure a secure installation, it is important to use proper tools. A wrench or adjustable pliers are recommended for tightening the nut, and a large screwdriver or chisel may be necessary to reseat the base. Additionally, some faucets may require a special sealant to keep water from seeping through the installation. Finally, if the faucet base is loose or doesn’t fit correctly, it is best to purchase a replacement.
In conclusion, reinstalling a kitchen faucet base is a fairly straightforward process. With the right tools and a bit of patience, it can be accomplished in no time. Furthermore, it is important to use proper tools and techniques to ensure a secure and lasting installation.
Testing the Faucet Base
Testing the faucet base is the first step to ensure a successful tightening of the kitchen faucet. First, turn off the water supply to the faucet. Then, remove the handle of the faucet and inspect the base for any signs of wear and tear. If the base appears to be in good condition, use a wrench to loosen the mounting nut. This will allow you to adjust the faucet’s position on the sink. Once the mounting nut is loosened, test the handle of the faucet to ensure that it is securely in place. If the handle feels loose, tighten the mounting nut until the handle no longer moves. Finally, inspect the base once more to make sure there are no signs of wear and tear. If everything looks good, you are now ready to reattach the handle of the faucet and turn on the water supply.
Cleaning Up the Area
Tightening a kitchen faucet base requires some preparation and clean-up work. Before you get started, make sure you have the right tools for the job. Gather a pair of adjustable pliers, a wrench, and a cleaning cloth. Additionally, it’s important to make sure the area around the kitchen faucet is cleared of debris and the sink is clean. This will help ensure that the job is completed safely and efficiently. After you have gathered the necessary tools, you can begin the process of tightening the kitchen faucet base. Make sure to take your time and work carefully. Any mistakes can lead to unnecessary damage and costly repairs.
Conclusion
Overall, tightening a kitchen faucet base is a relatively simple process that does not require any special tools or knowledge. By following the proper steps and taking the necessary precautions, you can easily tighten your faucet base and ensure that it is securely in place. With this knowledge, you can now fix your kitchen faucet base quickly and easily.

