Tiling a backsplash in a kitchen is a great way to update the look of your kitchen and protect the walls from splashes and spills. It’s a relatively simple job that will require some patience and attention to detail, but the end result will be worth it. With some basic tools and supplies, you can tile your own backsplash in no time. This guide will walk you through the steps of tiling a backsplash in a kitchen, from prepping the surface to grouting and sealing the tiles.
Preparing the Kitchen
Tile backsplashes can add charm to any kitchen, but it takes a bit of preparation before the tiling process can begin. To tile a backsplash, you’ll need to measure the area, buy the necessary materials, and make sure the wall is clean and prepped.
To start, measure the area of the wall where the tile will go. Take the measurements and then purchase the appropriate amount of tile, spacers, and grout, as well as other necessary supplies like adhesive or mortar. Make sure to factor in waste when making your purchase.
Next, it’s time to clean and prep the wall. Remove any dirt, grease, and other residue from the wall, and repair any cracks or damage. Then, apply a layer of primer to ensure that the adhesive will adhere properly. Finally, you can begin laying the tile, using spacers to make sure they are even.
By following these steps, you’ll be well on your way to creating the perfect tile backsplash for your kitchen. With the right materials and a bit of patience, you can create an attractive addition to your kitchen that will add character and charm.
Choosing Your Materials
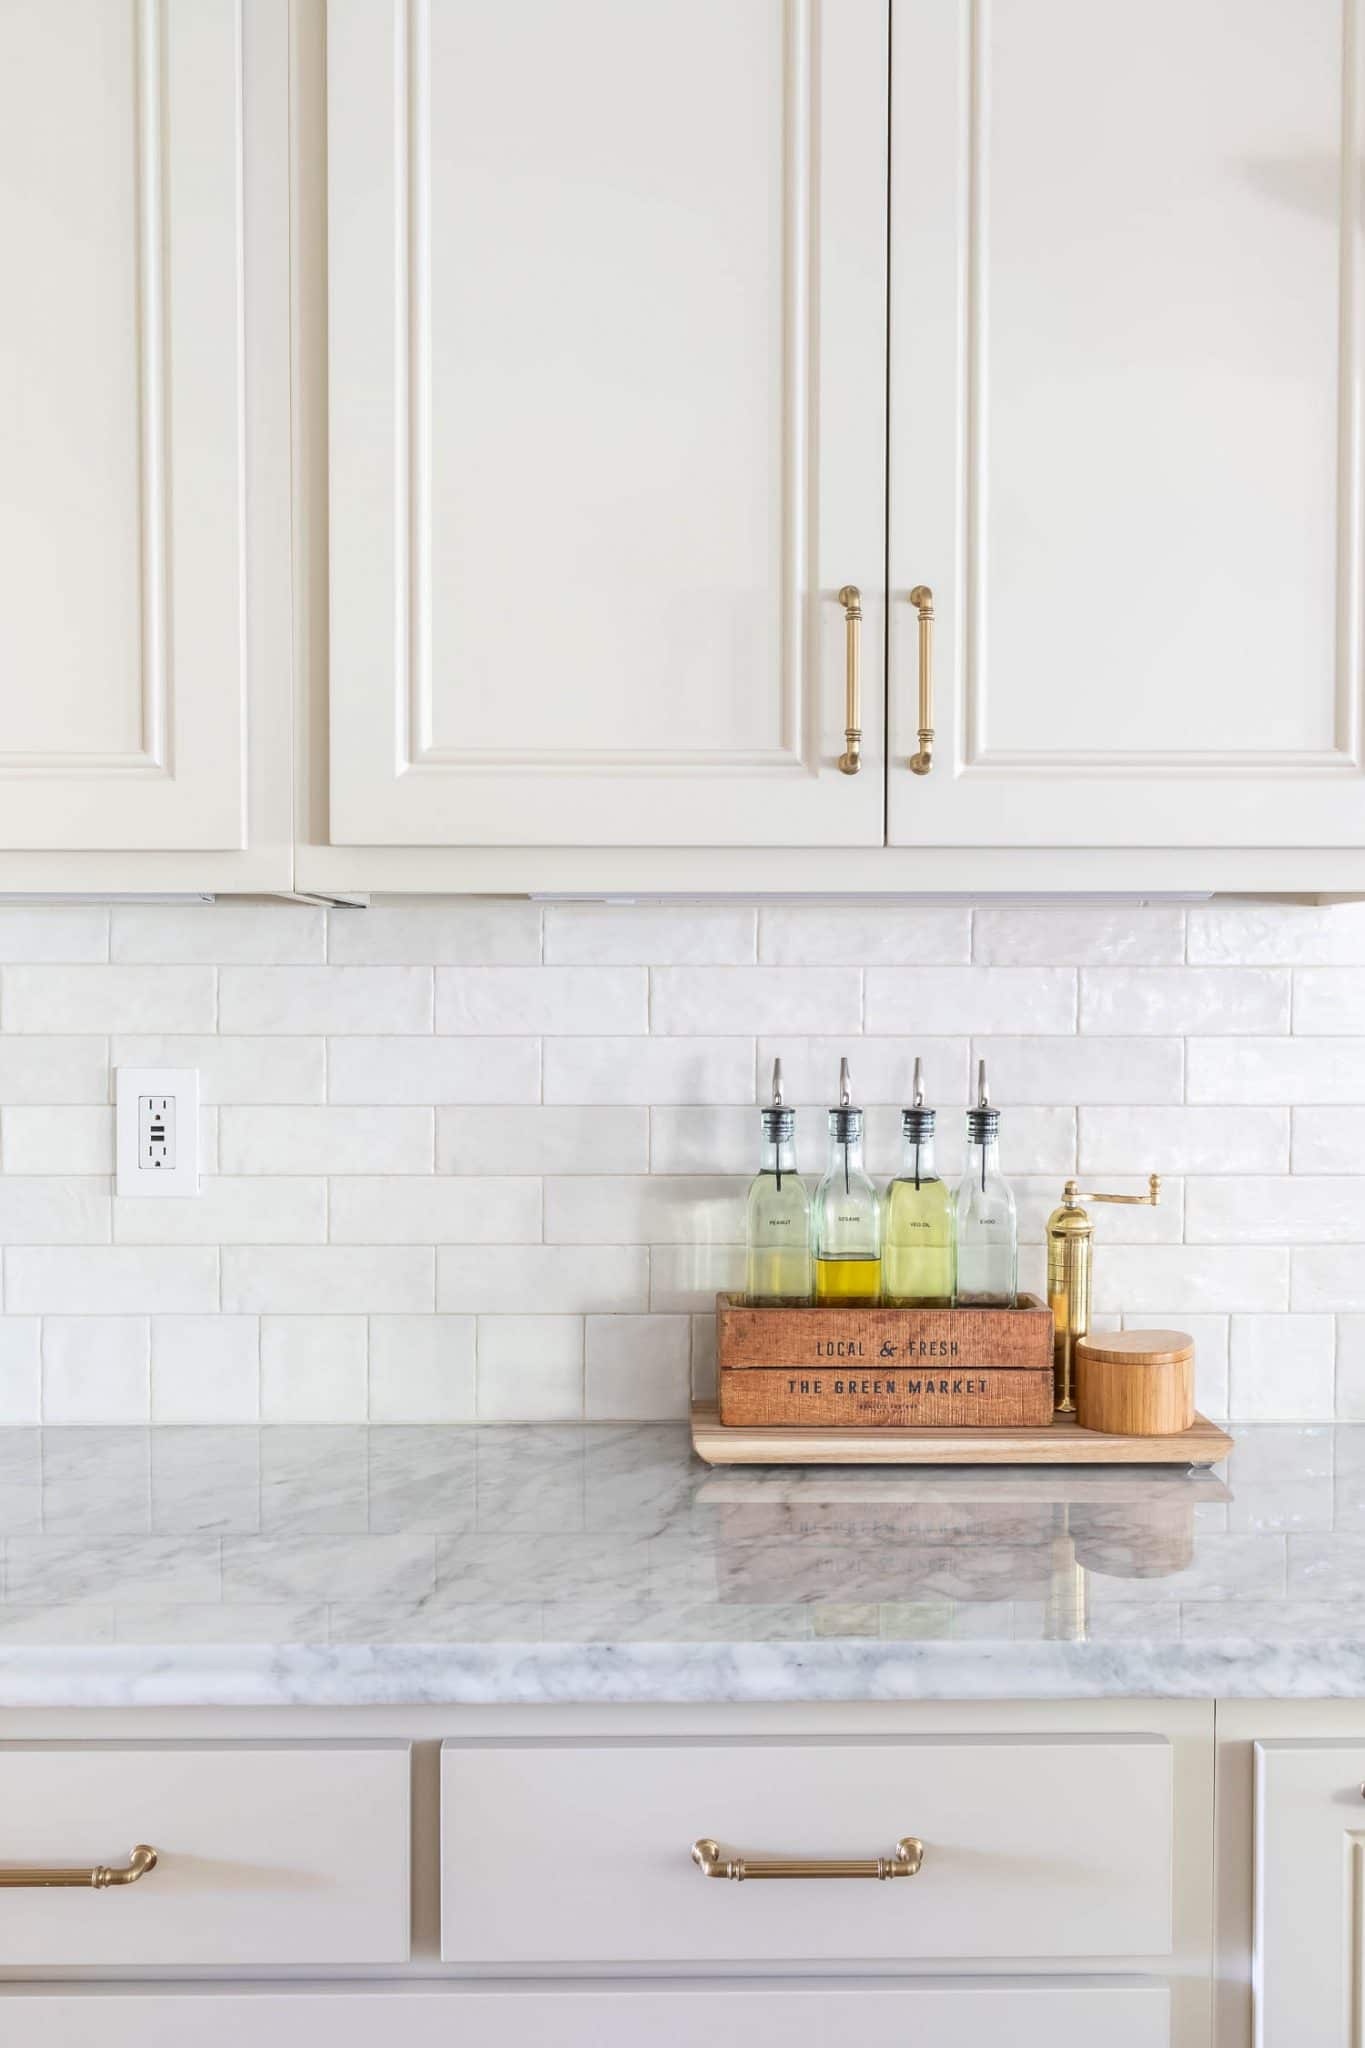
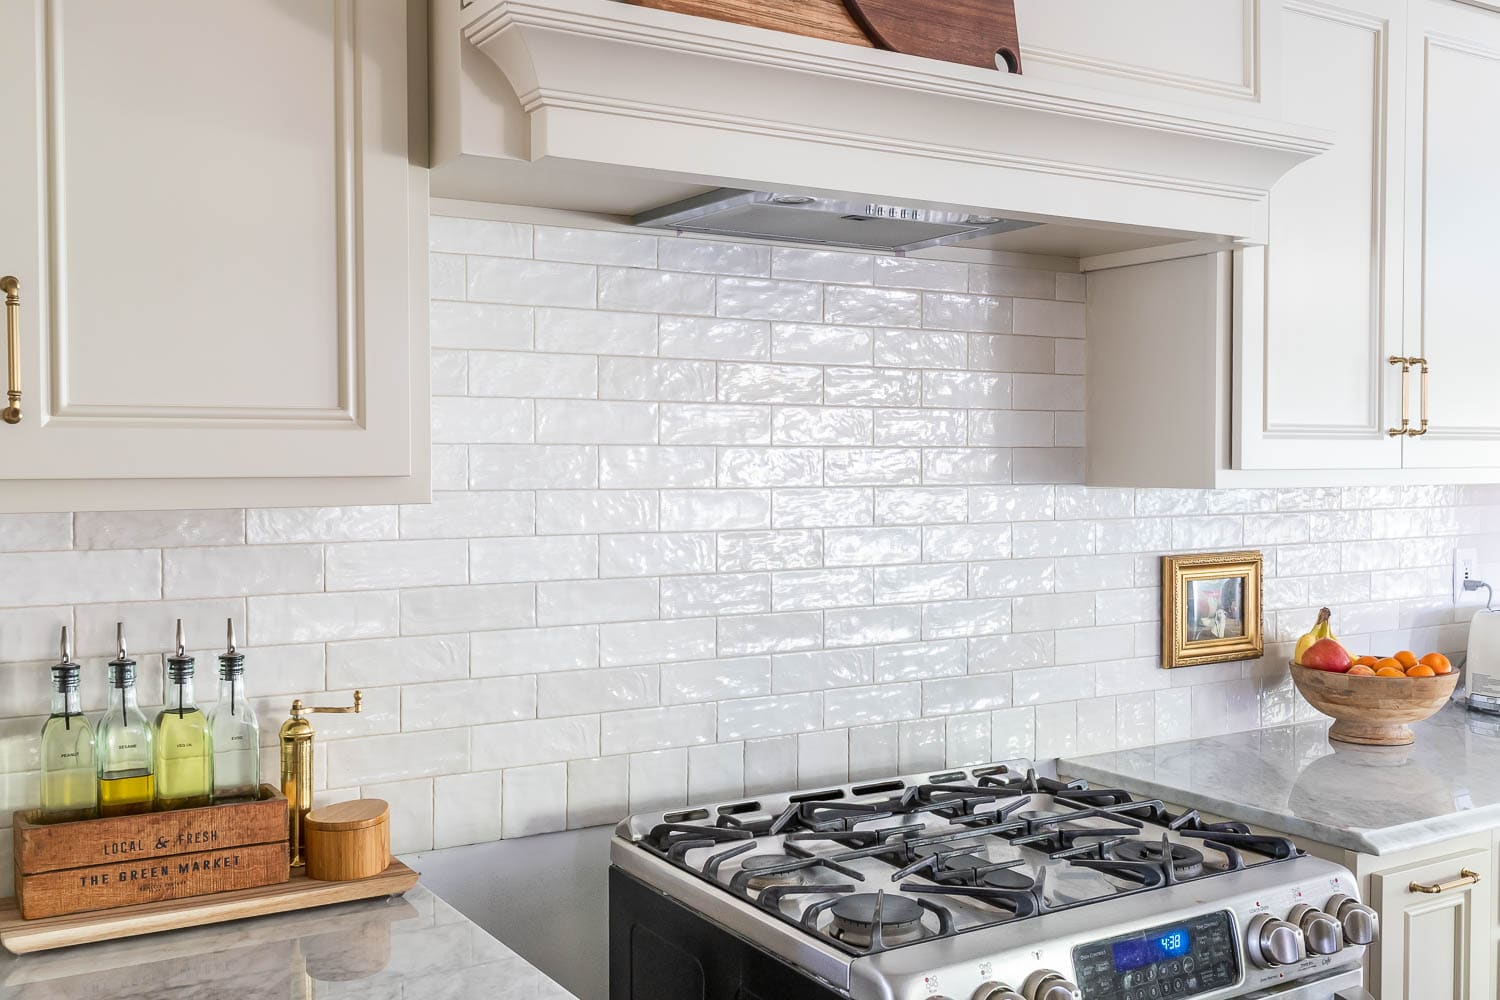
When it comes to tiling a backsplash in your kitchen, the most important decision you will make is the material you use. From glass to ceramic to stone, there are a variety of choices available to suit every style and budget. Glass tiles are a popular choice for their reflective properties and easy maintenance. Ceramic tiles are a great option for their affordability and wide range of colors and patterns. Natural stone tiles offer an elegant look and are perfect for a more traditional kitchen. Whichever material you choose, make sure it complements the overall look of your kitchen. When choosing the size of your tiles, consider the size of your backsplash and the effect you want to achieve. Smaller tiles will create a more intricate pattern while larger tiles will give a more seamless look. Finally, consider the grout color. Neutral colors such as white and grey will blend in with the tiles while brighter colors can add a pop of contrast.
Measuring and Marking the Area
When it comes to tiling a backsplash in your kitchen, the most important step is to measure and mark the area before you start. Accurately measuring the area that you plan to tile will ensure that the tiles fit correctly and look aesthetically pleasing when finished. To measure the area, use a tape measure to measure the height and width of the backsplash. When marking the area, use a pencil to lightly draw a line where the tiles will be cut. This will make it easier to cut the tiles to size. Make sure to double check your measurements to ensure accuracy. Once you have the measurements and area marked, you are ready to start tiling.
Cutting and Fitting the Tiles
Tiling a backsplash in a kitchen can be a challenging but rewarding task. Knowing how to cut and fit the tiles is an essential part of the process. Before beginning, it’s important to measure the area and plan the layout of the tiles. When it comes to cutting tiles, a wet saw is the most efficient and accurate tool. This saw will make clean, straight cuts and allow you to adjust the depth of the cut to fit the material. Depending on the type of tile, a manual tile cutter can also be used, although it is not as precise as a wet saw. Once the tiles are cut, they need to be fitted. This can be done by using a thin-set mortar or adhesive to attach the tiles to the wall. For a professional finish, grout should be applied between the tiles to fill any gaps. Taking the time to properly measure, cut, and fit the tiles will ensure that your backsplash looks great and lasts for years to come.
Spreading and Finishing the Grout
Installing a kitchen backsplash is a great way to add some style and personality to your kitchen. The last step in this process is to grout the tiles. Grouting is the process of filling the spaces between the tiles with a mortar-like material to form a seal. Doing it right is essential to ensure that your backsplash is sealed and looks its best.
To begin, you will need to mix the grout according to the manufacturer’s instructions. Spread the mixture into the joints between the tiles, being sure to work it into all the corners. After the grout has been applied, you must let it sit for at least 10 minutes before you start to clean the excess off the surface of the tiles.
Using a damp sponge, gently wipe away the excess grout. It is important to wipe the grout in a circular motion to ensure that the grout lines are even. Be sure to rinse the sponge often to prevent the grout from drying onto the tiles. Once the excess has been removed, allow the grout to dry completely before sealing it with a sealant.
By following these steps, you will be able to successfully tile and grout your kitchen backsplash. With a little bit of patience and hard work, you will be rewarded with a beautiful backsplash that will be the envy of your friends and family.
Sealing the Grout
When it comes to tiling a backsplash in your kitchen, sealing the grout is one of the most important steps. Grout is a porous material, so it is essential to ensure that it is properly sealed to prevent moisture and dirt from seeping in. Sealing the grout helps to create a protective barrier that will keep your backsplash looking great for years to come. Sealing the grout also adds a layer of protection against any potential water damage.
The process of sealing grout is simple, but it does require skill and attention to detail. Before you begin, make sure that the grout is completely dry. If you don’t allow the grout to dry completely, the sealant won’t be as effective. Apply the sealant in thin, even coats, using a clean brush or roller to ensure that the grout is completely covered. Allow the sealant to dry for the recommended amount of time before applying a second coat. Once the sealant has dried, it should have a glossy finish. If it doesn’t, apply a third coat. With proper sealing, your tiled backsplash will look great for years to come.
Cleaning and Maintaining the Backsplash
A clean and well-maintained backsplash is essential for the aesthetic beauty of a kitchen. To ensure a clean and gleaming backsplash, it is necessary to regularly clean it and keep it free of dirt and grime. Cleaning a backsplash is not a difficult task, but proper maintenance is essential to keep it looking new.
To clean your backsplash, use a damp, soft cloth with warm, soapy water to wipe away any dirt or grime. Be sure to rinse the cloth often and avoid using scrubbing pads or abrasive materials that can scratch the tile. Once the tile is thoroughly cleaned, use a sealant or a special tile cleaner to protect the tile from future staining.
To keep your backsplash looking its best, it is important to periodically reseal the tile. This will help keep the tile looking new and will protect it from moisture and dirt. When resealing, be sure to use a sealant specifically designed for tile and follow the manufacturer’s instructions carefully. Lastly, regularly use a mild soap and water solution to remove any residue and maintain a clean and gleaming kitchen backsplash.
Troubleshooting Common Issues
Tiling a backsplash in your kitchen can be a fun and rewarding DIY project, but it can also come with its fair share of challenges. From dealing with grout residue to ensuring an even coverage and neat finish, there are a number of common issues that can arise when tiling a backsplash. Fortunately, these issues can easily be solved with a few simple troubleshooting tips.
To start, make sure that you are using the right type of tile adhesive for your backsplash. Too often homeowners choose the wrong type of adhesive, leading to a less-than-desirable finish. Additionally, make sure that you are using the right amount of adhesive and that you are waiting the proper amount of time for it to set.
Another issue that often arises when tiling a backsplash is uneven coverage. To avoid this, take your time when laying the tiles and make sure that you are regularly checking the levels and adjusting them as necessary. If your tiles are unevenly spaced, you can use spacers to ensure that the gaps between the tiles are consistent.
When it comes time to grout, make sure that you are using a grout that is suitable for your type of tiles. Additionally, make sure that you are using the right amount of grout and that you are scraping away any excess grout. Finally, make sure that you are allowing the grout to dry and that you are thoroughly cleaning off any residue that may be left behind.
Tiling a backsplash in your kitchen can be a fun and rewarding project, but it can also come with its fair share of challenges. With a few simple troubleshooting tips, however, you can easily overcome the common issues that may arise during the tiling process.
Conclusion
Tiling a kitchen backsplash is a great way to add a touch of style to your kitchen. With a few basic tools and materials, you can make a big impact on the look and feel of your kitchen. While the process can be a bit intimidating at first, with a little patience and guidance, you can easily tile a beautiful backsplash that will last for years to come.

