If you’ve ever experienced a leaky kitchen faucet with two handles, you know how annoying and costly it can be. Fortunately, fixing a leaky two-handle kitchen faucet is not as difficult as it may seem. With a few simple tools and a little bit of patience, you can easily repair your leaky faucet and get it back in working order in no time. This guide will walk you through the steps necessary to fix your leaky two-handle kitchen faucet.
Identifying the Problem
Leaky kitchen faucets can be a pesky problem for many homeowners. If your kitchen faucet has two handles, the process of fixing it can be a bit more complicated. The two handles control the temperature of the water flow, and the fix depends on identifying the cause of the leak. First, you should remove the handle covers and check the screws for any signs of corrosion or damage. Additionally, you can check the valve stem and the stem washer to look for any signs of damage or wear. If it needs to be replaced, you will also need to replace the washer. Lastly, you can check the spout for any signs of damage, such as cracks. If the spout is cracked, you will need to replace it. With all of these steps, you can identify and fix the cause of the leak.
Gathering Necessary Tools and Supplies
Having a leaky kitchen faucet with two handles can be incredibly frustrating, and it’s important to address the issue as soon as possible. If you’re ready to tackle the repair yourself, you’ll need to gather the necessary tools and supplies. Start by obtaining a repair kit, which should contain all the parts you need to replace the faucet. You will also need a flathead screwdriver, adjustable wrench, and emery cloth. It’s also a good idea to have a bucket on hand to catch any water that may leak out while you’re working. Finally, make sure you have a cloth to wipe away any messes. Once you have all the necessary supplies, you’re ready to start repairing your two-handle kitchen faucet.
Shutting Off Water Supply
Having a leaking kitchen faucet is a common problem, but it can be easily fixed with the right tools and instructions. The first step in fixing a leaking kitchen faucet’s two handles is to shut off the water supply. Depending on your model, you may need to shut off the main water supply for the entire house. Alternatively, you may be able to shut off the water to just the faucet by turning off the valves at the base of the faucet. To ensure that all the water is off, open the faucet and allow the water to drain out completely. Once you’ve shut off the water supply, you can begin the process of repairing the faucet.
Removing the Existing Faucet
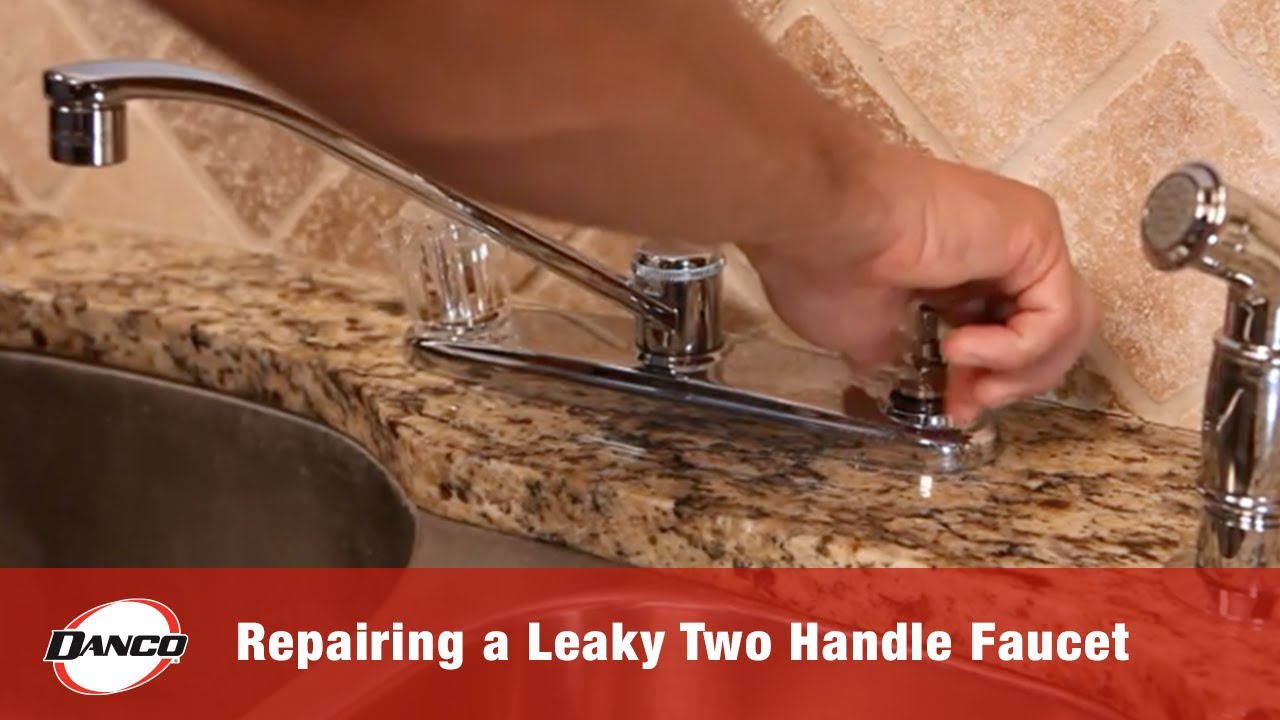
Leaky faucets are an annoyance that can cause major damage to your kitchen if not taken care of. If your kitchen faucet has two handles, the fix can seem daunting, but the good news is that it can be done without professional help. Fixing a leaky kitchen faucet with two handles is a fairly simple process, and the first step is to remove the existing faucet.
Before beginning, make sure to shut off the water supply to your faucet. Taking the faucet apart can be messy, so it’s best to lay down towels to protect your countertops and floors. With the water supply turned off, use a basin wrench to loosen the nuts that secure the faucet to the sink. Once the nuts are loose, you can use a flathead screwdriver to carefully pry the faucet off the sink.
It is important to be gentle while removing the faucet, as any force can damage the sink. Once the faucet is off, use a damp cloth to wipe down the area where the faucet was attached. This will remove any excess debris and make it easier to install the new faucet. Be sure to keep track of all the pieces you remove, as you will need them for reinstalling the new faucet.

Installing the New Faucet
Installing a new faucet can be a relatively straightforward process. However, if you’re not confident you can do it yourself, it’s best to have a professional do it for you. After you’ve purchased the right faucet and gathered the necessary tools, you’ll be ready to get started. Start by checking the area where the faucet will be installed. Make sure it is clean of dirt and debris. Next, shut off the water supply and loosen the shut-off valves. Disconnect the water supply lines and remove the old faucet. Then, check the new faucet for any damages. Install the faucet and connect the water supply lines. Finally, open the shut-off valves and turn on the water. Test the faucet and make sure it works correctly. You should now have a functioning two-handle kitchen faucet.
Reconnecting the Water Supply
Reconnecting the water supply is the final step in fixing a leaky kitchen faucet with two handles. This process is relatively simple, but it is important to get it right to prevent further problems. First, make sure the water supply is turned off. Then, remove the old supply lines and connect the new supply lines. Make sure to use a wrench to secure the connection and use Teflon tape to help create a watertight seal. Finally, turn the water supply back on and check for any leaks. If everything is working properly, your leaky faucet should be fixed!
Finishing Up with Cleanup
With a successful and complete repair of a two-handle kitchen faucet, the job is not done until the area is cleaned up. This is an important step in the repair process and should not be overlooked. After all the tools and parts are put away, clean the faucet handles and the sink itself. Make sure to use a cleaner that is safe for the sink material and won’t damage the finish. Clean any debris or dirt that has accumulated in and around the area, and wipe away any water that may have been spilled during the repair. Finally, check the faucet for any leaks or drips, and make sure it is operating properly. Now you can bask in the satisfaction of a job well done.
Conclusion
Fixing a leaky kitchen faucet with two handles can be a daunting task. However, with a few simple tools and the right instructions, you can easily repair the faucet and save yourself time, money, and a lot of frustration. Make sure to turn off the water supply before disassembling the faucet and always check for any signs of corrosion or damage. If there are any issues, it is best to call a professional to repair the faucet for you.

