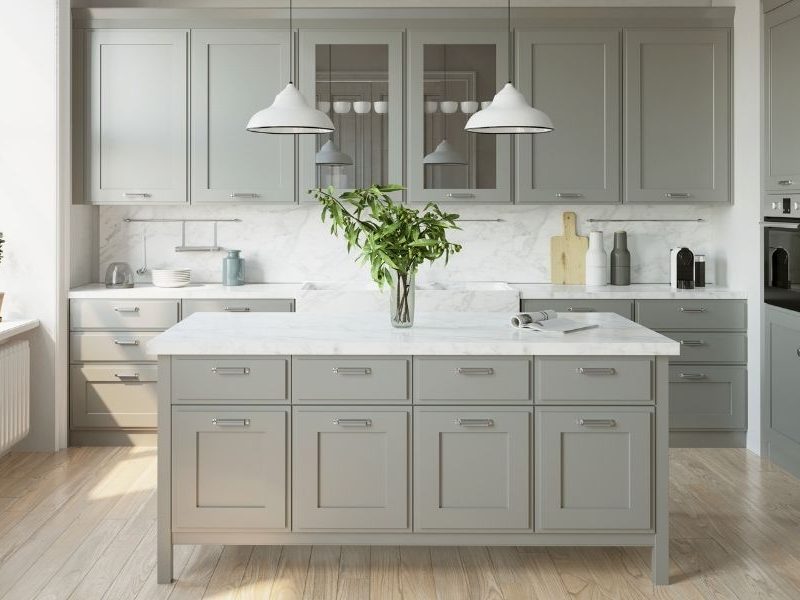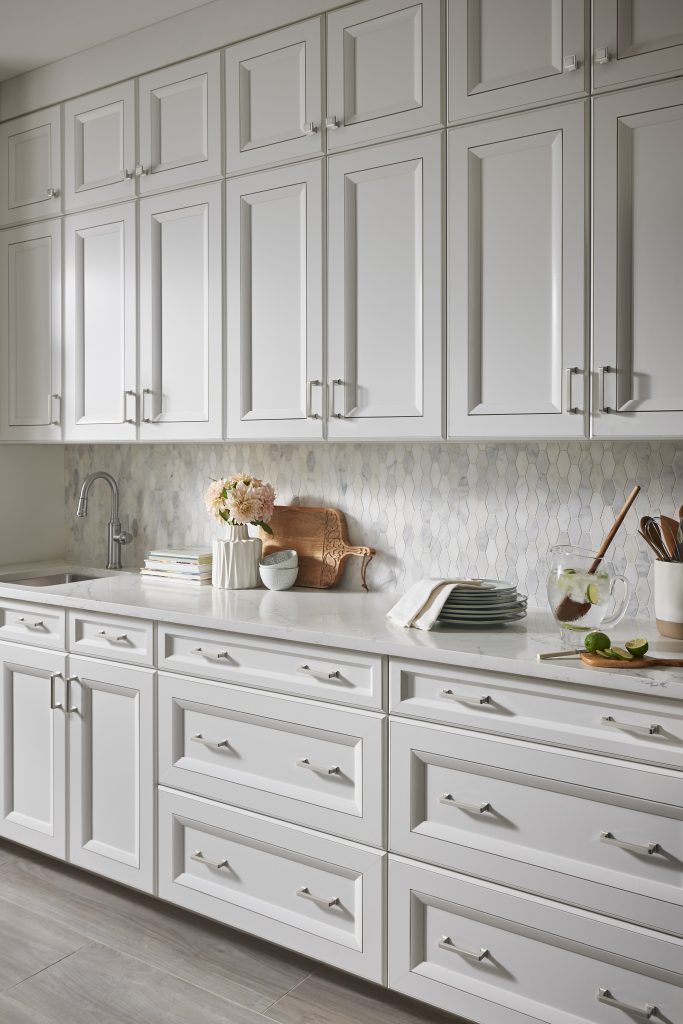
Installing new handles on your kitchen cabinets is a great way to give your kitchen a fresh look and increase the overall value of your home. With a few simple steps, you can easily update the look of your cabinets and give your kitchen a more modern feel. This guide will provide you with instructions on how to install handles on your kitchen cabinets.
Tools Needed
When it comes to installing handles on kitchen cabinets, the right tools can make all the difference. From an electric drill to a screwdriver, certain tools are essential for completing the job correctly. Here is a list of the tools you will need to properly install handles on kitchen cabinets:
Electric drill: An electric drill is the most important tool you will need to install handles on kitchen cabinets. With the right bit, you can easily bore or countersink holes for the screws.
Screwdriver: A screwdriver is necessary for attaching the handles to the cabinets. You will need a Phillips head screwdriver, or a flathead screwdriver depending on the type of screws used.
Level: To ensure your handles are properly aligned and level, it is important to use a level. The level will help you make sure the handle is installed straight and centered on the cabinet.
Measuring tape: Before drilling any holes, it is important to measure the area where the handle will go. This will help you ensure that the handle is properly placed.
Pencil: A pencil is important for marking the exact spot where the handle will be mounted. Marking the spot with a pencil will help you ensure that the handle is placed in the right spot.
With the right tools, you can easily install handles on your kitchen cabinets. Make sure you have all the necessary tools before beginning the project, and you will be able to complete the job with ease.
Preparing the Cabinets
Preparing your kitchen cabinets for the installation of handles is an important step in the process. To ensure that your handles are securely affixed to the cabinets, you must first take the time to make sure that the cabinets are properly prepped. Start by cleaning the cabinet surface with a damp cloth, making sure to remove any dirt, dust, or debris. Once the surface is clean, use a sandpaper or sanding block to roughen it up a bit, making it easier for the handles to adhere. You can also use a degreaser to remove any grease or residue from the surface. Afterward, it’s time to apply primer and paint to the cabinets, if desired, before finally attaching the handles. Following these steps will ensure that your handles are securely attached and will last for years.
Drilling Holes
Installing handles on kitchen cabinets is a great way to give your kitchen a remodel without having to spend a fortune. While it may seem like a daunting task, it’s quite simple and will only take a few tools and a few minutes of your time. The first step to installing handles on your cabinets is drilling holes.
Drilling holes for handles in kitchen cabinets is not as intimidating as it seems. With the right tools, it’s quite easy. First, you’ll need to measure the distance from the edge of the cabinet to the center of the hole you’ll be drilling. Use a measuring tape to get exact measurements. Once you have your measurements, mark the spot with a pencil. Next, use the drill with the appropriate bit size to make the holes. Once your holes are drilled, you’re ready to install your handles.
It’s important to note that if you’re drilling into a wooden cabinet, you should use a bit with a brad point tip. This will help prevent the wood from splintering. If you’re drilling into metal, use a high-speed steel drill bit. Keep in mind that the type of bit you use should correspond to the size of the handle screws you’re using.
By following these steps, you’ll be able to easily install handles on your kitchen cabinets. This simple DIY project can help you give your kitchen a fresh new look without having to break the bank.
Securing the Handles
Installing handles on kitchen cabinets is an easy task that adds a touch of elegance to any kitchen. However, it is important to take the necessary steps to ensure that the handles are securely installed. To begin, it is important to properly measure the size of the handle to ensure a proper fit. It is also important to consider the distance between the two handles and the cabinet door or drawer. Once the size and distance are determined, it is time to install the handle.
The first step is to mark the area on the cabinet door where the handle will be installed. After marking the area, the necessary holes must be drilled into the cabinet door. It is important to make sure the holes are drilled in the correct location and at the proper depth. Once the holes are drilled, the handle can be inserted and secured with screws. To ensure a secure installation, it is important to use the proper screwdriver and screws.
Finally, it is important to give the handle a final inspection to ensure a secure fit. By following the steps outlined above, you can easily install handles on your kitchen cabinets and enjoy the added aesthetic enhancements for years to come.
Finishing Touches
The finishing touches on your kitchen cabinets are just as important as the installation itself. Handles can add a unique touch to your cabinets and complete the look of the room. Installing handles on kitchen cabinets is easy with the right tools and a few steps. With these tips and tricks, you can easily install handles on kitchen cabinets like a pro.
Before getting started, you will need a few basic tools: a drill, drill bit, screwdriver, and screws. You’ll also want to measure your cabinets to make sure you get the right size handle. Once you have the handles and tools ready, you can begin the installation process.
The first step is to locate the screw holes online cabinets. If you’re installing a bar handle, you will need to drill two holes in the center of the cabinets. If you’re installing individual knobs or pulls, you will need to measure and mark where you need to drill the holes.
Once the holes are marked, you can start drilling. It is important to use the right drill bit for the material of your cabinets. Once the holes are drilled, you can place the screws in the holes and tighten them with a screwdriver. It is also a good idea to use a level to make sure the handles are installed straight.
Finally, you can attach the handles to the cabinet. Depending on the type of handle, you may need to use a special screwdriver or other tool to secure it in place. Once the handle is attached, your cabinets will be complete and ready to use. Installing handles on kitchen cabinets doesn’t have to be complicated; with the right tools and instructions, you can do it yourself with ease.
Troubleshooting Common Issues
Installing handles on kitchen cabinets can be a tricky process, but it doesn’t have to be. With the right materials, the right tools, and a little bit of patience, you can have your kitchen cabinets looking great in no time. However, some common issues can arise during the process. This article will provide some troubleshooting tips to help you get your kitchen cabinets looking their best.
One of the most common issues when installing handles is getting the screws in the right spot. To ensure that the handle is securely attached, it’s important to make sure that the screw is in the right place. If the screw is too long or too short, it won’t provide a secure hold. To make sure that the screw is in the right spot, use a ruler and measure the distance from the edge of the screw to the edge of the hole. If the measurement is correct, you can move on to the next step.
Another issue is making sure the holes are the right size. If the hole is too big, the handle won’t fit properly and could be loose. To make sure the hole is the right size, use a drill bit that is slightly smaller than the diameter of the screw. This will ensure that the screw fits snugly and provides a secure hold.
Finally, make sure that the handle is attached securely. If the handle is loose, this could cause it to be pulled off or break off completely. To ensure that the handle is secure, use a screwdriver to tighten the screws until they are firmly in place.
Maintenance and Care
When it comes to taking care of your kitchen cabinetry, proper maintenance is essential to keep your cabinets looking great and working optimally. Properly caring for your cabinet handles is an important part of this maintenance. Installing handles on your kitchen cabinets is an easy DIY job that can be done in a few simple steps. To properly install handles on your kitchen cabinets, you will need the right tools, the correct measurements, and the right steps.
Tools needed for installation include a drill, a drill bit, screws, and a screwdriver. To ensure a secure fit, you will need to measure the distance between the handleholesnd and the cabinet door. This will help you determine the correct size of the screws and the drill bit you need. Once you have collected all the necessary tools, you can start the installation process.
The first step is to pre-drill the cabinet doors with the appropriate size of the drill bit. You will then insert the screws into the pre-drilled holes, and use the screwdriver to tighten them securely. Finally, you can attach the handles to the screws. Make sure that they are installed securely and evenly, and that the screws are tightened firmly.
With the right tools and a few simple steps, you can easily install handles on your kitchen cabinets. This will not only give your cabinets an updated look but will also ensure that they are functional and secure. Taking a few minutes to properly install handles on your kitchen cabinets will help keep them well-maintained and looking great for years to come.
Conclusion
Installing handles on kitchen cabinets is a great way to add a modern touch to your kitchen and make it easier to open and close cabinets. Although the process may seem daunting, with the right tools and a bit of patience, anyone can install handles on their kitchen cabinets. With the right steps and a bit of practice, you can have your kitchen cabinets looking beautiful and easy to use in no time.