Removing an old kitchen faucet is a fairly simple task that can be done in a few steps. It is important to remember to turn off the water supply before attempting to remove the faucet. Once the water supply is turned off, you can begin to loosen the nuts that are securing the faucet to the sink. Take care not to damage the sink or countertop while doing so. After the nuts are loosened, you can then remove the faucet. Make sure to keep all the parts that were used to attach it to the sink so that you can use them again when you install the new faucet.

Identify the Type of Faucet
One of the most important steps when replacing a faucet in your kitchen sink is to identify the type of faucet you have. Whether you’re replacing a worn-out faucet or simply upgrading your kitchen, it’s important to know what type of faucet you have in order to properly remove it. Faucets come in several styles, from single lever to ball valve, so it’s important to identify the type of faucet you have before you begin the removal process.
Compression faucets are the most common type of faucet found in homes and are easily identifiable by two handles. You can remove a compression faucet by turning the handles counterclockwise to loosen the nuts that hold the faucet in place. Ball valve faucets are also common and have a single handle that can be rotated in any direction. To remove a ball valve faucet, you will need to use a wrench and unscrew the nuts that hold the faucet in place.
Cartridge faucets are the most modern type of faucet and are easily identifiable by their single handle. To remove a cartridge faucet, you will need to remove the handle and the cartridge underneath. The cartridge is usually held in place by a retaining clip, so you will need to remove the clip before you can access the cartridge. Once the clip is removed, you can unscrew the nuts that hold the faucet in place and pull out the faucet.
Identifying the type of faucet you have is essential when removing a faucet from your kitchen sink. With the right tools and knowledge, you can easily remove any type of faucet and replace it with a new one.
Gather Necessary Tools and Supplies
Removing a kitchen faucet can seem like an intimidating task, but with the right tools and supplies, it can be a relatively straightforward job. To get started, you’ll need a basin wrench, adjustable wrench, plumbers tape, and a new faucet. The basin wrench is specifically designed for reaching and loosening nuts and bolts in tight spaces, while the adjustable wrench is used to unscrew the faucet. Plumbers tape is a must-have for any plumbing job, and it helps to prevent leaks. Finally, make sure you have a new faucet ready to install once the old one is removed. Having all the necessary tools and supplies on hand will make the process of removing the faucet much easier.
Shut off the Water Supply
One of the most important steps when removing a faucet from your kitchen sink is to shut off the water supply. This is to prevent any water from coming out of the faucet after its removal. You can usually find the water shut-off valve underneath the sink. It is important to note that you must shut off both the hot and cold water supplies, as they are typically separate valves. Once the valves are turned off, you can begin to remove the faucet.
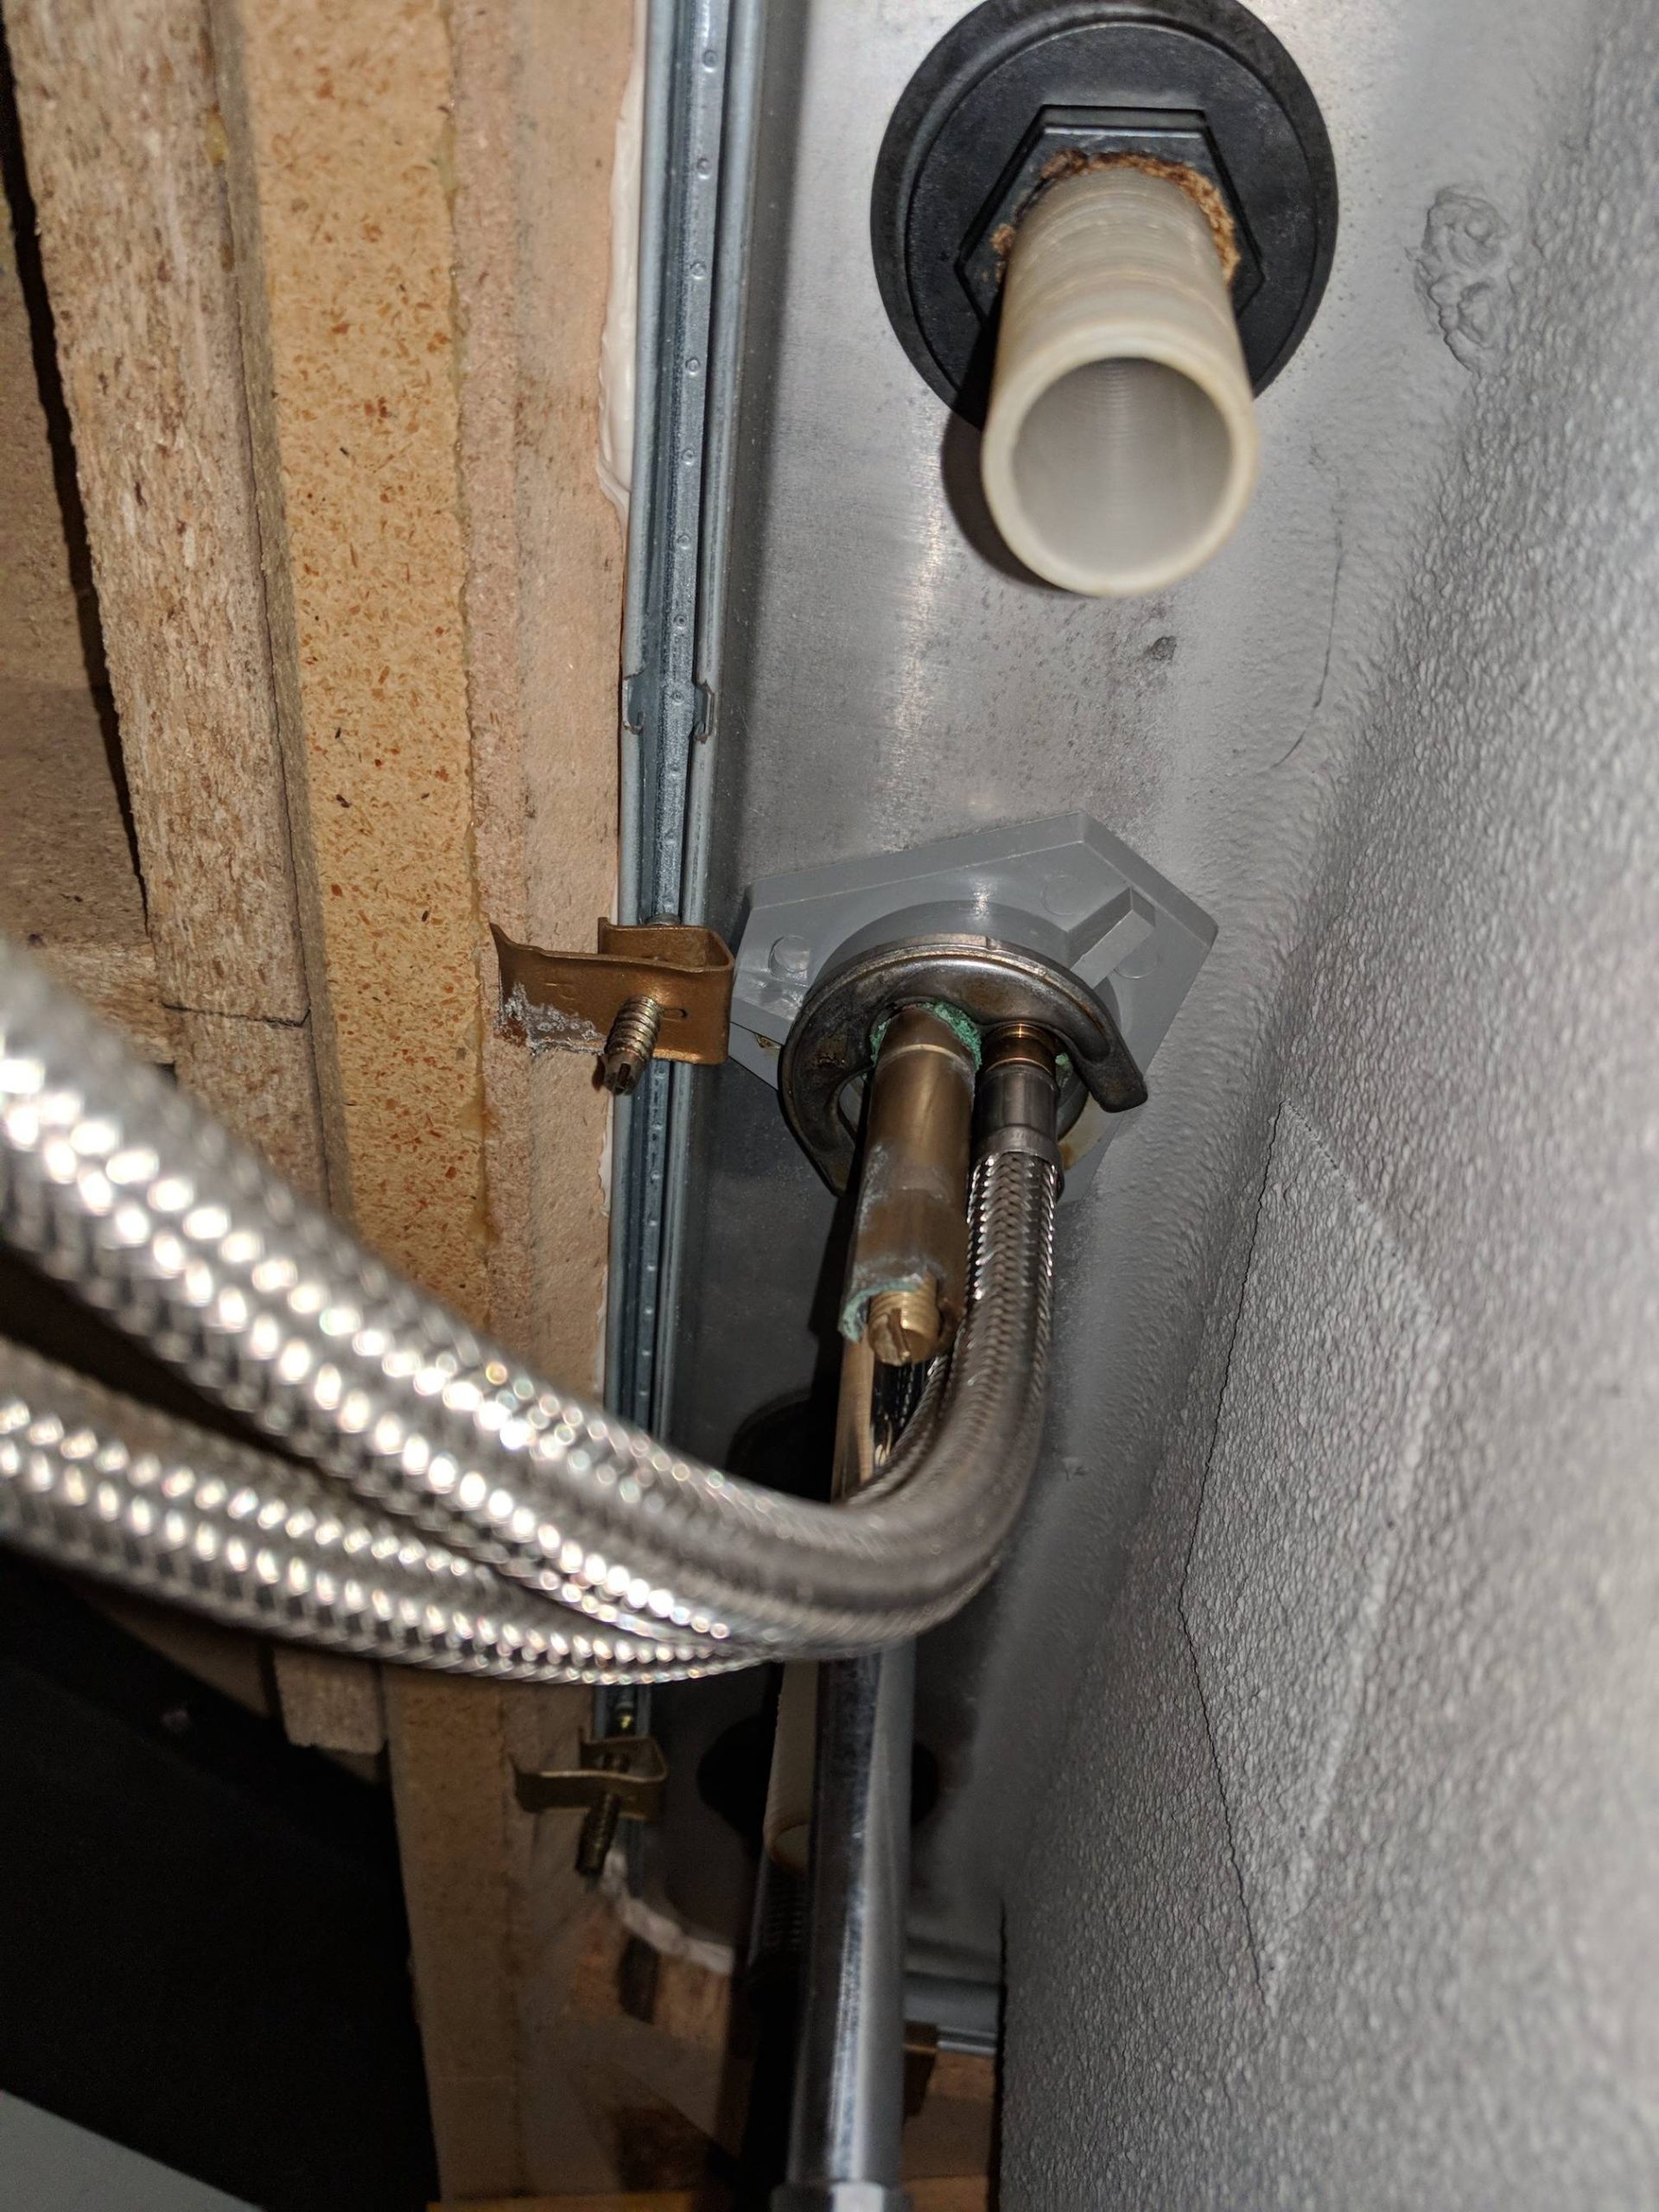
Disconnect Water Supply Lines
Removing a kitchen faucet is a relatively simple process that requires basic plumbing tools and a few minutes of your time. Before you begin, make sure that the water supply lines to the faucet are disconnected. Turn off the water supply valves and use pliers to unscrew the water supply lines from the faucet. Once the lines are disconnected, the faucet should easily come off the sink.
To make the job easier, apply some penetrating oil to the mounting nuts and allow it to sit for a few minutes before attempting to loosen them. Make sure to keep a bucket handy to catch any water that may have been left in the supply lines. Once the faucet is removed, you should be able to access and replace any parts that may be worn or damaged. Once the replacement parts are in place, reattach the water supply lines and turn the water supply valves back on.
Removing a kitchen faucet is a straightforward process that requires basic plumbing tools and a few minutes of your time. With the right tools and a little bit of know-how, you can easily remove the old faucet and replace it with a new one, without the help of a professional. This is a great way to improve the look and functionality of your kitchen sink.
Unscrew and Remove the Faucet
Removing a faucet from a kitchen sink is one of the most common repairs homeowners will face. It is a task that can be completed with a few basic tools and a bit of know-how. To begin, turn off the water to the sink and remove the handles and any escutcheon plates that may be in place. Next, use a basin wrench to unscrew and remove the faucet from the sink. Depending on the type of faucet and configuration, you may need to unscrew the nuts from the bottom of the faucet or the mounting plate at the top of the faucet. Disconnect the supply lines and set them aside. After the faucet is free from the sink, use a cloth to clean any debris or build-up from the area. Now you are ready to install the new or replacement faucet.
Clean Out the Sink
Removing a faucet from your kitchen sink can be a daunting task, but with the right tools and instructions, it can be done with ease and confidence. Before beginning the process, it’s important to clean out the sink to ensure the faucet removal process is as straightforward as possible.
To get started, gather supplies such as a bucket, sponge, and cleaning solution. Begin by thoroughly scrubbing the sink with the cleaning solution and sponge. After the sink has been cleaned, it’s time to move on to the faucet. Use a wrench to loosen the mounting nuts, and then grab hold of the faucet and lift it out of the sink. Carefully inspect the sink for any residual debris or dirt that may have been left behind, and then discard the faucet into a trash bag for disposal.
With a little bit of elbow grease and the right tools, removing a faucet from your kitchen sink is a surprisingly easy task. Cleaning the sink before beginning is key for a successful and efficient faucet removal. After completing the process, you’ll be one step closer to a fresh, new look for your kitchen.
Install New Faucet
Removing an old faucet from a kitchen sink and installing a new one can be an intimidating task for anyone who isn’t a professional plumber. Fortunately, it’s not as difficult as it may seem. With a few simple tools and the right technique, you can easily remove and install a new faucet in your kitchen sink. Here’s everything you need to know about how to remove a faucet from a kitchen sink and install a new one.
The first step is to turn off the water supply to the sink. Once the water is off, you can disconnect the supply lines from the existing faucet. Make sure to have a bucket or tray handy to catch any water that may still be in the lines. Then, unscrew the mounting nuts from the underside of the sink. This will allow you to remove the old faucet. Be careful not to damage the sink when removing the faucet.
Next, you can install the new faucet. Place the faucet in the sink and secure it in place with the mounting nuts. Then, connect the supply lines to the new faucet. Finally, turn the water back on and check for any leaks. Once you’ve verified that the faucet is securely installed and there are no leaks, you’re done!
Removing and installing a faucet in your kitchen sink can be a simple task as long as you have the right tools and the right technique. With these steps, you can easily remove an old faucet and install a new one.
FAQs About the How To Remove Faucet From Kitchen Sink
1. How do I remove my kitchen faucet?
Answer: To remove your kitchen faucet, you need to first turn off the water supply to the faucet. Then, use a pair of adjustable pliers to loosen the nuts that hold the faucet to the sink. Finally, pull the faucet away from the sink.
2. What tools do I need to remove a kitchen faucet?
Answer: To remove a kitchen faucet, you will need a pair of adjustable pliers and a wrench.
3. Is it difficult to remove a kitchen faucet?
Answer: Removing a kitchen faucet is not difficult, but it does require some basic plumbing knowledge and the right tools.
4. How do I know when the faucet is safely removed from the sink?
Answer: When the faucet is removed from the sink, you should be able to easily pull it away from the sink without any resistance.
5. Is it necessary to replace the faucet when I remove it?
Answer: Replacing the faucet is not necessarily required, however it is recommended to ensure that the new faucet will fit properly and function correctly.
Conclusion
Removing a faucet from a kitchen sink can seem like a daunting task, but with the right tools and some patience, it can be done quickly and easily. Start by disconnecting the water supply lines from the faucet, then remove the faucet mounting nuts underneath the sink. With the faucet loose, the faucet can be pulled out of the sink and the new faucet can be installed. With a few simple steps, you can have a new faucet in your kitchen sink in no time.

