Removing kitchen sink strainers can be an intimidating task, especially if you don’t have any experience with plumbing. However, with the right tools and a little patience, you can easily remove and replace any kitchen sink strainer. This guide will walk you through the process of safely removing a kitchen sink strainer, as well as how to reinstall it. With these tips, you’ll be able to keep your kitchen sink strainer in great condition and functioning properly.
Understanding Kitchen Sink Strainer Basics
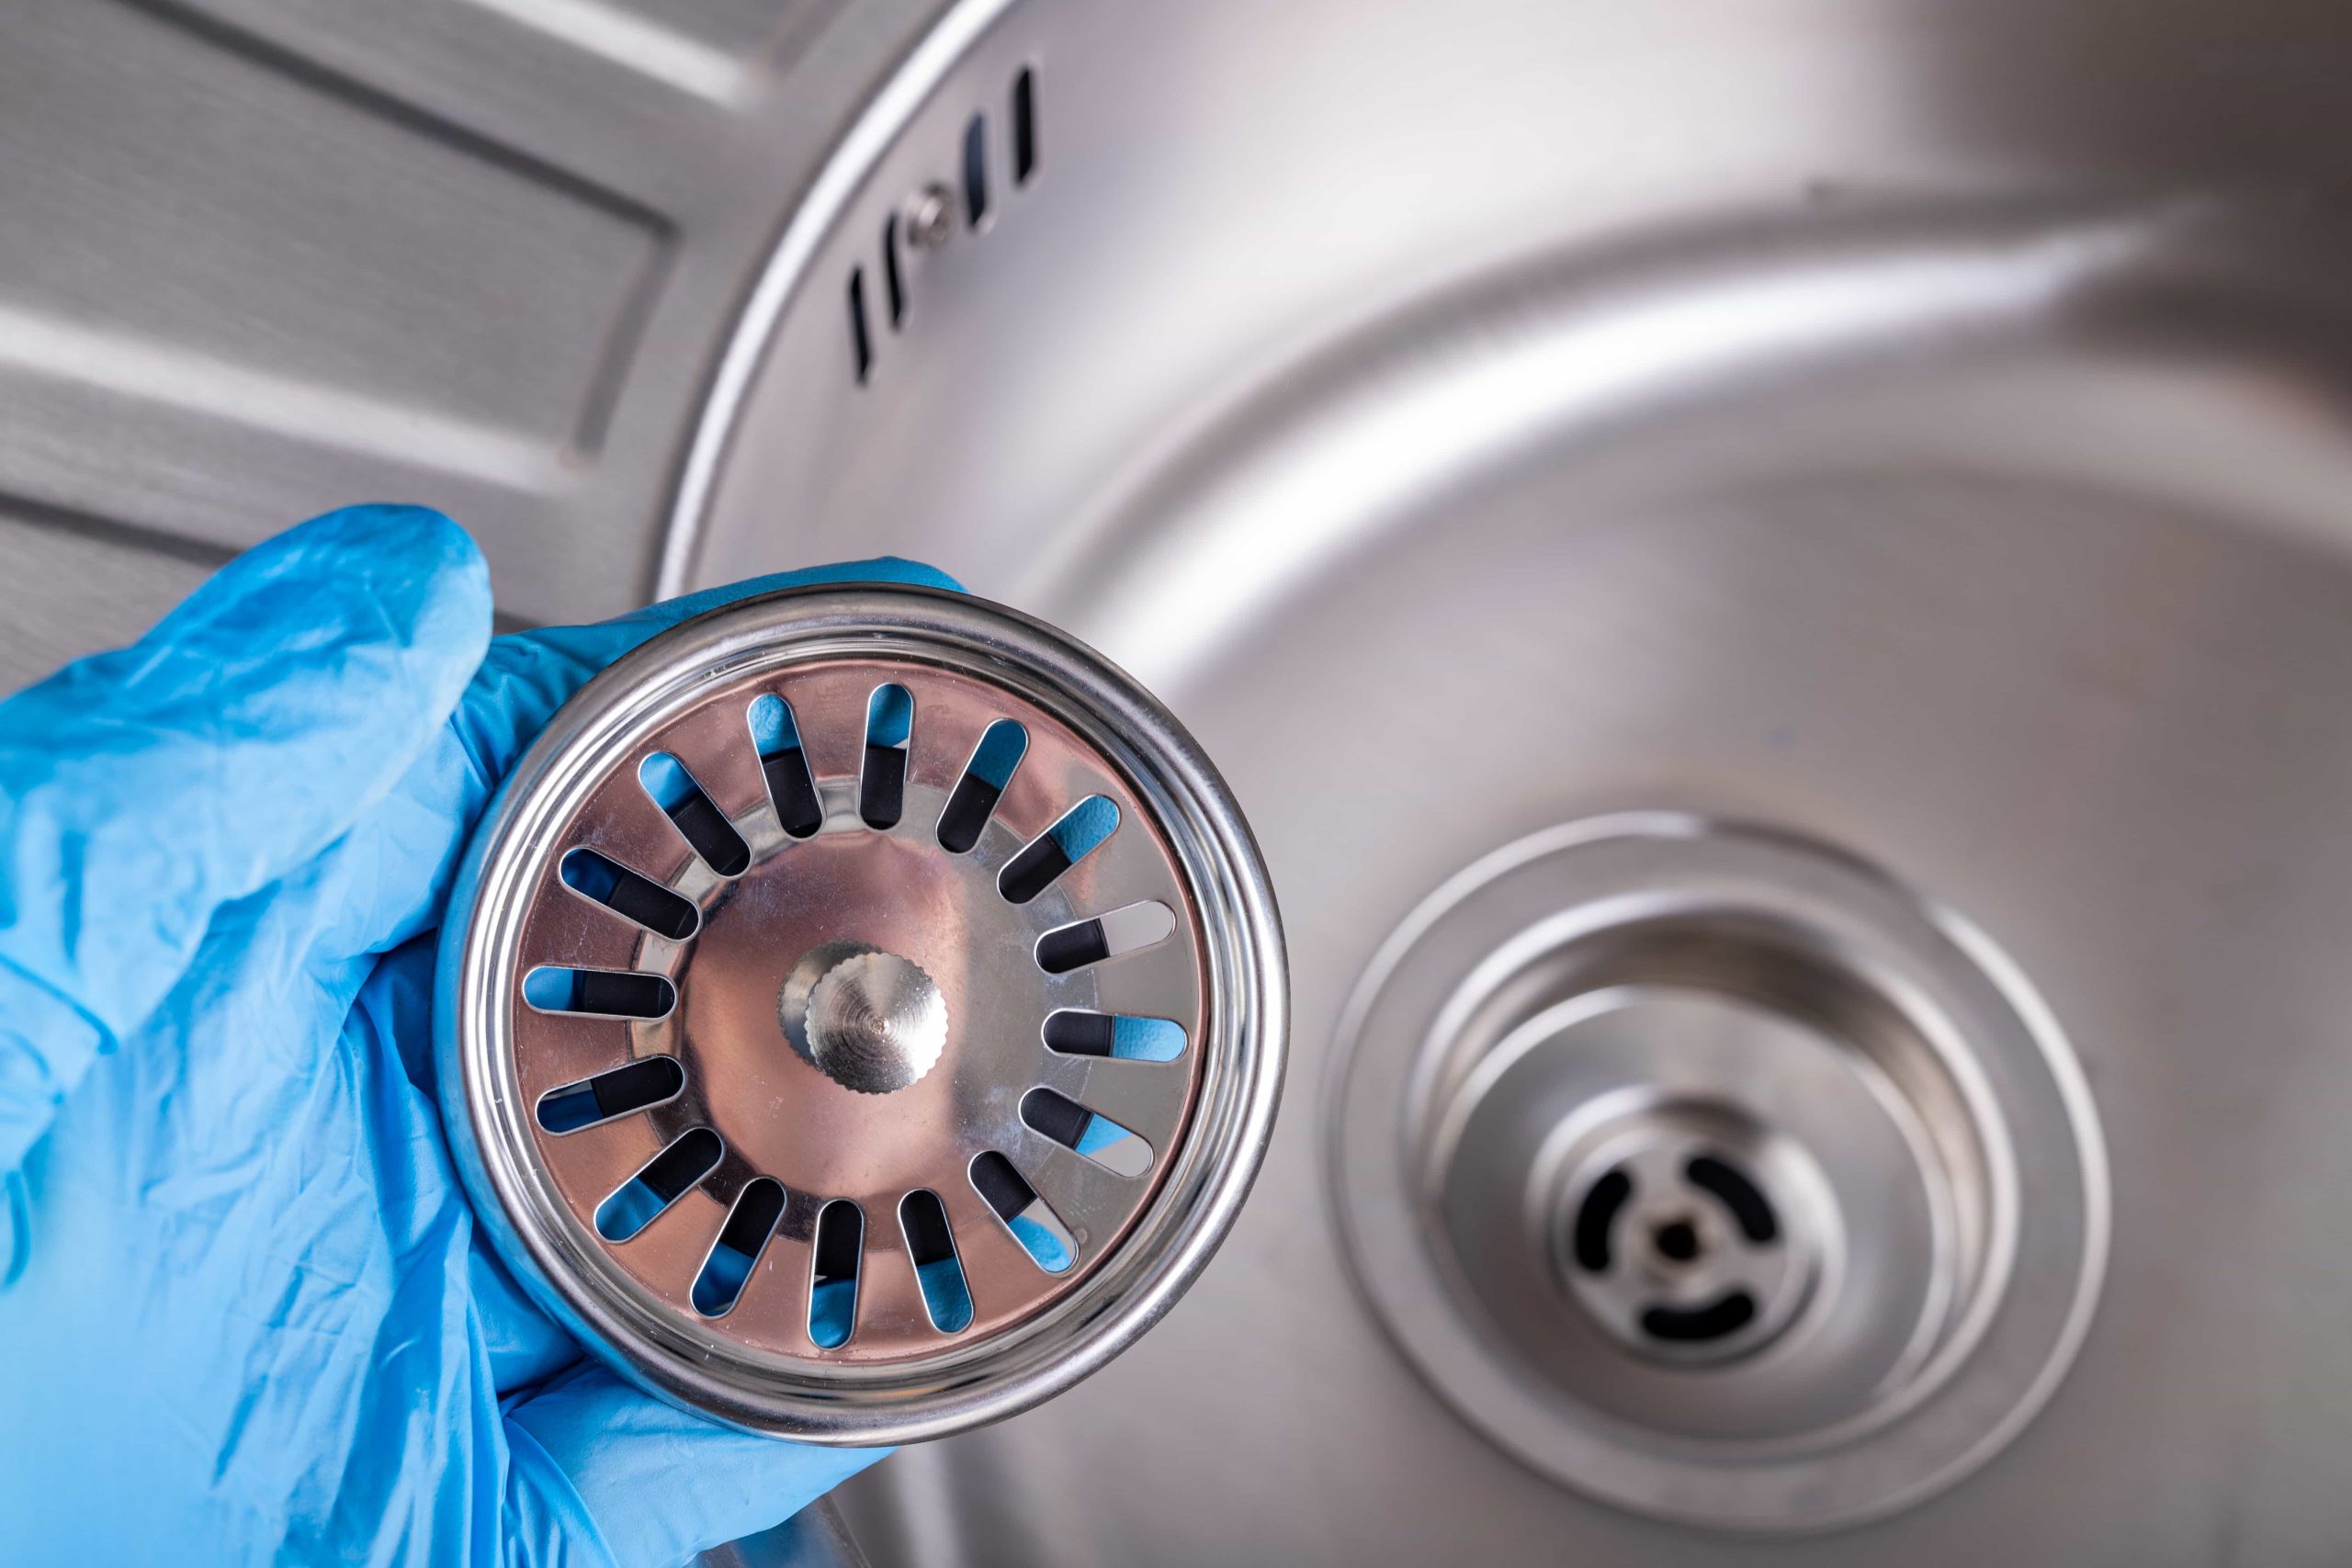
Removing a kitchen sink strainer is a relatively simple process, but it is important to understand the basics before attempting any type of plumbing work. A kitchen sink strainer is typically a metal or plastic mesh filter that fits over the drain opening of a kitchen sink. Its purpose is to prevent clogs by trapping food particles and other debris before they can enter the drainpipe. To properly remove a kitchen sink strainer, it is important to first understand its construction and the tools required.
The majority of kitchen sink strainers are made of metal or plastic and have a threaded nut on the underside that tightly secures the strainer to the sink bowl. To remove the strainer, you will need a pair of pliers or a basin wrench. Pliers are usually adequate for loosening the nut, but a basin wrench has a longer reach and is often more effective. Once the nut has been loosened, the strainer can be easily lifted out of the sink.
When removing a kitchen sink strainer, it is important to take precautions against potential plumbing issues. To avoid damaging the sink or strainer, never use excessive force and always turn the nut in a counterclockwise direction. Additionally, it is important to inspect the strainer for signs of rust or damage before re-installing it. If the strainer appears to be damaged, it is best to replace it with a new one.
By understanding the basics of kitchen sink strainer removal, homeowners can save time and expense by taking a DIY approach. With the right tools and a bit of knowledge, removing a kitchen sink strainer is a simple and relatively easy task.
Preparing to Remove the Kitchen Sink Strainer
Removing a kitchen sink strainer can be a tricky task. Before you begin, it’s important to make sure you have the right tools for the job. You’ll need a screwdriver, needle-nose pliers, and some lubricant. Additionally, you may want to wear protective gloves and eye protection to keep yourself safe.
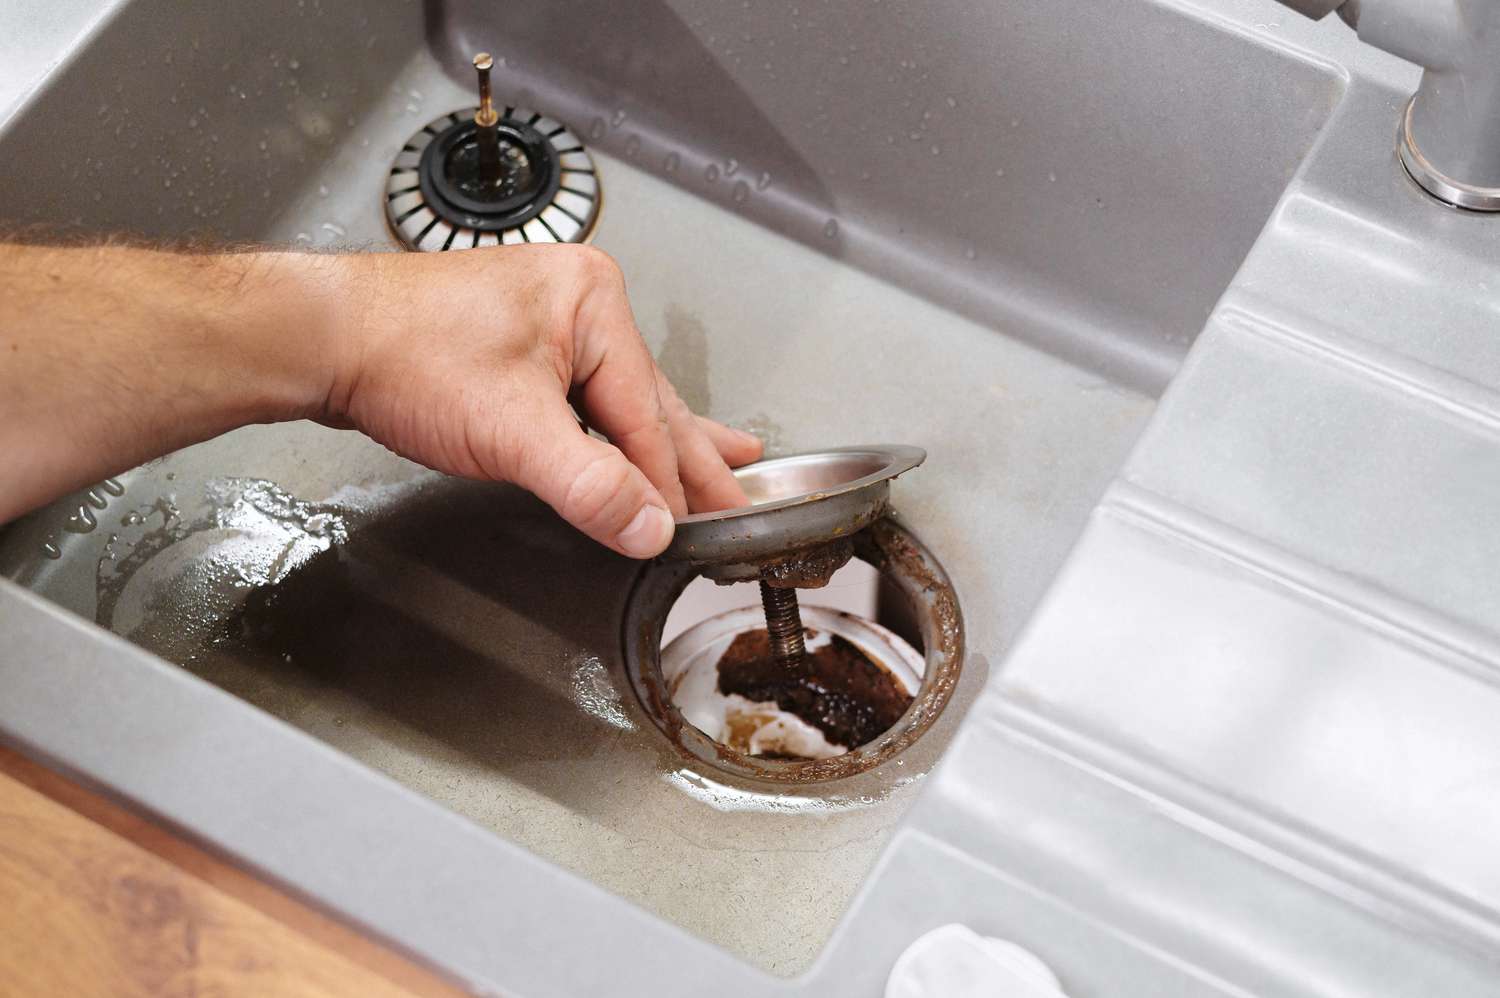
Once you’ve gathered your supplies, start by taking off the sink drain pipe. Unscrew the pipe from the sink drain, then remove it.
Next, take the pliers and begin to unscrew the nuts that hold the strainer in place. You may want to use the lubricant to help loosen the nuts. Once the nuts are off, you can pull the strainer out.
Now, it’s time to clean out the sink drain. Use a rag to wipe out any debris that has been collected in the drain. You may also need to use a wire brush to remove any remaining build-up.
Finally, you can replace the sink strainer. Place the strainer in the sink drain and re-attach the nuts. Then, screw the drain pipe back in place.
Now you know how to remove a kitchen sink strainer. With the right tools and a little bit of patience, you can easily tackle this project yourself.
Credit: www.thespruce.com
Removing the Kitchen Sink Strainer
can be a daunting task, especially for those who are not familiar with plumbing.
Removing a kitchen sink strainer is a relatively simple task, but one that can quickly become overwhelming if you don’t know what you’re doing. If you’re replacing an old kitchen sink strainer or just looking to give your sink a cleaning, taking out the strainer is the first step. To ensure a successful removal, it’s important to understand the type of strainer you’re dealing with and the tools you’ll need to complete the job.
In general, there are two types of kitchen sink strainers: a threaded strainer and a twist-off strainer. Threaded strainers are the most common; they are usually made of brass or steel and are held in place with a nut. To remove the threaded strainer, you’ll need a basin wrench and a pair of pliers. For a twist-off strainer, you’ll need a flat-head screwdriver and a pair of pliers. Once you have the proper tools, the process for removing either type of strainer is fairly straightforward.
Before you begin, make sure to shut off the water supply to the sink and prepare a bucket to collect any water or debris that may come out when the strainer is removed. Finally, make sure to wear protective gloves to protect your hands from sharp edges and any bacteria that might be present. With these steps in mind, you’ll be able to easily remove your kitchen sink strainer in no time.
Cleaning and Replacing the Kitchen Sink Strainer
When it comes to kitchen maintenance, one of the most important tasks is cleaning and replacing the kitchen sink strainer. A kitchen sink strainer is an essential piece of equipment that prevents unwanted debris from entering the drain, while still allowing water and other liquids to pass through. Cleaning the sink strainer is important to prevent the build-up of grease, food, and other materials that can clog the drain and cause problems. Replacing the strainer is also important to ensure the drain remains functioning properly.
To clean the strainer, use a brush and a mild detergent to scrub away any food particles or grease. After cleaning, make sure that the strainer is completely dry before replacing it. When replacing the sink strainer, be sure to use the appropriate size and type of strainer for the sink. Also, be sure to properly seal the strainer to the sink to prevent any water leakage.
In addition, it’s important to inspect the strainer regularly for any signs of wear or damage. If the strainer is cracked or broken, it’s important to replace it immediately. If the strainer is still in good condition, it should be replaced every few years to ensure it’s functioning properly.
By following these steps, you can ensure that your kitchen sink strainer will remain in good condition and will help prevent any problems with your sink. Cleaning and replacing the kitchen sink strainer is an essential part of maintaining a clean and functional kitchen.
Steps to Re-install Kitchen Sink Strainer
Step 1: Clear the Drain Opening. First, use a pair of pliers to remove any debris from the drain opening. This will ensure that the new strainer fits properly.
Step 2: Place the New Strainer. Secure the strainer into the drain opening, and use a screwdriver to tighten the screws.
Step 3: Connect the P-Trap. Connect the P-Trap to the strainer, and use the screwdriver to tighten the nuts.
Step 4: Test the Strainer. Test the strainer by running water through it to make sure that it’s securely in place.
Once you’ve completed these steps, your kitchen sink strainer should be properly installed and ready to use. With the right tools and materials, you can easily remove and re-install a kitchen sink strainer in no time.
Troubleshooting Common Kitchen Sink Strainer Issues
Troubleshooting common kitchen sink strainer issues can be a daunting task, especially if you’re not sure what to look for. Kitchen sink strainers are important for catching debris and preventing blockages in your pipes. Unfortunately, they can become clogged over time, leading to a range of annoying problems. Fortunately, there are several steps you can take to identify the issue and rectify it.
Inspect the strainer for any signs of damage or corrosion. If you can see any cracks or corrosion, it’s best to replace the strainer altogether. If the strainer is in good condition, then it may simply be clogged. To rectify this, you’ll need to remove the strainer and clean it. Unscrew the strainer basket and remove it from the sink. Then, use a brush to clean any debris that may have accumulated inside. Finally, replace the strainer and you should be all set.
If the strainer is still causing problems, it may need to be replaced. You can buy new strainers in any hardware store. Before replacing the strainer, make sure to measure the opening of the sink to ensure you’re buying the right size. After you’ve replaced the strainer, check to make sure that it’s securely in place. Then, run the water to make sure everything is working as it should.
By troubleshooting common kitchen sink strainer issues, you can easily identify and resolve any problems you may have. Remember to inspect the strainer for damage and corrosion, clean out any debris, and, if necessary, replace the strainer altogether. With a few simple steps, you can keep your kitchen sink functioning properly.
Tips and Tricks to Easily Remove Kitchen Sink Strainer
Having a clogged kitchen sink is never an enjoyable experience, and removing the kitchen sink strainer can often be a daunting task. To make the process much easier, it’s important to know the right tips and tricks to get the job done.
The first step in removing a kitchen sink strainer is to use a screwdriver to loosen the screws that hold it in place. If you’re having trouble getting them out, you may need to use a pair of pliers or a wrench to get them out. Once the screws are out, you can then pull the strainer out of the sink. If it’s been stuck for a while, you may need to use a little bit of force.
Once the kitchen sink strainer is out, you can then check for any build-up of debris that may be preventing the strainer from being removed. If there is any build-up, you’ll need to use a wire brush to remove it before you can re-install the strainer.
Once the strainer is clean and the build-up is removed, you can then reinstall the strainer back into the sink. To do this, you’ll need to use the same screws that you used to remove it. Make sure to tighten them firmly so that the strainer is securely in place.
By following these simple tips and tricks, you can easily remove the kitchen sink strainer and get your sink back in working order in no time. With the right tools and a little bit of patience, you can remove the strainer without too much difficulty.
Final Considerations for Removing Kitchen Sink Strainer
Once you have removed the kitchen sink strainer and cleaned out the sink, there are some final considerations to take into account. Always use caution when handling sharp objects or tools. Keep an eye on the pipes and make sure that water is draining properly, as a clogged drain could cause serious damage.
It is also important to make sure that all nuts, bolts, and screws are tightened properly when you are finished. Loose connections can lead to leaks and other plumbing problems. Be sure to seal the sink strainer with plumbers’ putty or a similar product. This will help to prevent water from leaking and help to keep the sink strainer in place.
Finally, it is always best to install a high-quality sink strainer. If you are replacing your existing strainer, try to find one that is of the same size and shape as the original. This will help to ensure a proper fit and optimal performance.
Removing a kitchen sink strainer may seem like a daunting task, but with the right tools and a few tips, it can be done quickly and easily. Taking the time to learn the steps and using the proper safety precautions can help make the process smoother and help avoid any potential problems.
Conclusion
Removing a kitchen sink strainer is a fairly easy task. All you need is a few basic tools and some patience. With a few simple steps, you can easily remove the strainer and replace it with a new one. Just remember to take your time and be careful when handling the strainer so you don’t damage any pipes or fittings. With the right tools and a little patience, you can easily remove a kitchen sink strainer in no time.

