Replacing a kitchen sink sprayer is a relatively simple DIY project and only requires basic tools. A kitchen sink sprayer is an important component of the sink and is used to rinse dishes, vegetables, and other items. With regular use, the sprayer can become damaged or worn out and need to be replaced. This article will provide you with step-by-step instructions on how to replace a kitchen sink sprayer. With the right tools and supplies, you can quickly and easily replace your kitchen sink sprayer and get back to using your sink in no time.
Identifying the Problem
Replacing a kitchen sink sprayer can often be a daunting task. It’s important to first identify the problem before attempting to replace it. Is the sprayer leaking? Is the sprayer not working properly? Is the sprayer too old and needs to be replaced with a new one?
It’s important to identify the issue at hand before taking any further steps. A leaking sprayer can be a sign of a larger issue, most often a blocked pipe or a faulty connection. If the sprayer is too old, it’s likely time for a replacement. To determine if the sprayer is working correctly, test it by running it in the sink and checking for any leaks or malfunctions.
Once the problem is identified, it’s time to move forward with the replacement process. To do this, it’s important to have the right tools and materials on hand, including a wrench, screwdriver, plumber’s tape, and a new kitchen sink sprayer. With the right tools and materials, you’ll be able to complete the replacement process quickly and safely.
Choosing the Right Replacement Sprayer
Replacing a kitchen sink sprayer is not as difficult as it may seem. However, it is important to make sure you choose the right replacement sprayer. Depending on your sink, the size and shape of the sprayer can vary greatly. Additionally, the sprayer should be compatible with the water pressure of your home. To ensure a proper fit, measure the size of your existing sprayer before making your purchase. Pay attention to the shape and size of the sprayer head, as well as the length of the hose. Additionally, make sure the sprayer has the necessary connections to hook up to your sink’s plumbing. Finally, consider the spray pattern of the replacement. Many sprayers offer a range of settings to choose from, so consider what type of spray pattern will work best for your needs. With all these factors in mind, you can now choose the right replacement sprayer for your kitchen sink.
Shutting off the Water Supply
Replacing a kitchen sink sprayer can be daunting, especially if you’ve never done it before. But no need to worry, with the right tools and the right information, it can be a relatively straightforward task. First things first, you’ll need to shut off the water supply. This is done by turning off the water shut-off valves located under the sink. Turning the valves clockwise will shut them off, which will prevent any water from flowing through the pipes and into the sink. Once the shut-off valves are off, you’ll be ready to move on to the next step of replacing the kitchen sink sprayer.
Removing the Old Sprayer
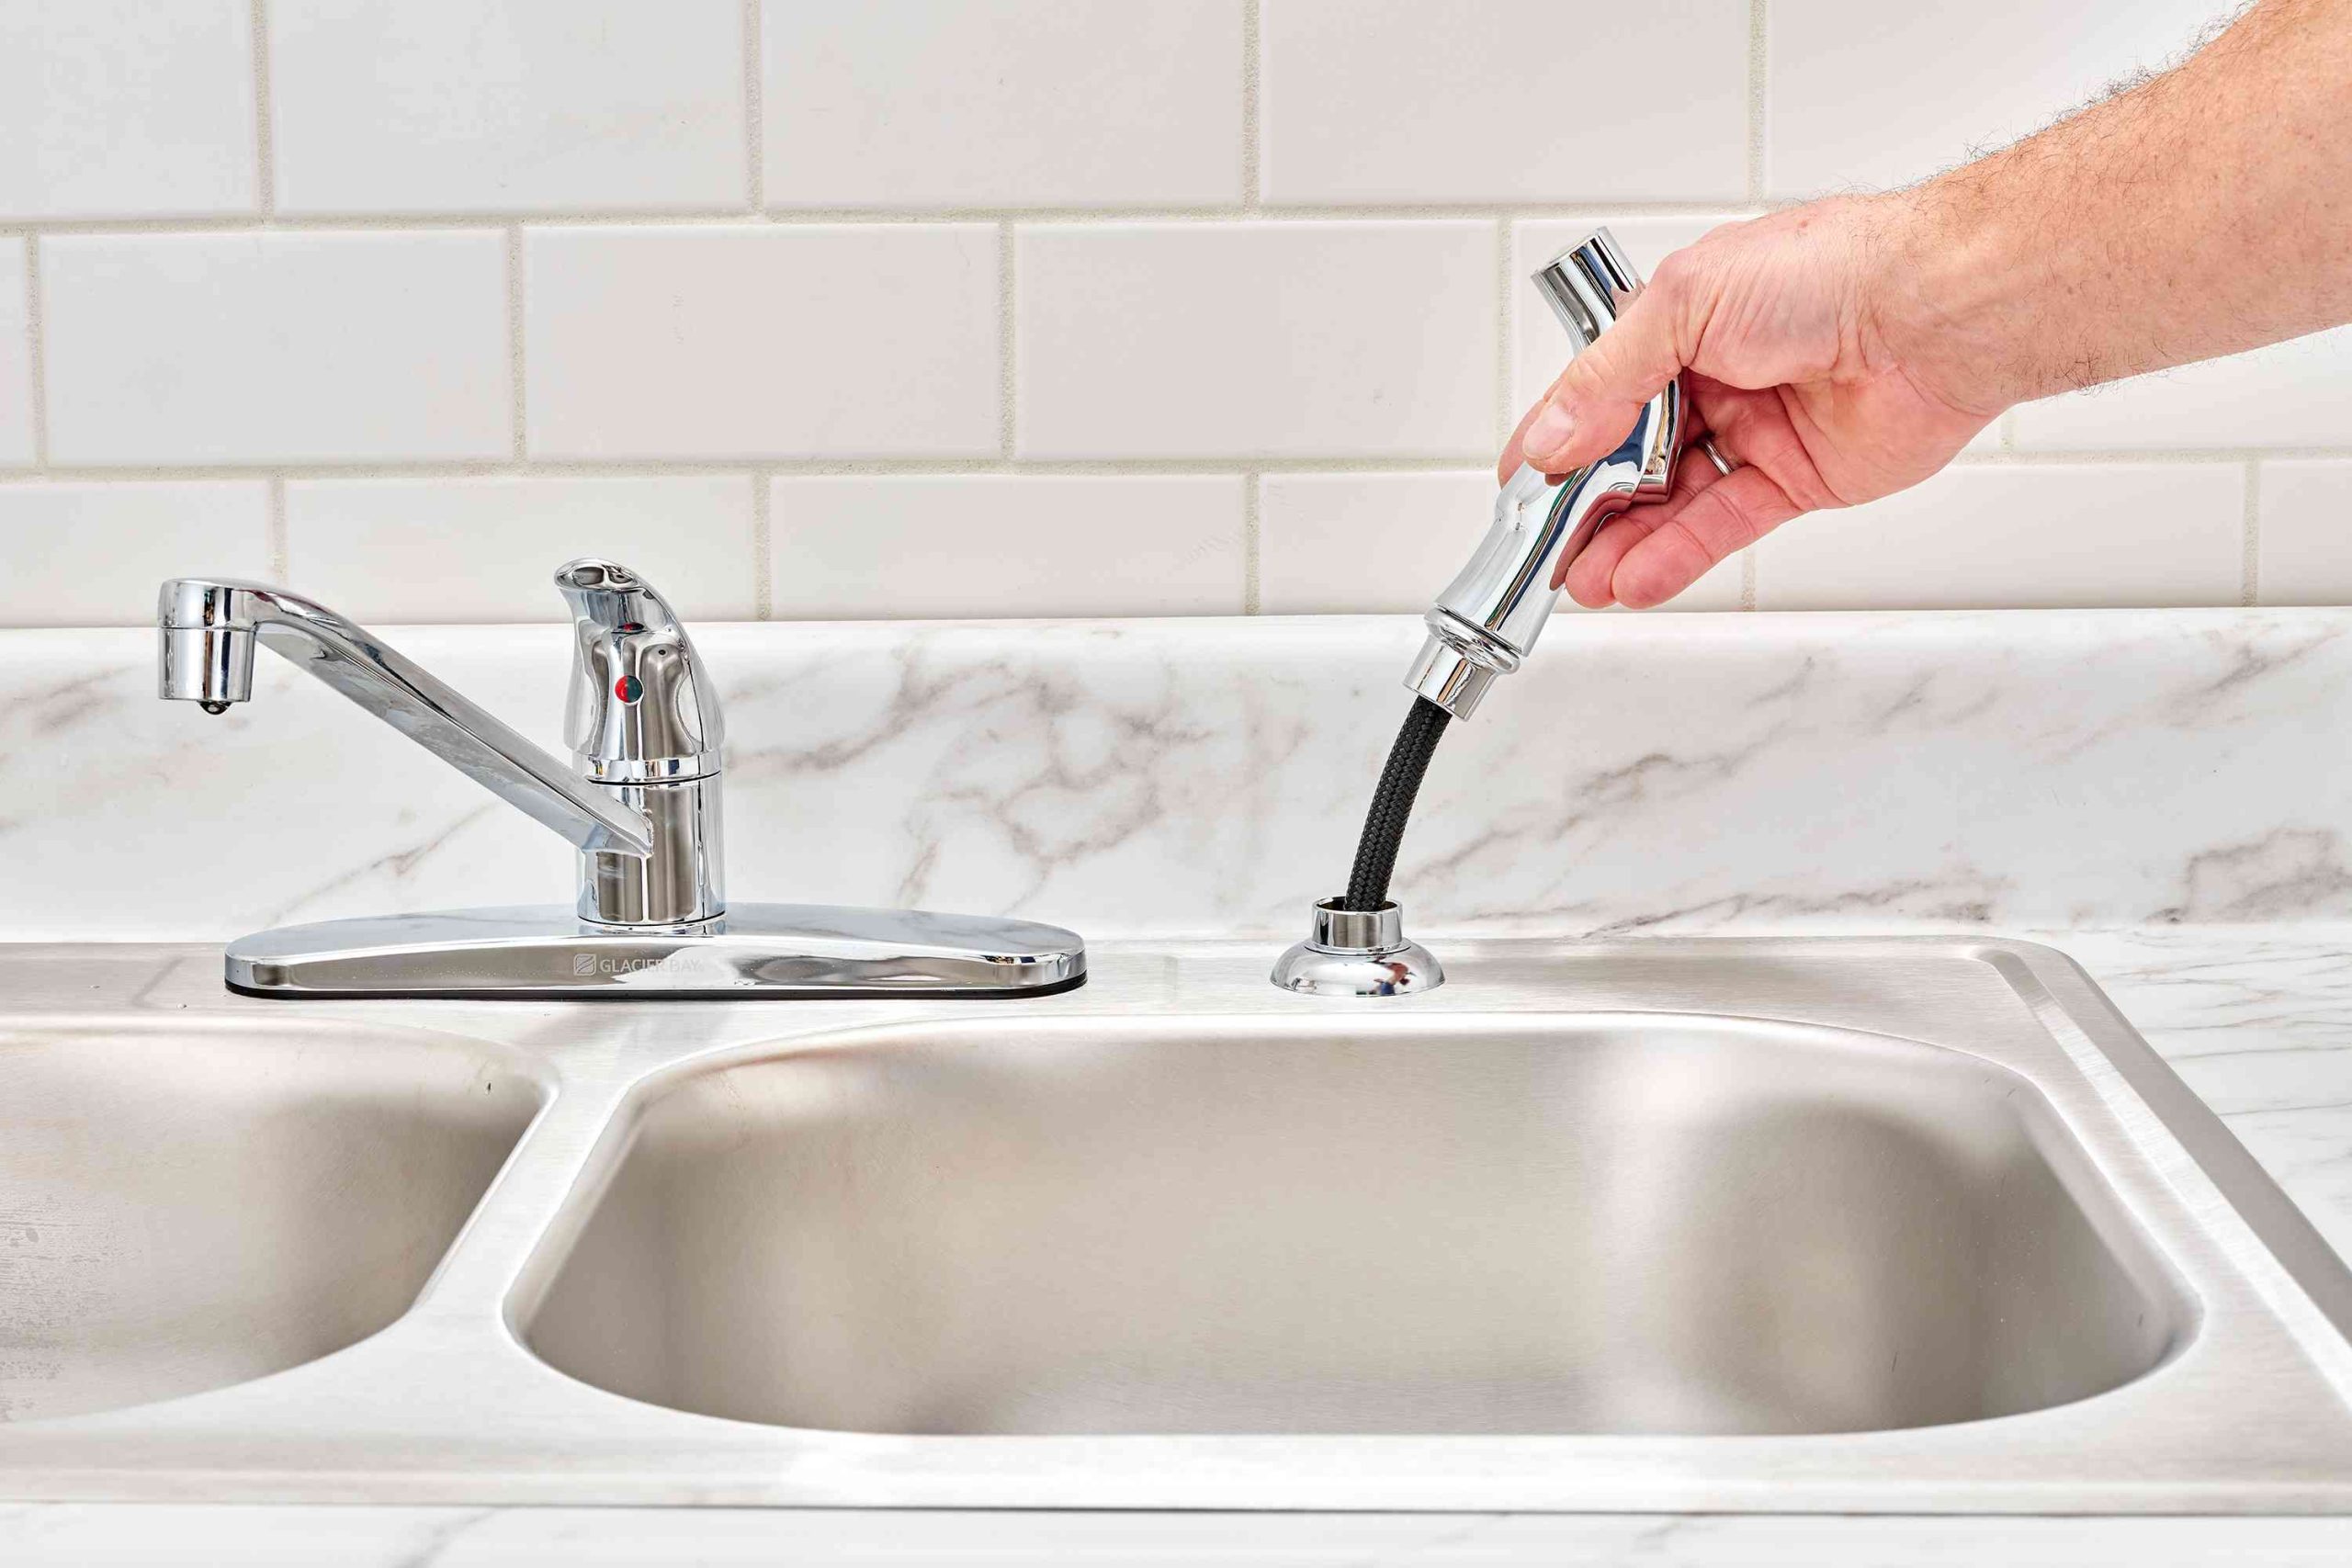
Replacing a kitchen sink sprayer is relatively easy, but it is important to take the right steps to ensure that it is done correctly. The first step is to remove the old sink sprayer. To do this, you will need to turn off the water supply to the sink, and then unscrew the sprayer hose from the faucet. If the sprayer is attached to a nut, you will need to use a wrench to loosen it. Once the hose and the nut are removed, the old sprayer should be easy to pull out of the sink. It is important to ensure that the old sprayer is completely removed before installing the new one. Be sure to dispose of the old sprayer properly, either by recycling or throwing it away. With the old sprayer removed, you are now ready to install the new one.

Installing the New Sprayer
Replacing a kitchen sink sprayer is a simple process that typically takes less than an hour to complete. Before beginning, make sure to gather the necessary tools, such as a pair of channel-lock pliers, a Phillips head screwdriver, and a wrench.
The first step is to turn off the water supply to the sink sprayer. This is typically done by turning off the shutoff valve, which is usually located beneath the sink. Once the water is shut off, disconnect the supply line from the shutoff valve.
To remove the old sprayer, unscrew the sprayer hose from the faucet arm, then unscrew the mounting nut that holds the sprayer in place. This should free the sprayer from the sink. Now, take the new sprayer and attach it to the sink by screwing in the mounting nut. Make sure to tighten the nut with a wrench or pliers.
Next, attach the supply line to the shutoff valve. Then, attach the sprayer hose to the faucet arm. Finally, turn the water supply back on and test the sprayer by turning on the faucet. With the right tools and a bit of patience, replacing a kitchen sink sprayer is a straightforward process.
Testing the New Sprayer
Installing a new sink sprayer can be a simple and cost-effective way to update an existing kitchen. Testing the new sprayer is an important step in ensuring that the installation is successful and that the sprayer is functioning correctly. To test the new sprayer, start by making sure the water is turned off and the sink is dry. Then, turn the water back on and check for any leaks. Next, turn the sprayer handle to make sure the water pressure is strong and that the sprayer head is working properly. Lastly, turn the sprayer handle to the off position and check for any leaks or drips. If everything is working correctly, the installation of the new kitchen sink sprayer is complete.
Tips for an Easier Installation
Replacing a kitchen sink sprayer can be a tricky task, but with the right tools, know-how, and a bit of patience, it’s a job that can be accomplished in no time. Whether you’re replacing the sprayer due to an issue with the existing one or just upgrading to a newer model, the process is fairly straightforward. To ensure an easier installation, here are several tips to keep in mind:
- Make sure you have the right tools – A wrench, pliers, towel, and bucket are the basic items you’ll need to complete the job.
- Turn off the water supply – Make sure the water supply is off before unscrewing the existing sprayer to avoid any potential mess or flooding.
- Clean the area – Use a towel to wipe down the area around the sink to ensure a clean surface.
- Follow the instructions – Make sure you consult the instructions provided with your new sprayer for the exact installation process.
- Check for leaks – Once installed, turn the water back on and check for any leaks. If you find any, tighten the connections to fix the issue.
With the right preparation and tools, replacing a kitchen sink sprayer can be a straightforward and hassle-free process. Remember to follow the instructions provided and check for any leaks after installation, and you’ll be able to enjoy a fully functioning kitchen sink sprayer in no time.
Troubleshooting Common Issues
When it comes to replacing a kitchen sink sprayer, troubleshooting common issues is often the first step to a successful installation. From clogged nozzles to loose handles, several common problems can occur when replacing a kitchen sink sprayer. Fortunately, these issues can be easily fixed.
When it comes to clogged nozzles, the first step is to disconnect the sprayer and clean the nozzle with a soft cloth, removing any debris that may have built up over time. If the clog persists, try using a toothpick, pipe cleaner, or a bent paper clip to clear out the nozzle more thoroughly.
Another common issue is a loose handle. If the handle has become loose over time, the best course of action is to tighten the screws with a Phillips-head screwdriver. Make sure to double-check the handle after tightening to ensure a secure fit.
Finally, if the water pressure is low, the problem may be due to an old or worn-out hose. To fix this, simply replace the hose with a new one, ensuring it is properly connected and clamped down. Once the new hose is in place, check the water pressure to ensure it is running properly.
By troubleshooting common problems associated with replacing a kitchen sink sprayer, you can ensure a successful installation. By following the above steps, you can quickly and easily fix any issues that may arise.
Conclusion
Replacing a kitchen sink sprayer is a fairly simple job that can be completed with a few basic tools and supplies. With the right materials and a bit of patience, you can easily install a new sprayer in place of the old one and get your kitchen sink back in top working order. Before you begin, be sure to double-check that the sprayer is compatible with your sink and that all of the parts are present and in working order. Once everything is ready, just follow the simple steps outlined in this guide and you should have a new, functional sprayer installed in no time.

