Delta kitchen faucets are a popular brand of kitchen faucets that can be found in many homes. If you’re noticing a leak or loose handle on your Delta faucet, you may need to tighten it. This guide will walk you through the steps of how to tighten a Delta kitchen faucet to get it back into top working condition. With a few simple tools and a little bit of patience, you can easily tighten your Delta kitchen faucet and get it functioning properly again.
Identifying Your Delta Kitchen Faucet Model
Having a Delta kitchen faucet in your home is a great thing, but sometimes it can need a little bit of maintenance. Knowing how to tighten a Delta kitchen faucet is an essential skill for homeowners, and the first step in doing so is to identify the model of the faucet.
There are several ways to do this. The most obvious is to look for the label on the faucet itself, which will often include a model number and other relevant information. This may be located on the handle, around the base, or on the side of the spout. If that does not work, you can also look in the instruction manual that came with the faucet, or check the manufacturer’s website for more information.
If you are having difficulty matching the label to the model number, you can also use the parts lookup tool on the Delta website. This will enable you to enter the serial number or model name of the faucet and then find the corresponding part numbers.
Identifying your Delta kitchen faucet model is an important step in understanding how to tighten it. Knowing the model number will help you find the right parts and instructions to do the job properly. With a little bit of research and patience, you can have your faucet running like new again in no time.
Gathering Your Tools
When it comes to tightening a Delta kitchen faucet, there are a few tools you’ll need to complete the job. To begin, you’ll need a Phillips-head screwdriver and a pair of adjustable pliers. Depending on the model of your Delta faucet, you may also need an Allen wrench. It’s important to have the right tools for the job, so be sure to consult your Delta faucet’s installation guide to make sure you have the right items. Additionally, you should have an old rag available in case of any dripping water. Once you have all of the necessary tools, you can proceed to the next step of the process.
Removing the Faucet Handle
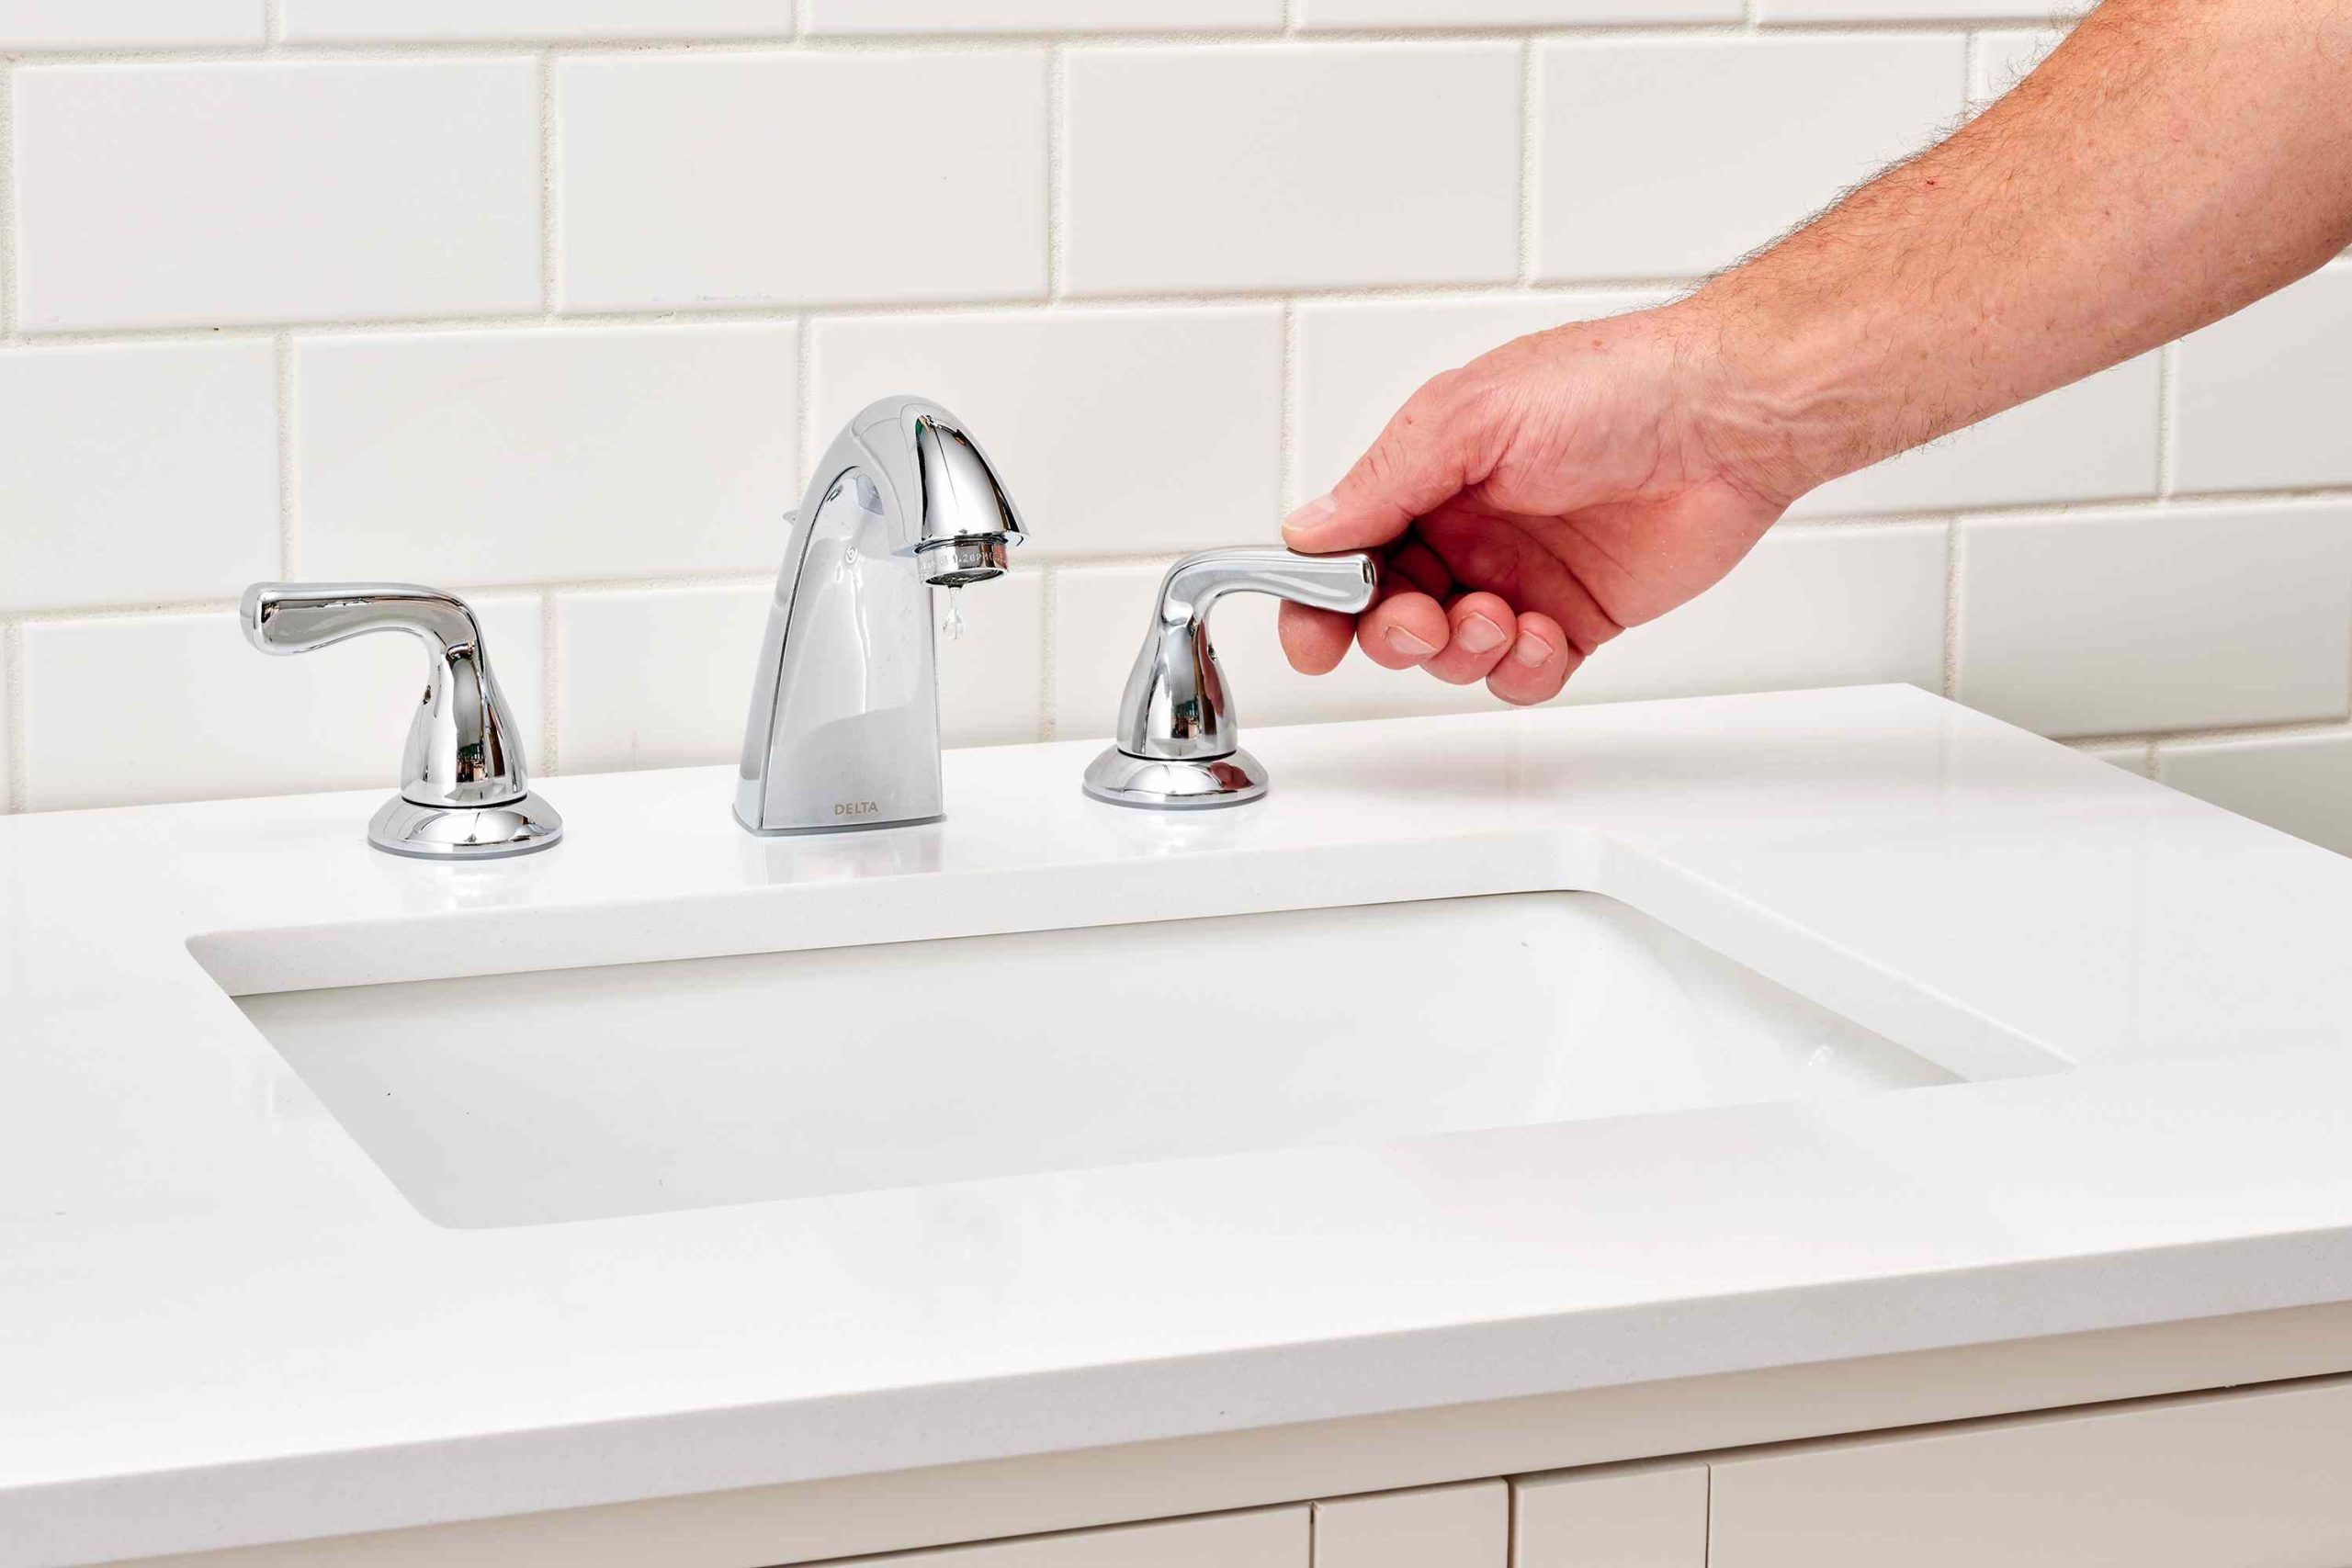
If you need to tighten a Delta kitchen faucet, the first step is to remove the faucet handle. To do this, you will need a flathead screwdriver and a pair of pliers. Start by unscrewing the handle cap, which is located on top of the handle. Once the cap is off, you should be able to access the handle screw. Unscrew the handle screw and lift the handle off the faucet stem. You may need to use the pliers to grip the handle and pull it off. Once the handle is off, you’ll have access to the packing nut, which is below the handle. Tightening the packing nut should help to tighten the faucet. Just make sure not to over-tighten as this can damage the stem.
Tightening the Bonnet Nut
When it comes to tightening a Delta kitchen faucet, the process may seem intimidating at first. However, with the right tools and a basic knowledge of plumbing, you can complete the task without breaking a sweat. One of the main steps in tightening a Delta kitchen faucet is to tighten the bonnet nut. This is the nut that attaches the spout to the faucet body, and it should be tightened to prevent any water leakage.
To tighten the bonnet nut, start by turning off the water supply to the faucet. Once the water is off, use a pair of pliers to loosen the bonnet nut. Once the nut is loose, use a wrench or adjustable wrench to turn the nut clockwise until it’s securely tightened. Be careful not to over-tighten the nut, as this can cause damage to the faucet. Once the nut is secure, you can turn the water back on and test the faucet for any leaks.
Tightening the bonnet nut is an important step in ensuring that your Delta kitchen faucet works correctly and efficiently. With the right tools and basic plumbing knowledge, you can easily complete the task and enjoy the benefits of a reliable, leak-free faucet.

Replacing the Faucet Handle
Replacing the handle of a Delta kitchen faucet is a relatively straightforward process that can be completed in a few simple steps. First, shut off the water supply to the faucet, then remove the handle by unscrewing the screw located on the side. Next, remove the faucet stem and the bonnet nut, which holds the stem in place. Once the bonnet nut is off, you can remove the old faucet handle and replace it with a new one. Be sure to secure the handle tightly and then replace the bonnet nut. Make sure to test the handle for proper operation before turning the water supply back on. Following these steps will help to ensure your Delta kitchen faucet is functioning properly and securely.
Testing the Tightness of the Faucet
When it comes to ensuring that your Delta kitchen faucet is correctly tightened, it is important to take the time to test the tightness. To do this, you should begin by turning the handle of the faucet. If it moves freely, then it is likely that the faucet is not properly tightened and should be adjusted. If the handle is too difficult to move, then it is likely that the faucet is already tightly secured. The best way to test the tightness of the faucet is to use a torque wrench and gauge the torque of the faucet. This will give you an accurate reading of how much force is being applied to the faucet and will help you determine whether or not the faucet is correctly tightened. Additionally, you should also check the base of the faucet to make sure that it is secured and has no gaps. If you find any gaps, then you should tighten the faucet again to ensure that it is properly secured. Taking the time to test the tightness of your Delta kitchen faucet will help you ensure that it is secure and will not come loose.
Troubleshooting Common Issues
When it comes to kitchen faucets, it is important to understand how to troubleshoot common issues. Delta kitchen faucets are designed with a variety of features that can make them difficult to tighten. Luckily, there are a few simple steps you can take to ensure that your Delta faucet is properly tightened.
First, check the base of the faucet and make sure all of the screws are tightened securely. If any screws are loose, tighten them with a wrench or screwdriver. If the faucet is still loose, you may need to use a plumber’s putty or a gasket to seal the area around the faucet.
Next, check the handle. If it is loose, tighten it using the handle screw. If it is still not tight enough, you may need to use a rubber washer to secure it in place. You can also use a wrench to tighten the nut on the handle.
Finally, if all else fails, you can always call in a professional plumber. A professional plumber will be able to identify the cause of the problem and make the necessary repairs.
Tightening a Delta kitchen faucet can be a tricky process, but with a few simple steps, you can ensure that your faucet is secure and functioning correctly. With the right tools and knowledge, you can tackle any issue with your Delta kitchen faucet.
Cleaning and Maintaining Your Delta Kitchen Faucet
Maintaining your Delta kitchen faucet is essential for ensuring the longevity of the product. Regular cleaning and maintenance can prevent wear and tear, and keep your Delta kitchen faucet in optimal condition. To clean a Delta kitchen faucet, use a damp cloth to wipe down the surface of the faucet, paying close attention to the grooves and crevices. If there is any build-up of limescale or dirt, use a soft-bristled brush dipped in warm, soapy water to remove it. To maintain your Delta kitchen faucet, lubricate the moving parts with a few drops of mineral oil or other lubricant. This will help to prevent corrosion and ensure smooth operation of the faucet. Once a year, use a wrench to tighten the Delta kitchen faucet’s mounting nuts and bolts to ensure a secure fit. With regular cleaning and maintenance, your Delta kitchen faucet will last for years to come.
Conclusion
Tightening a Delta kitchen faucet is a fairly simple process that requires only a few basic tools. By following the steps above, you can easily adjust the faucet to the desired tightness. Be sure to inspect the faucet after the adjustment and tighten any loose connections. With a little bit of effort, you can improve the overall performance of your Delta kitchen faucet and ensure it will last for many years to come.

