Tiling a backsplash in the kitchen is a great way to update the look of your kitchen. It adds a decorative touch to any kitchen space and can be done relatively easily with just a few tools. Whether you are tiling a backsplash yourself or hiring a professional, you’ll want to know the basics of how to tile a backsplash kitchen. This guide will provide step-by-step instructions on how to tile a backsplash kitchen, from prepping the wall to grouting and sealing. With the right supplies and a little know-how, you’ll have a beautiful tiled backsplash in no time.
Understanding the Basics
Tiling a backsplash can be a great way to add a bit of character to your kitchen. But before you get started, it’s important to understand the basics of tiling and the various materials available. From ceramic and porcelain tiles to natural stone and glass, there are several materials to choose from, each with its own set of pros and cons. Additionally, you’ll need to know about the various adhesives, grouts, and sealants used for tiling, as well as the tools and techniques you’ll need to complete the job. Understanding these basics will help you choose the right materials and plan your project, so you can create a beautiful and lasting backsplash for your kitchen.
When it comes to the materials, porcelain and ceramic are the most common for backsplashes. Porcelain is known for its durability and water resistance, while ceramic is often less expensive and comes in a wide variety of colors and patterns. Natural stone such as granite, slate, and travertine is also an option, but is more expensive and requires more maintenance. Finally, if you want a unique look, glass is an option, but its installation is a bit more complicated.
In addition to the materials, you’ll also need to decide on the adhesives, grouts, and sealants you’ll need for the project. Different types of adhesives are used for different materials, so it’s important to make sure you buy the right one for your job. Grouts are used to fill in the gaps between tiles, and sealants can be used to protect the tiles from water damage.
Preparing Your Work Area
Preparing your workspace is essential before you can begin tiling a backsplash. Start by clearing away any debris or furniture from the area and cover the countertops with dust sheets to protect them from any tile adhesive. You’ll also need to make sure that the wall behind the tiles is clean and dry, so use a damp cloth to remove any dirt or dust. Additionally, you may want to line the edges of the wall with masking tape to ensure that the tiles fit snugly against the wall and to protect the surrounding surfaces. Once your workspace is ready, you’re ready to begin tiling your backsplash.
Choosing the Right Tiles
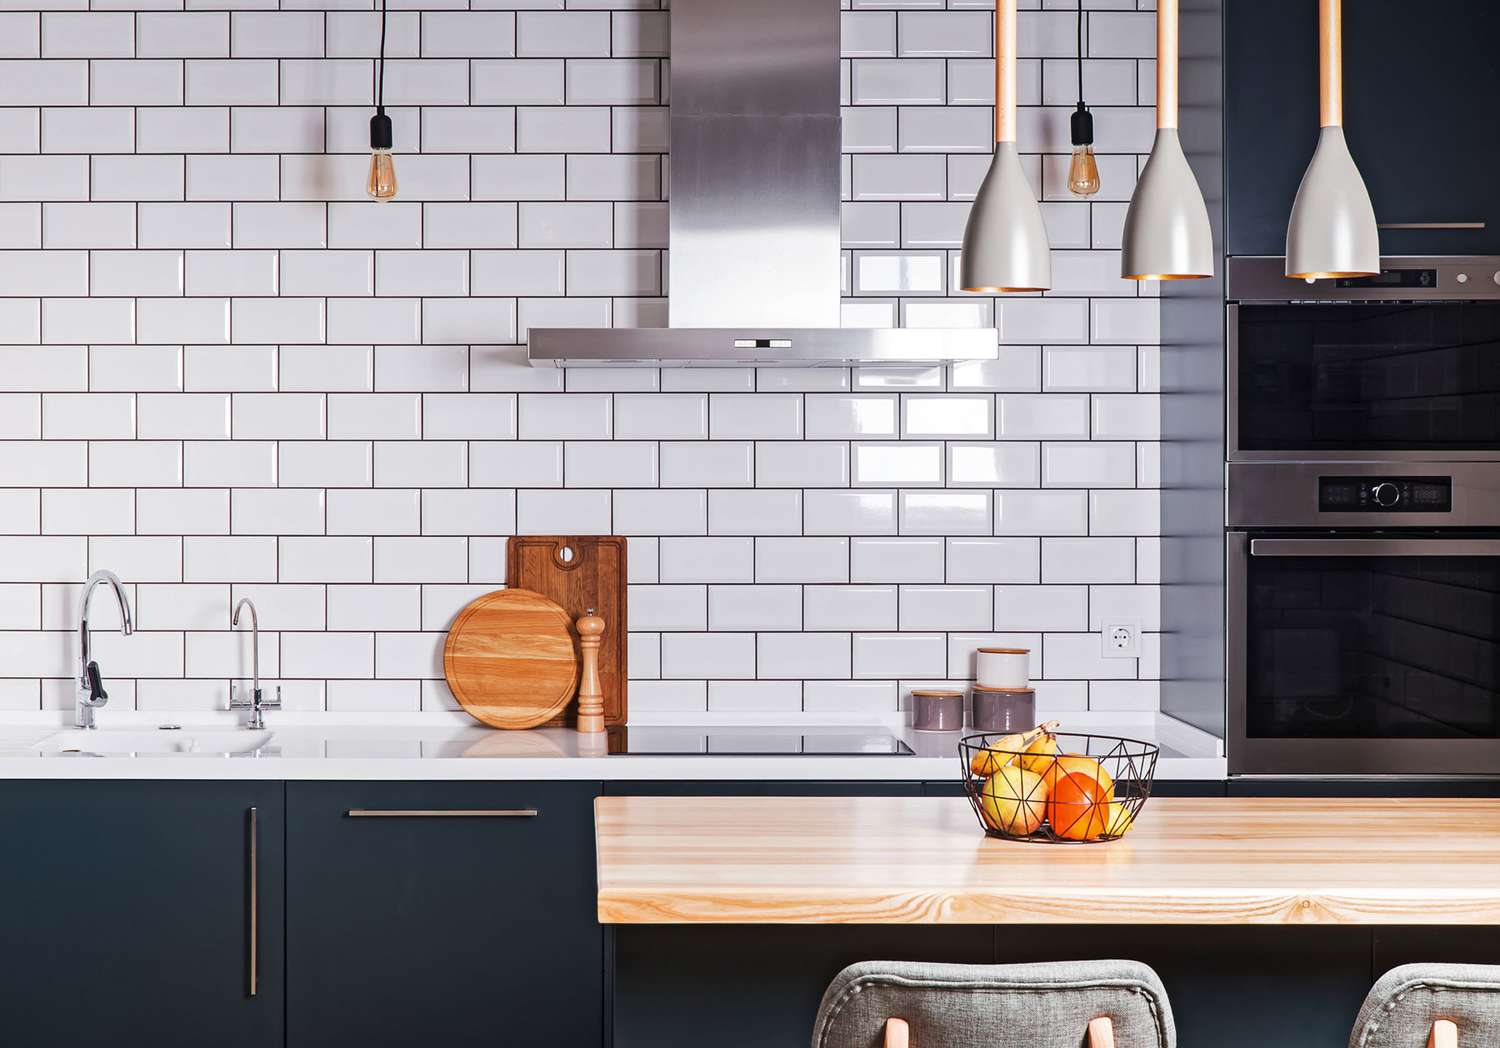
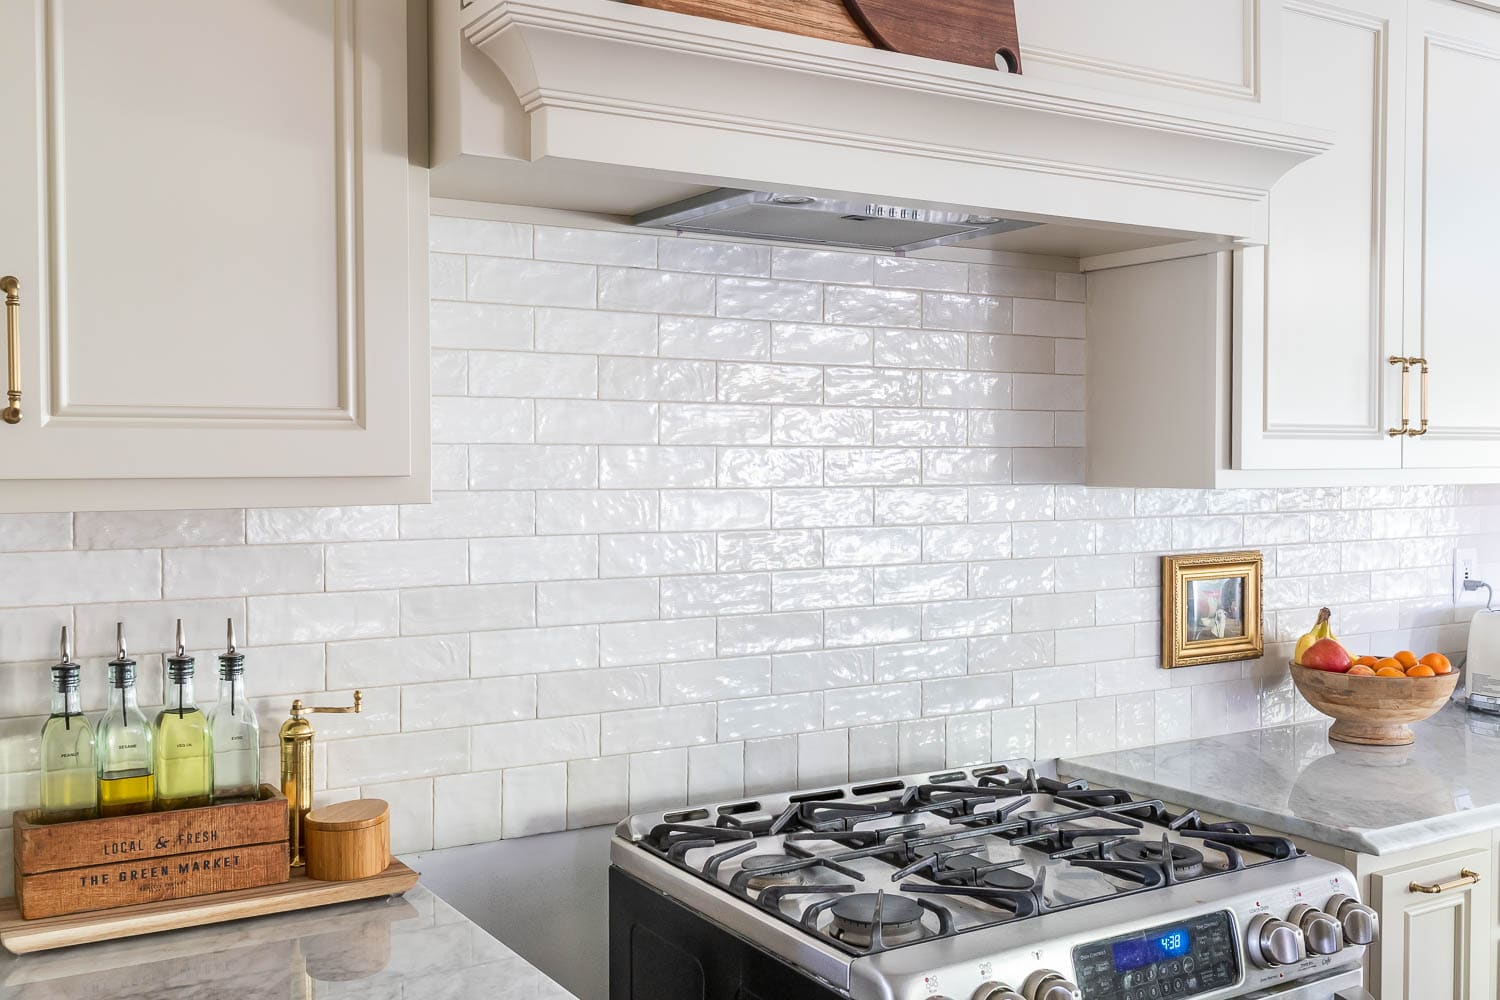
Getting the right tiles for your backsplash kitchen is essential to achieving the desired look and feel. Before you start tiling, you must take into consideration the size, shape, and color of the tiles you’ll be using. Consider the overall style of the kitchen and the surrounding décor. When it comes to the size of the tiles, you can choose from small mosaic tiles to large statement pieces. Depending on the desired design, you can also opt for different shapes such as hexagons, octagons, or even diamonds. When it comes to color, you can choose tiles that match the overall palette of your kitchen or opt for contrasting colors for a bolder look. Additionally, you can also consider texture when choosing your tiles. For example, you could opt for a glazed look for a glossy finish or a matte look for a softer finish. Ultimately, the choice of tiles should be based on the desired look and feel of your backsplash kitchen.
Prepping the Wall Surface
Tiling a backsplash in your kitchen is a great way to impact a small space. Before you can start tiling, however, you’ll need to prepare the wall surface. This includes cleaning the wall, filling any gaps, and making sure the surface is level and flat.
Cleaning the wall is essential for a successful tiling job. Use a cleaner that won’t damage the wall and make sure to remove any grime, grease, residue, and other debris. You’ll also want to fill any gaps or cracks with a sealant or joint compound before tiling. This will ensure that your tiles adhere properly and won’t come loose over time.
Finally, you’ll want to check the surface of the wall for any irregularities. Use a level to make sure the wall is flat and use a trowel to even out any bumps or divots. This will help ensure that your tiling job is even and professional-looking.
With your wall prepped and ready, you can start tiling your backsplash with confidence. Follow these simple steps and you’ll have a beautiful backsplash in no time.
Tiling the Backsplash of Your Kitchen
Adding a backsplash to your kitchen is an easy and cost-effective way to update your space. Tiling a backsplash in the kitchen can be done in just a few steps, with the right materials and tools. To get started, you will need to measure the area and purchase the appropriate tile, adhesive, and grout. Once you have all your materials, you can begin to tile the backsplash. Start by laying the tile in a dry run before applying the adhesive. This will help you to know where to put the tile in the pattern you desire. Next, apply the adhesive and push the tile into the adhesive to create a strong bond. After the adhesive has dried, use a wet saw to cut the tile to fit the contours of the wall. Finally, spread the grout and allow it to dry before wiping away the excess. With these simple steps, you can easily add a beautiful backsplash to your kitchen in no time.
Grouting the Tiles
Grouting is the process of filling in the spaces between the tiles of your new backsplash. It is important to ensure the grout is mixed correctly and applied evenly to ensure a professional finish. Before beginning, wear gloves and protective eyewear to avoid any potential injuries.
Begin by applying the grout with a rubber float. Make sure to press the grout firmly into the joints to avoid any air pockets. Once the grout is applied, allow it to set for a few minutes before wiping it off with a damp sponge. Wipe the sponge in a circular motion to ensure a consistent finish.
Once the grout has dried, you can seal it with a sealant to protect it from dirt and moisture. Apply the sealer in thin, even coats and let it dry for 24 hours before using the backsplash. Finally, you can enjoy the results of your hard work – a sparkling, tiled backsplash.
Cleaning and Sealing the Grout
Tiling a backsplash in the kitchen can be a daunting task, but it doesn’t have to be. After the tiles have been laid, it’s time to move on to the next step in the process: cleaning and sealing the grout. Cleaning and sealing the grout is an essential part of the tiling process, as it helps protect the grout from staining and water damage while also extending its life. To properly clean and seal the grout, you’ll need to use the right cleaning tools and sealants.
First, you’ll need to use a grout brush to deep clean the grout lines. This will remove any debris and residue left behind from the installation process. Once the grout is clean, you’ll need to dry it off with a clean cloth or towel.
Next, you’ll need to apply a sealant to the grout. This will help protect the grout from staining and water damage. Be sure to use a sealant specifically designed for grout, as other sealants may not be effective. After applying the sealant, you must allow the grout to dry completely before using the backsplash.
By following these steps, you can ensure that your backsplash will look great and last for years to come. With a bit of patience and the right tools, you can easily tile your backsplash and create a stunning look for your kitchen.
Finishing Touches
When it comes to tiling a backsplash kitchen, the finishing touches are the most important part. After laying the tiles and grouting them, there are still a few steps that need to be taken to ensure the best possible result. The most important one is to seal the grout. Sealing the grout helps protect it from dirt, moisture, and mold, and also gives the backsplash a finished, polished look. Additionally, be sure to caulk any seams or corners that are visible. This will keep water from seeping into the walls and causing damage. It is also a good idea to apply a sealer to the tiles, especially if they are ceramic or porcelain. This will help to protect the tiles from staining and ensure that the tiles keep their original beauty for years to come. Lastly, don’t forget the lighting! The lighting can enhance the look of the backsplash and can really make it the focal point of the kitchen. So make sure to choose the right lights and have them installed correctly. With these final touches, your backsplash will be the envy of all your guests.
Conclusion
Tiling a backsplash kitchen is a great way to add a decorative touch to your kitchen. It is easy to do, and can be done in a few hours with the right materials and tools. Start by measuring the area, then choose a tile type and design, and finally begin laying out the tiles. With a little patience and attention to detail, you can easily tile a backsplash kitchen and have a beautiful end result.

