Venting a kitchen sink is an important step in the installation process. This allows air to escape from the sink drains, preventing a vacuum from forming that can lead to slow draining or a gurgling sound. Installing a vent also helps maintain the correct water pressure in the sink. It is important to follow the right steps to ensure that the kitchen sink is properly vented. This guide will show you how to vent a kitchen sink.
Choosing the Right Vent for Your Kitchen Sink
Venting your kitchen sink is an important part of proper plumbing maintenance. Without a properly vented sink, your home can experience a range of plumbing issues, from clogged sinks to wastewater backups. To ensure your kitchen sink is properly vented, it’s important to select the right vent for the job.
When choosing a vent for your kitchen sink, it’s important to consider the size and shape of the vent. Venting your kitchen sink requires either a circular vent or a rectangular vent, depending on the size and shape of your sink. Additionally, you should make sure the vent is large enough to allow for proper airflow. Finally, you may want to inspect the vent for any signs of rust or corrosion, as these can interfere with the airflow and cause plumbing issues.
You also need to consider the type of material your vent is made of. Most kitchen sink vents are made of metal, such as aluminum or galvanized steel, but you can also find plastic vents. Metal vents are generally more durable and reliable, while plastic vents are more affordable.
Finally, you’ll need to decide between a vent with a hood and a vent without a hood. Vents with hoods are more aesthetically pleasing and also help keep insects and debris out of the vent, but they may also restrict airflow. Vents without hoods are simpler and allow for greater airflow, but they may not be as visually appealing.
Planning the Vent Location
When it comes to venting a kitchen sink, the placement of the vent is one of the most important steps in the process. After all, proper venting is essential for the sink to function correctly and to avoid plumbing issues. The location of the vent should be strategically placed to ensure that it’s within proximity to the sink, while also being away from any other pipes or fixtures.
The ideal location for the vent is on the wall directly behind the sink, as this will allow for easy access and will keep the vent away from any other pipes. It is also important to ensure that the vent is placed high enough to avoid any water from splashing onto it. It’s also a good idea to place the vent in a spot where it’s easily visible, as this will make it easier to access when the need arises.
When it comes to venting a kitchen sink, the placement of the vent is key. Be sure to plan the location of the vent carefully, as it needs to be within proximity to the sink, away from any other pipes, and placed high enough to avoid any water from splashing onto it. Additionally, make sure that the vent is easily visible and accessible. Taking the time to plan out the vent location beforehand can save a lot of time and effort in the long run.
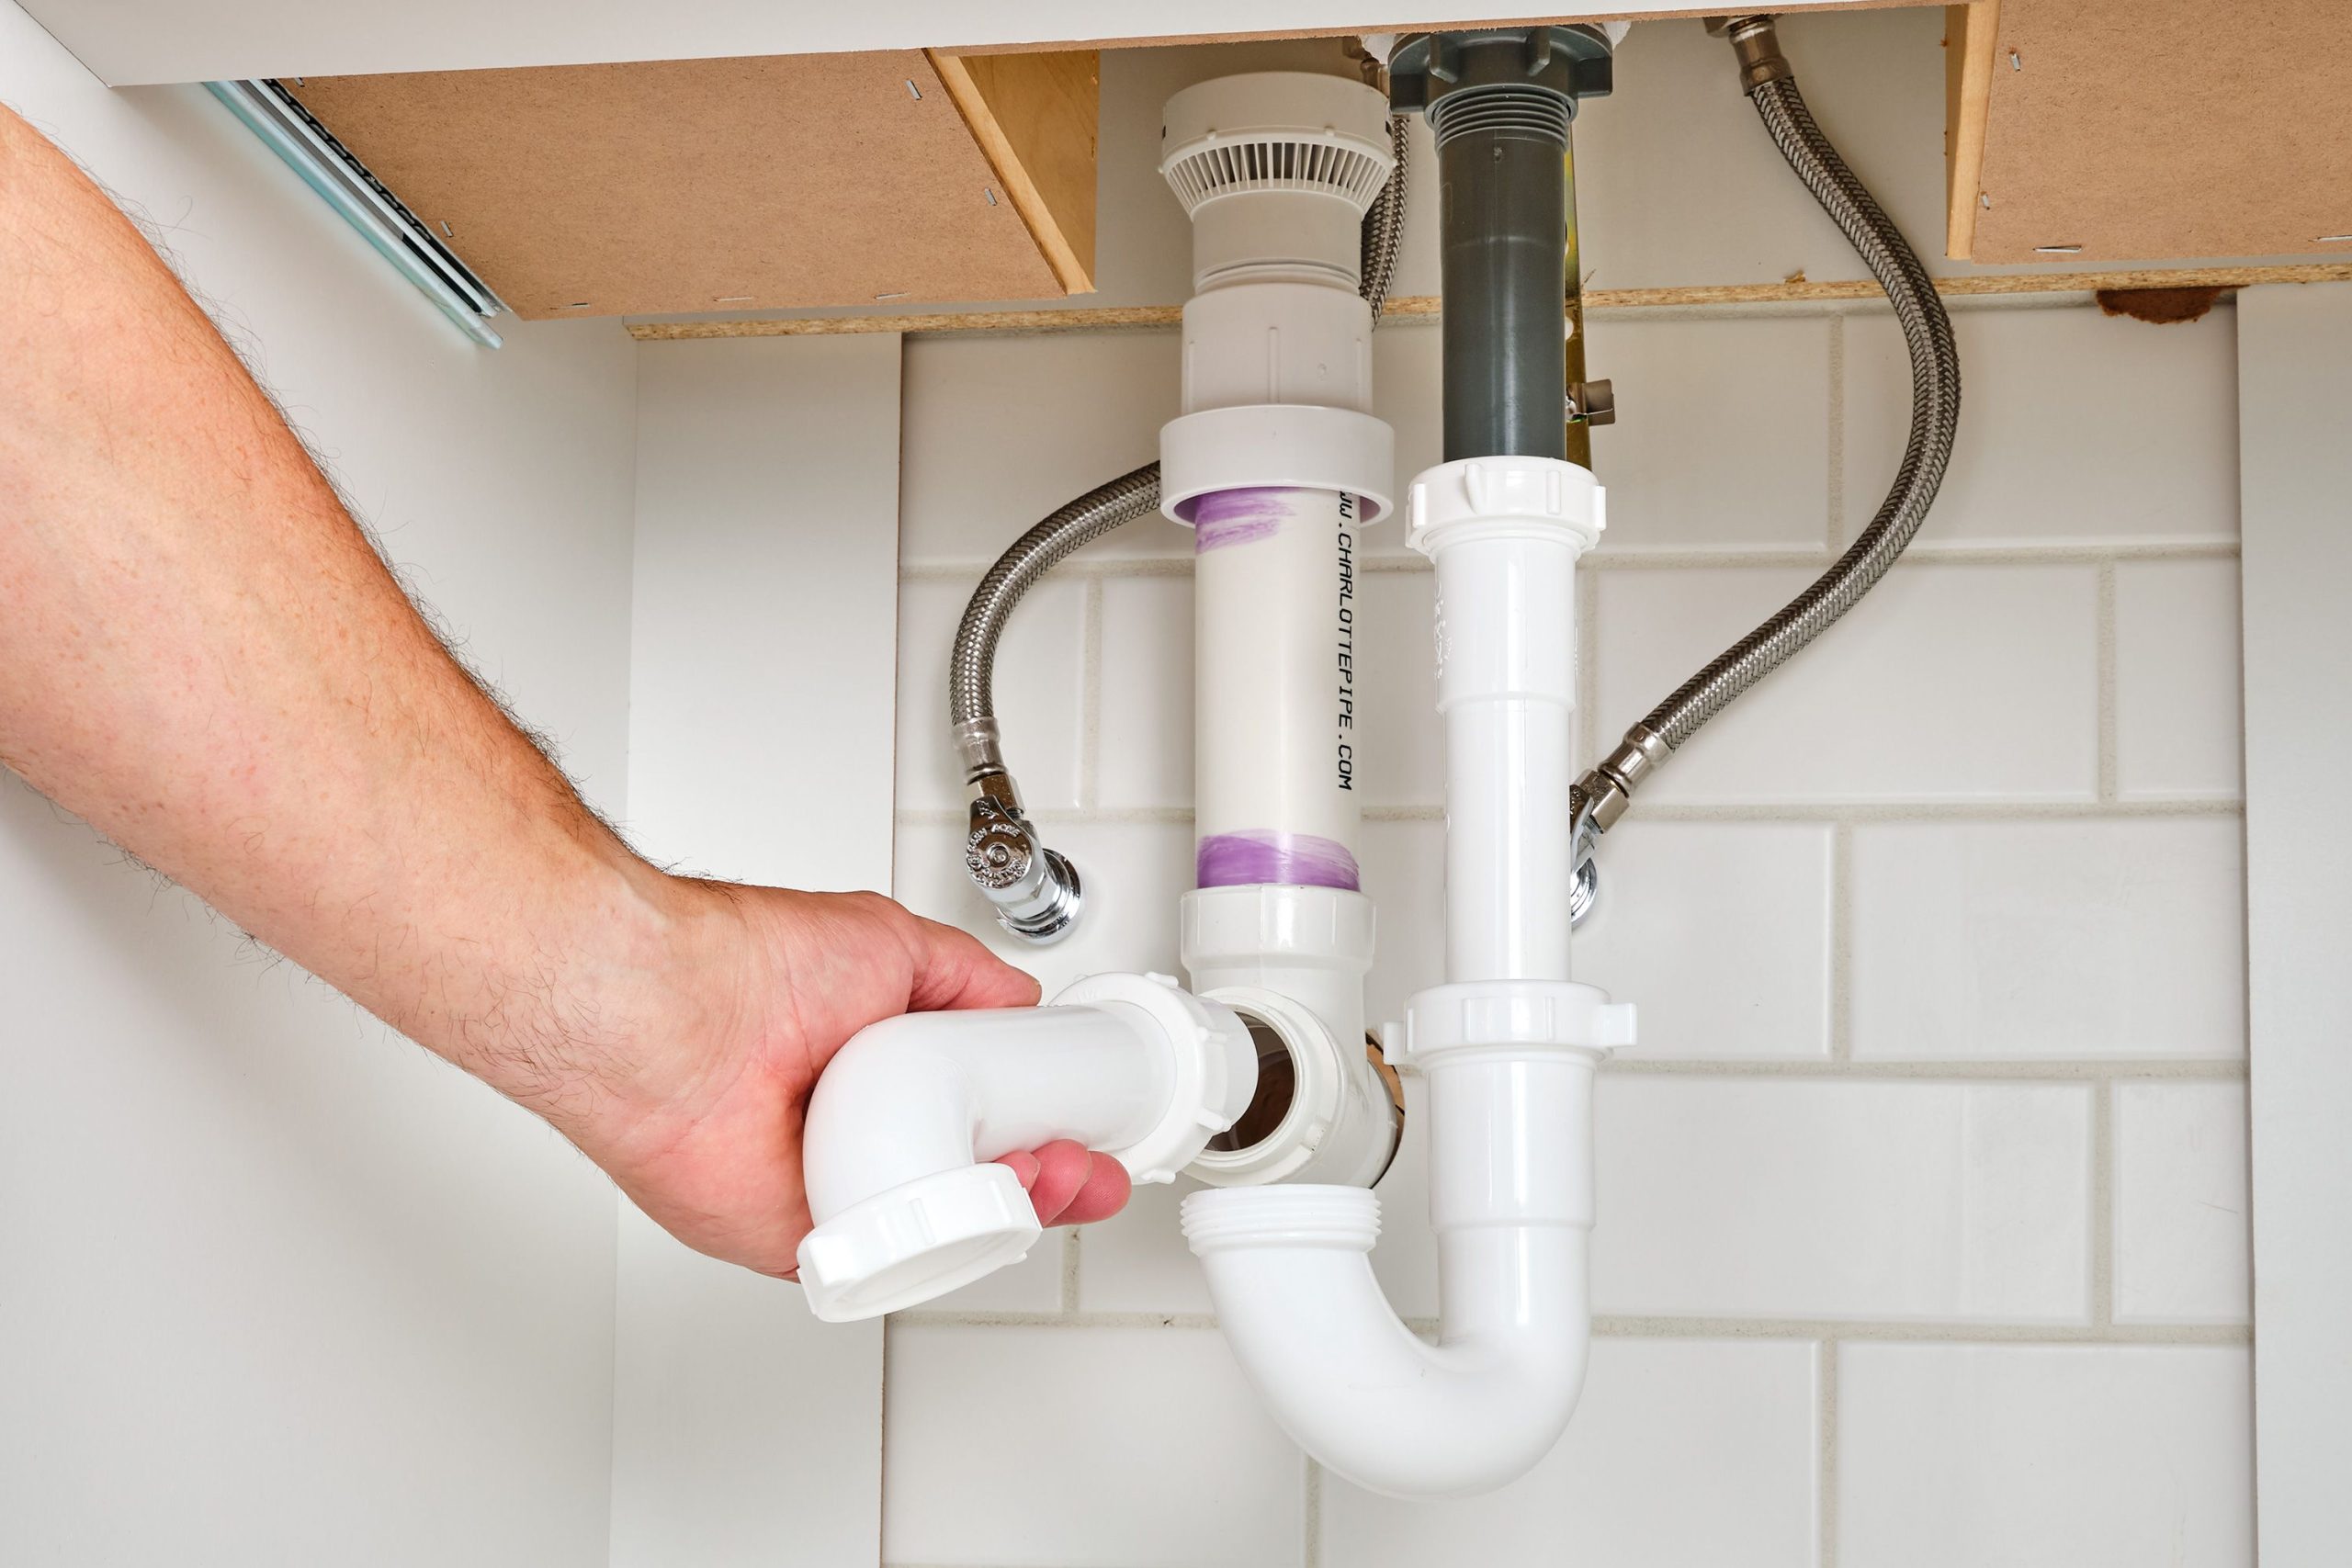
Gaining Access to the Drain Line
Gaining access to the drain line for a kitchen sink is essential for proper plumbing maintenance. When a kitchen sink is clogged, the first step is to locate and access the drain line. This can be done either by removing the sink or from the access panel underneath the sink. To access the drain line, it is important to shut off the water supply before beginning the process.
Removing the sink is the best option for ensuring easy access to the drain line. To do this, you will need to remove the faucet and the sink strainer. Then, the sink can be removed from the countertop. The drain line can be accessed through the hole in the sink.
If you choose to access the drain line through the access panel underneath the sink, you will need to locate the access panel. This panel is usually located directly underneath the sink and can be easily removed with a screwdriver. Once the panel is removed, the drain line can be accessed and clogs can be removed.
It is important to remember to wear protective gear, such as gloves and safety glasses when accessing the drain line. Additionally, a flashlight can be useful for better visibility when accessing the drain line. With the right tools and precautions, you can easily access the drain line and properly maintain your kitchen sink.
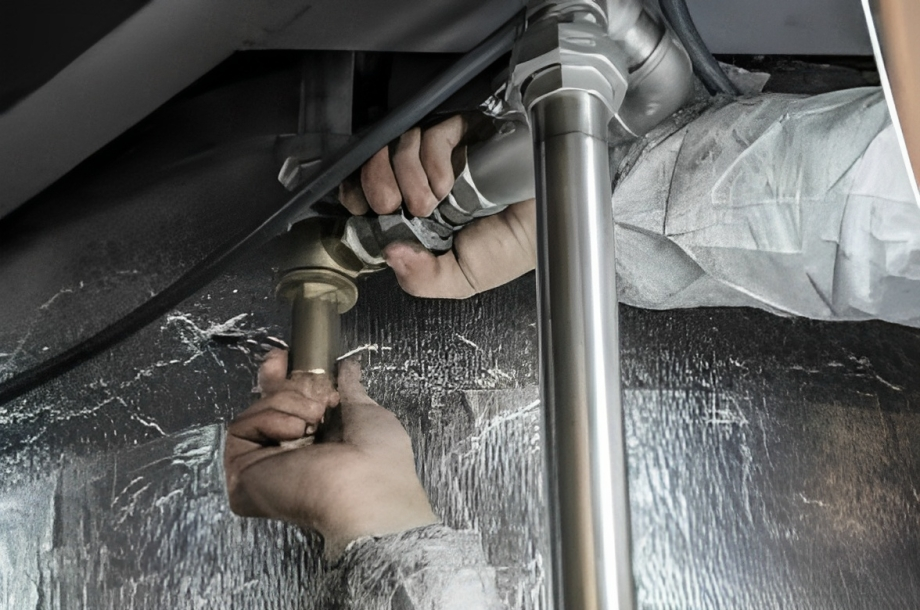
Credit: medium.com
Connecting the Vent to the Drain Line
Venting a kitchen sink is a crucial step in a plumbing project. It helps keep sewer gas from entering the home and prevents water from backing up in the sink. Properly venting a kitchen sink is a relatively straightforward process, but it’s important to understand how the process works and how to do it correctly. In this blog, we will explore the specifics of connecting the vent to the drain line.
Before you start, it’s important to make sure you have the right materials. You’ll need a vent pipe, a drainage pipe, and a proper fitting to connect the two. Other materials may also be necessary depending on the specific configuration of your kitchen sink.
Once you’ve gathered the necessary materials, you’ll need to connect the new vent pipe to the drainage pipe. This is done by cutting a hole in the drainage pipe and attaching the vent pipe with a fitting. Make sure to use the correct type of fitting for the specific drainage pipe you’re using. Once the vent pipe is attached, run a test to ensure that the connection is secure.
Finally, it’s important to make sure that the vent pipe is properly vented. To do this, you’ll need to measure the length of the pipe and ensure that it is at least 12 inches long. This will ensure that the vent can properly remove the sewer gas from the home.
Following these steps will help you vent your kitchen sink correctly. It’s important to take your time and ensure that the process is done properly. Doing so will help prevent any potential problems and ensure that your kitchen sink is properly vented.

Installing the Vent Outlet
Installing the vent outlet for a sink is an important step in the process of venting a kitchen sink properly. Not only is it necessary to ensure that the waste water drains properly, but it is also essential in helping the sink to stay free from odors. Fortunately, venting a kitchen sink is a relatively simple process that doesn’t require a lot of tools or time.
Before beginning the job, the first step is to determine where the vent outlet should be attached. Generally, the vent outlet should be connected in the same general area as the sink drain. This will ensure that the waste water drains away from the sink quickly and efficiently.
Once the area for the vent outlet has been chosen, the next step is to install the outlet itself. The vent outlet should be firmly secured using a hole saw, and then securely screwed into the hole. After the outlet is installed, the drain pipe should be connected to it. The drain pipe should be cut to the desired size and then firmly tightened with a wrench.
Finally, the sink trap should be attached to the drain pipe. This will ensure that the waste water is effectively prevented from backing up into the sink. Once everything is properly installed, the sink should be tested to make sure it drains properly.
By following these steps, anyone can successfully install the vent outlet for a kitchen sink to make sure their sink is properly ventilated. With the right supplies and a bit of know-how, anyone can ensure their kitchen sink is properly ventilated and free from odors.
Testing the Vent for Proper Operation
A well-vented kitchen sink is an important feature in any kitchen, and proper testing of the vent is essential for keeping it functioning optimally. Testing the vent for proper operation is an easy job that requires just a few simple steps. To start, check the air vent pipe and ensure that it is properly connected and in good condition. Next, turn on the faucet and fill the sink with water. If the water doesn’t fill quickly or completely, the vent pipe is likely blocked or damaged. If the water fills the sink normally, then the vent is operating properly. Lastly, pour a small amount of liquid dish soap into the sink and watch for bubbles. If bubbles appear, the air vent is working correctly. If bubbles don’t appear, then the vent pipe is likely blocked.
By testing the vent for proper operation, you can be sure that your kitchen sink is working properly and efficiently. If you notice any issues, be sure to clean or repair the air vent pipe immediately. Doing so will help ensure that your kitchen sink remains working properly for years to come.
Maintaining the Vent Kitchen Sink
A kitchen sink vent is an important component in the drainage system of any kitchen. It ensures that the air pressure in the pipes is balanced, preventing water backups, gurgling, and other plumbing issues. Proper maintenance of your kitchen sink vent will ensure that it continues to function optimally for a long time. Here are some tips for maintaining your kitchen sink vent.
Start by regularly inspecting the vent for any signs of clogs or blockages. If any are found, use a plumber’s snake or an auger to unclog them. Also, make sure to check the vent for any signs of corrosion or damage. This can be easily done by using a flashlight to inspect the vent for any cracks or holes.
Next, it is important to ensure that the vent is properly connected to the drain system. This can be done by hiring a professional plumber to inspect the vent and make sure that all connections are secure and properly attached.
If your kitchen sink vent is located on the outside of your home, make sure to regularly check it for any signs of weather damage. If you notice any damage, call a professional plumber or roofer to repair it as soon as possible.
Finally, it is important to clean the vent periodically to remove any debris or buildup that may be present. Use a wet-dry vacuum to remove any debris and then use a brush to scrub the interior of the vent. This will help to ensure that the vent is functioning optimally.
By following these simple tips, you can ensure that your kitchen sink vent remains in proper working order for years to come. Regular inspection and maintenance will go a long way in keeping your kitchen sink vent functioning as it should.
Troubleshooting Common Venting Problems
Kitchen sink vents are an integral part of your home’s plumbing system. They help to maintain the proper balance of air pressure in the pipes, while also preventing wastewater from backing up into your home. Unfortunately, these vents can sometimes become clogged or malfunction, resulting in a variety of problems. In this blog post, we’ll discuss how to troubleshoot some of the most common kitchen sink venting problems and provide tips on how to keep them working properly.
We’ll start by discussing the signs that can indicate a clogged or blocked vent. Common signs include slow draining or gurgling noises coming from the pipes when you run the faucet or flush the toilet. If you notice any of these signs, it’s important to take action immediately to prevent further damage.
Next, we’ll look at some of the most common causes of kitchen sink venting problems. These include clogged vents due to debris buildup, as well as a buildup of grease and other materials that can block the vent line. In addition, clogs can also be caused by tree roots that have infiltrated the line.
Finally, we’ll offer some advice on how to prevent kitchen sink venting problems in the future. Regularly inspect your vent lines for any debris that could be blocking the flow of air. Additionally, use a drain cleaner or snake to clear out any clogs that may have formed. Finally, make sure to check your vents annually for any signs of wear and tear. By taking these measures, you can ensure that your kitchen sink vents remain in good working order.
Conclusion
Venting a kitchen sink is an important process that helps keep your home safe and prevent water damage from occurring. It can be done in a few simple steps, using supplies that are readily available at any hardware store. With the right materials and tools, you can easily install a vent for your kitchen sink and ensure that your home is protected.

